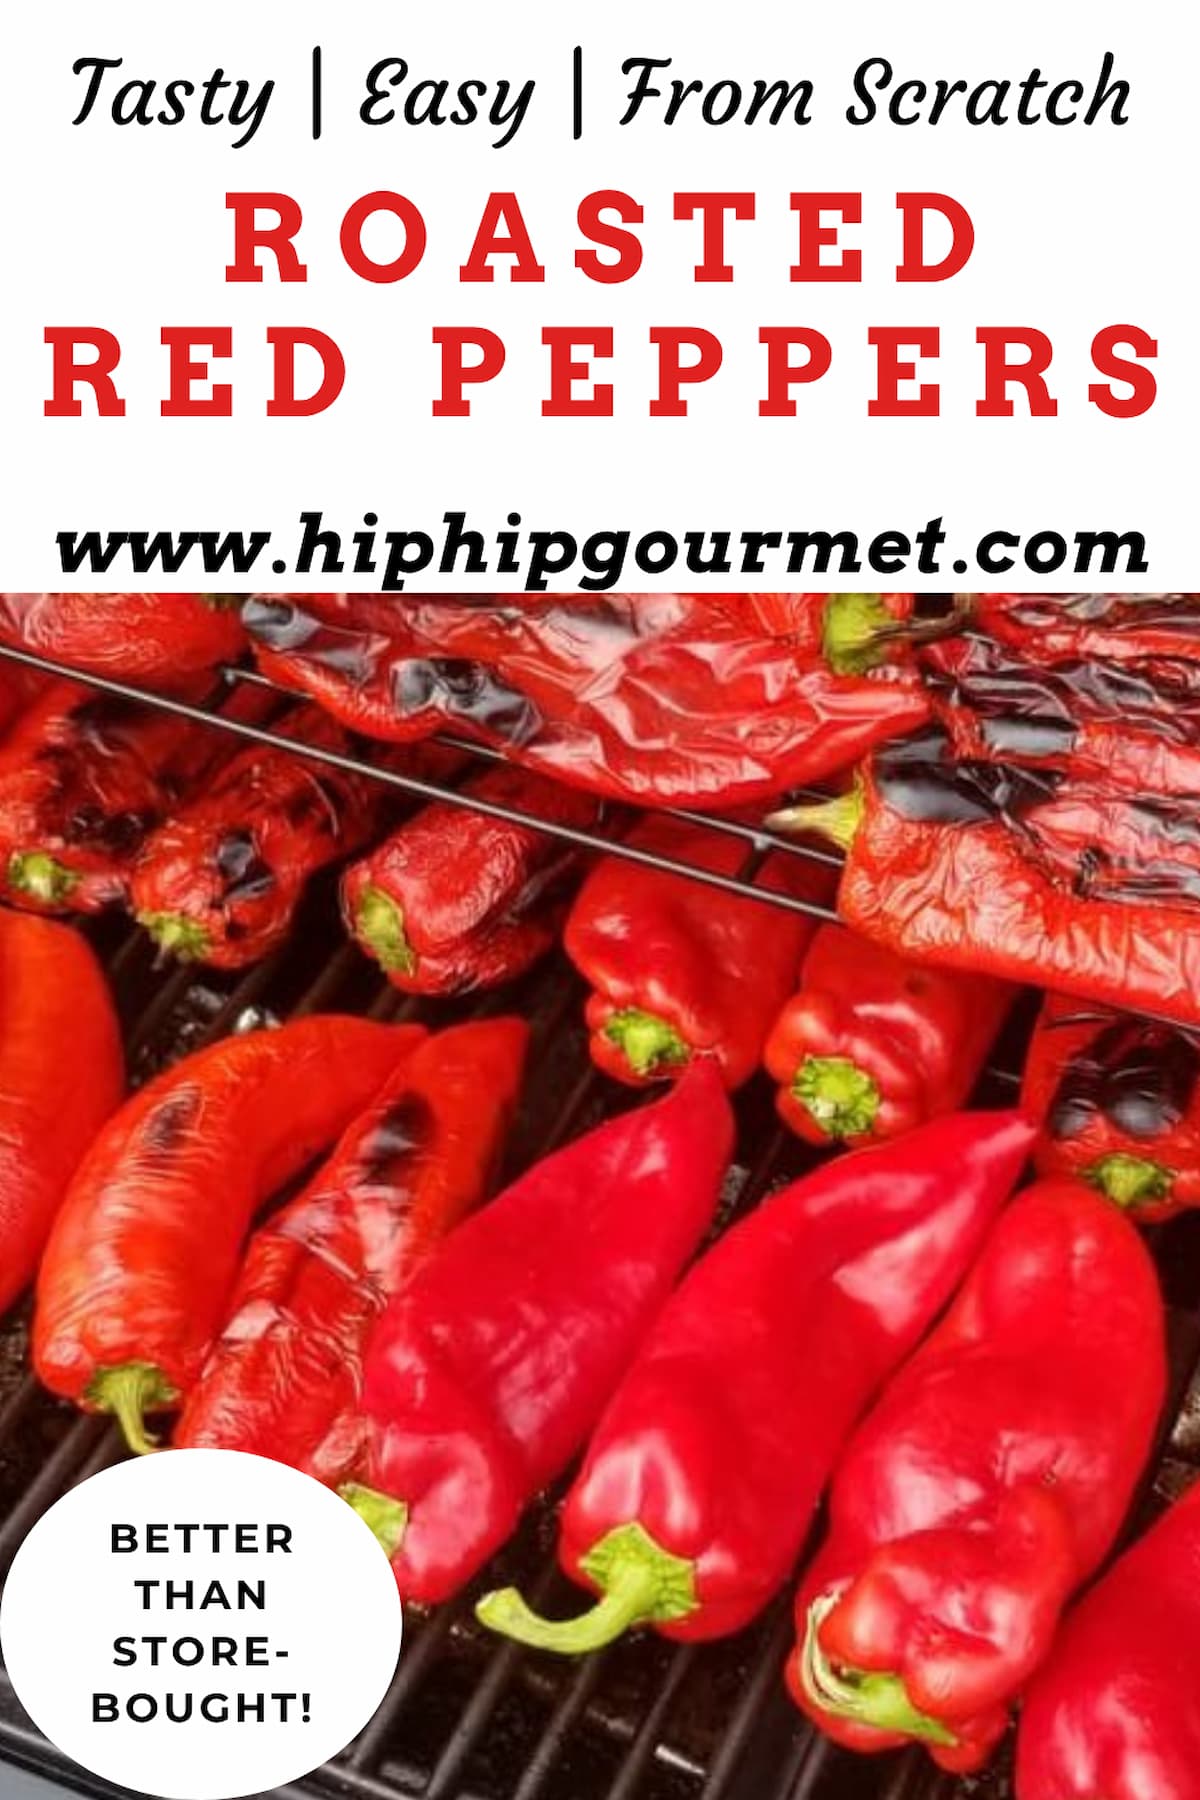
These homemade Roasted Red Peppers are smoky, sweet, and way better than anything from a jar. They’re incredibly easy to make and perfect for adding bold flavour to just about anything!
There are a-mannnnny traditions we keep a-gooooin’ in this family. The negotiables: homemade sopressata and salami – although by far my absolute fav, this isn’t an every year thing for us as I wish it would be. Homemade wine – my fav part as a kid was jumping on the grapes which, let’s be honest, would probably still be my favourite part if we made homemade vino today. Smashed calabrese olives – if you don’t know what that means and you’re an olive lover, do yourself a favour and find out immediately.
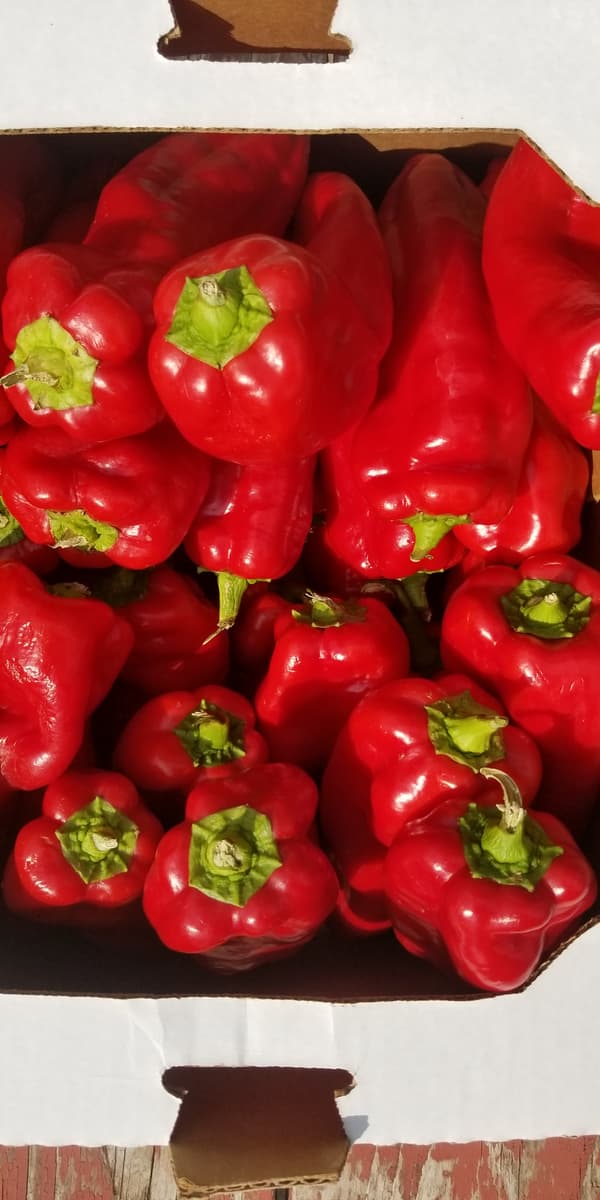
Then you have the non-negotiables: fresh tomato sauce cause are you even Italian if you don’t have a cantina full of this stuff?! Homemade sun dried tomatoes. And these guys – homemade roasted red peppers – both absolute delicious classics and earn a spot in the cantina or fridge every. single. year.

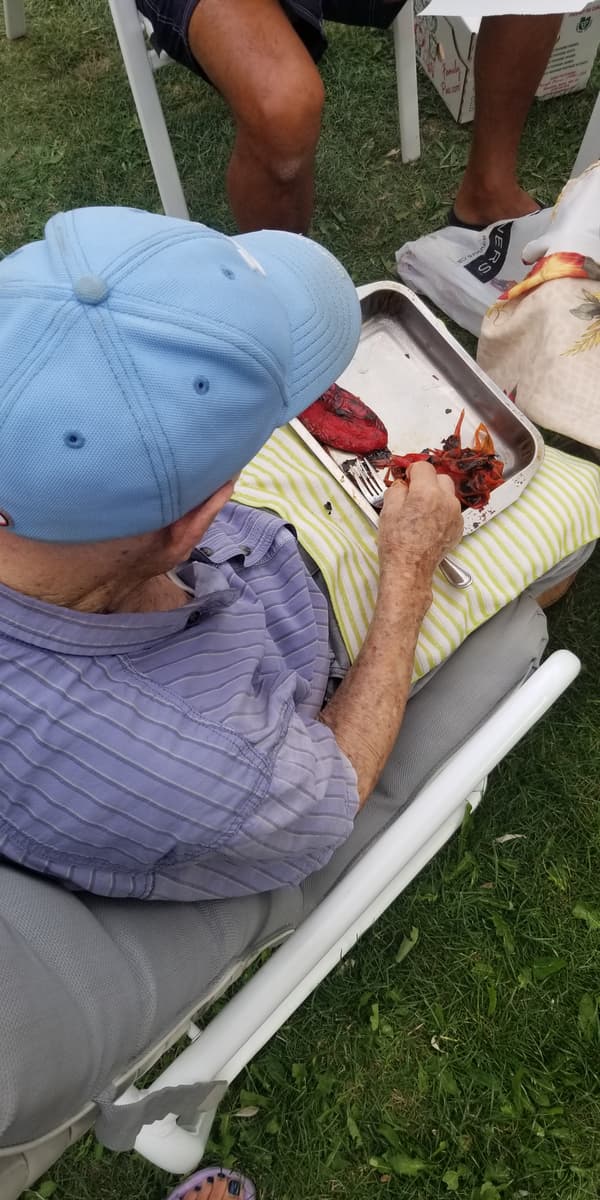
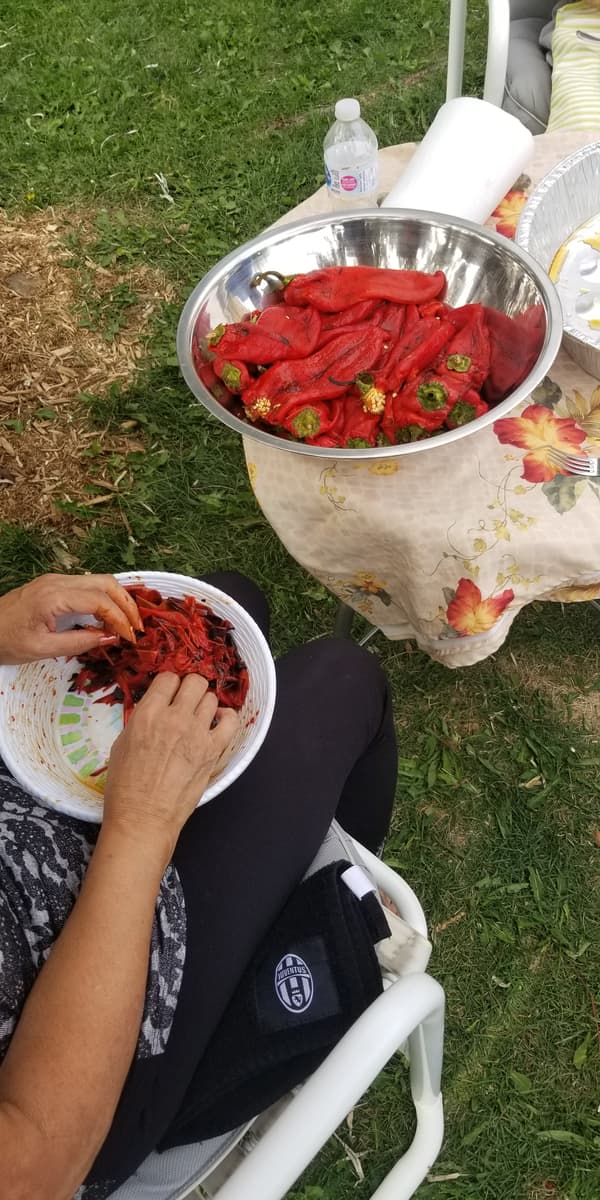
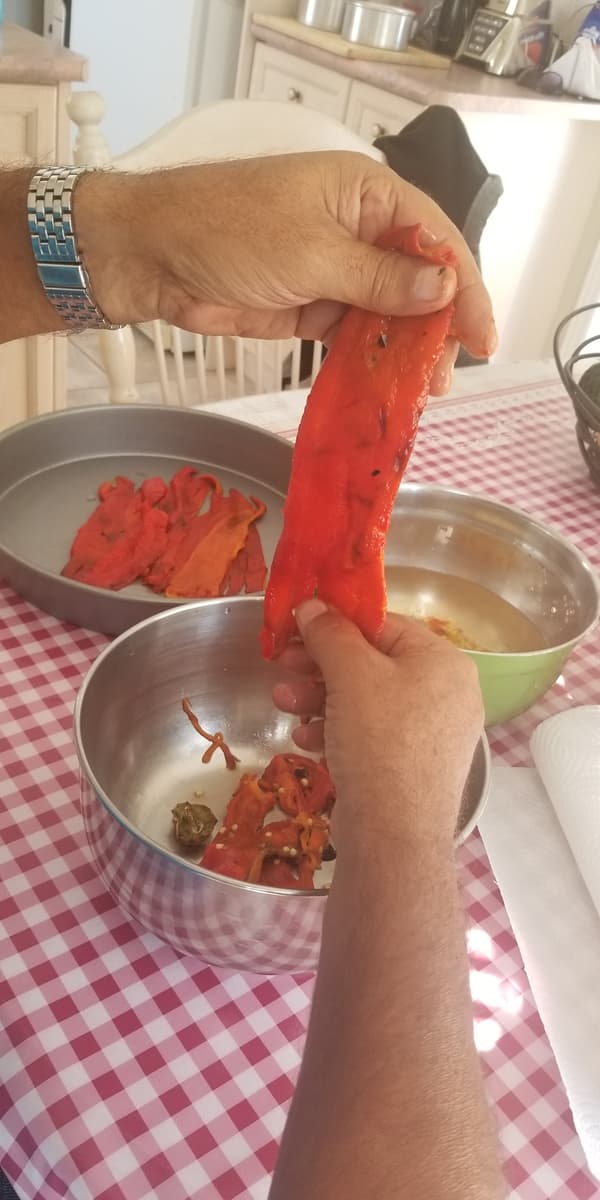
I ain’t gonna make this into a formal recipe or anything because, pictures. And besides, would you just look at my almost 99 year old nonno still slaying the peeling game?! If that ain’t inspo to keep family traditions alive then you probably need better family traditions.
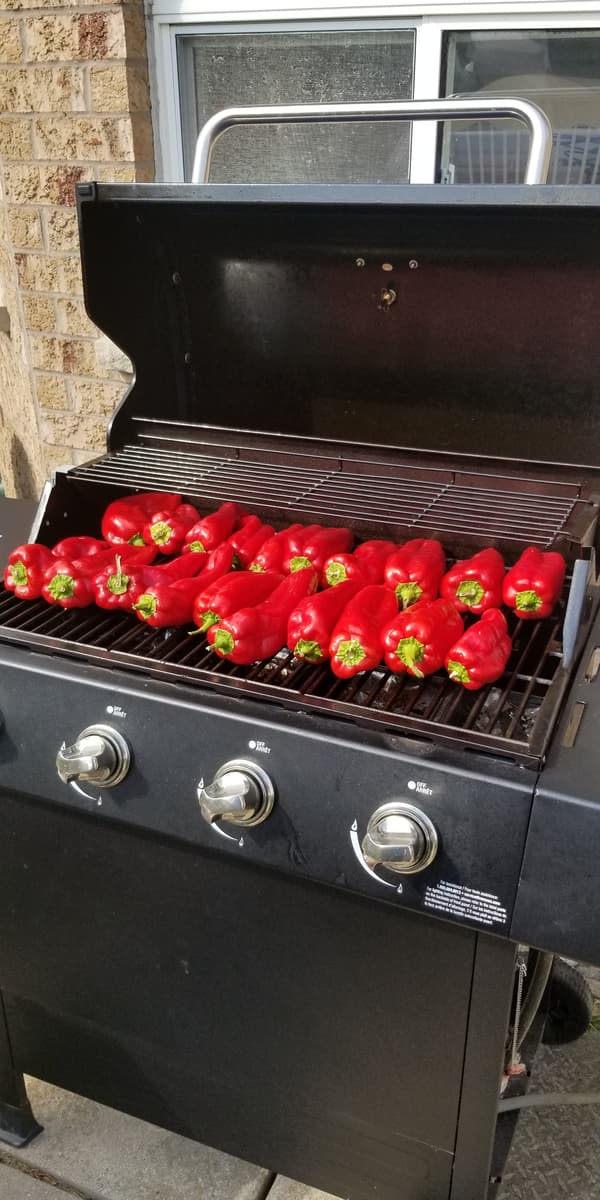
HOW WE DO THE ROASTED RED PEPPERS
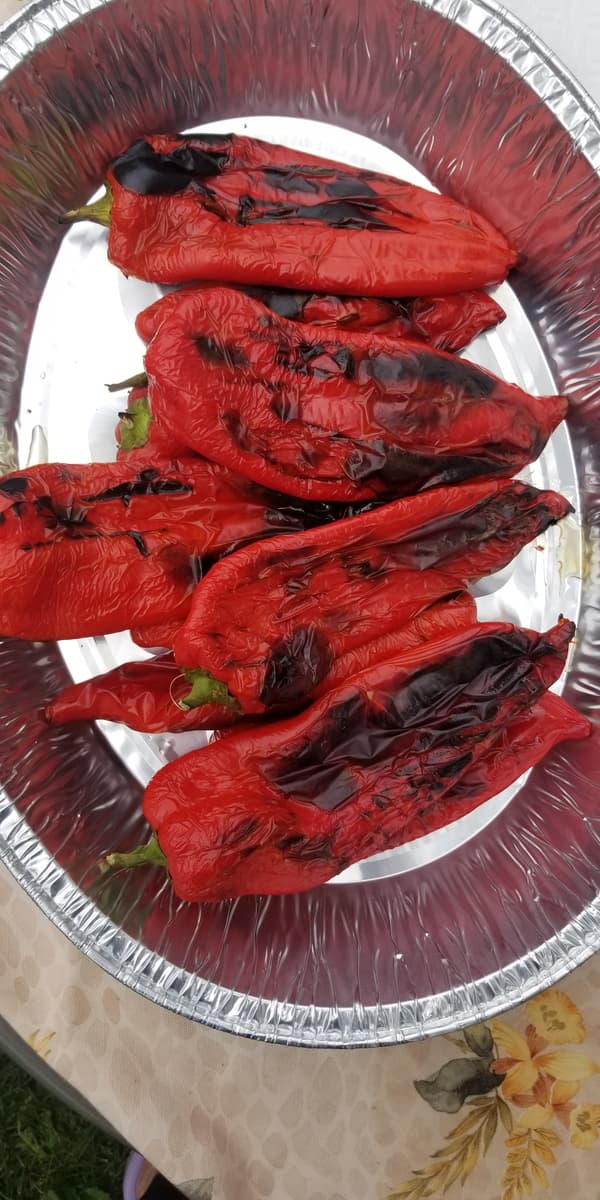

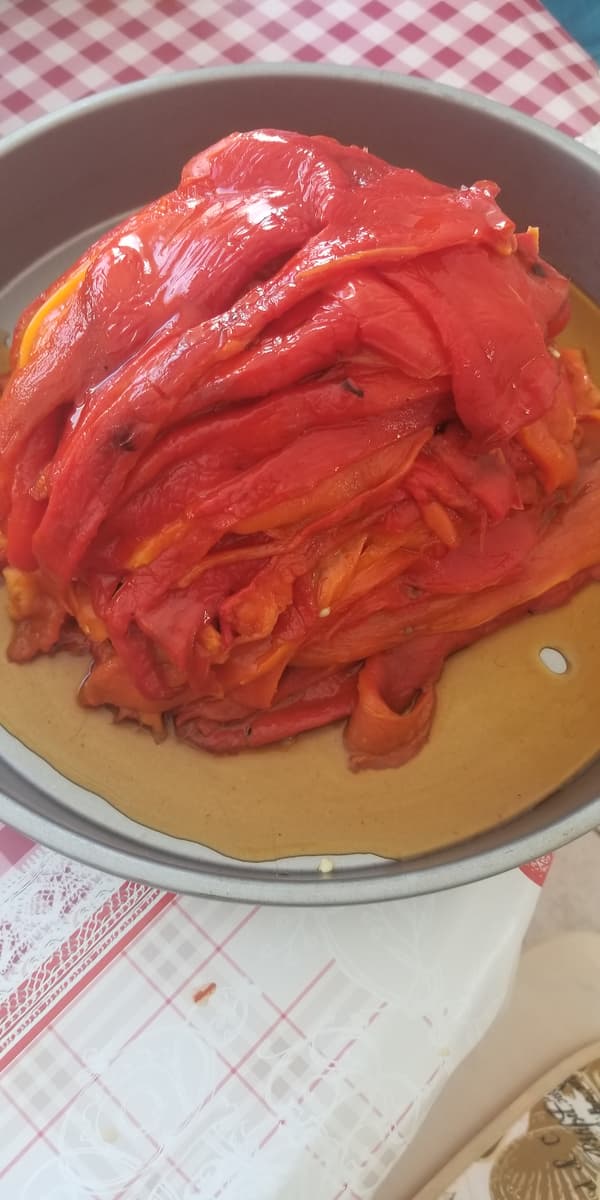
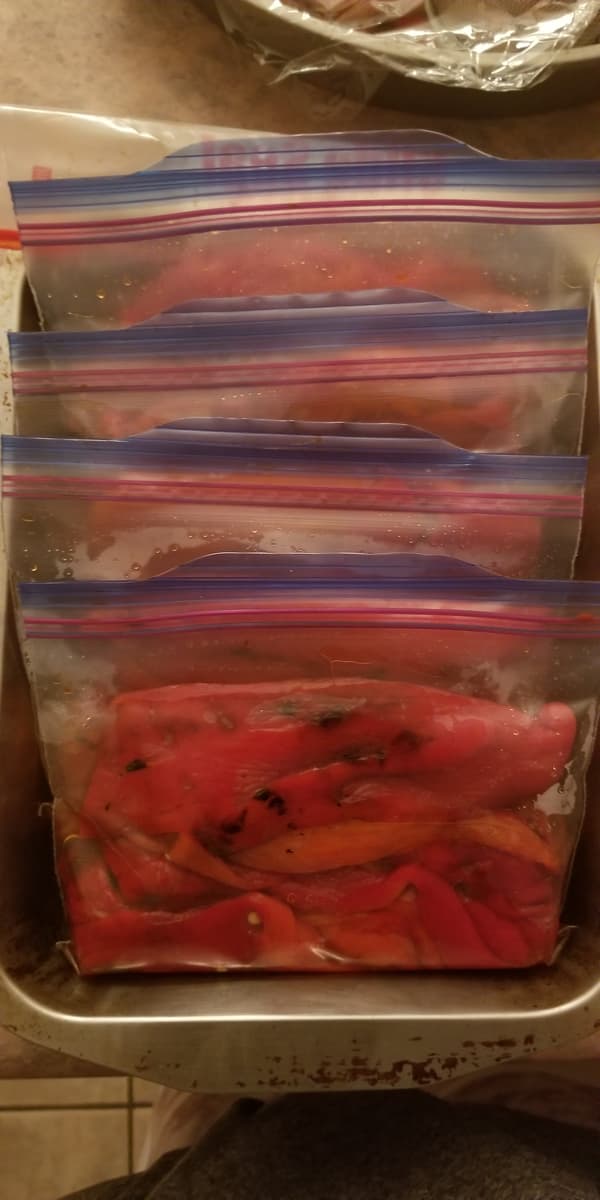
Et Voila! A half days work to have unlimited access to roasted red peppers?! Yes, please.
To Assemble When Ready to Use:
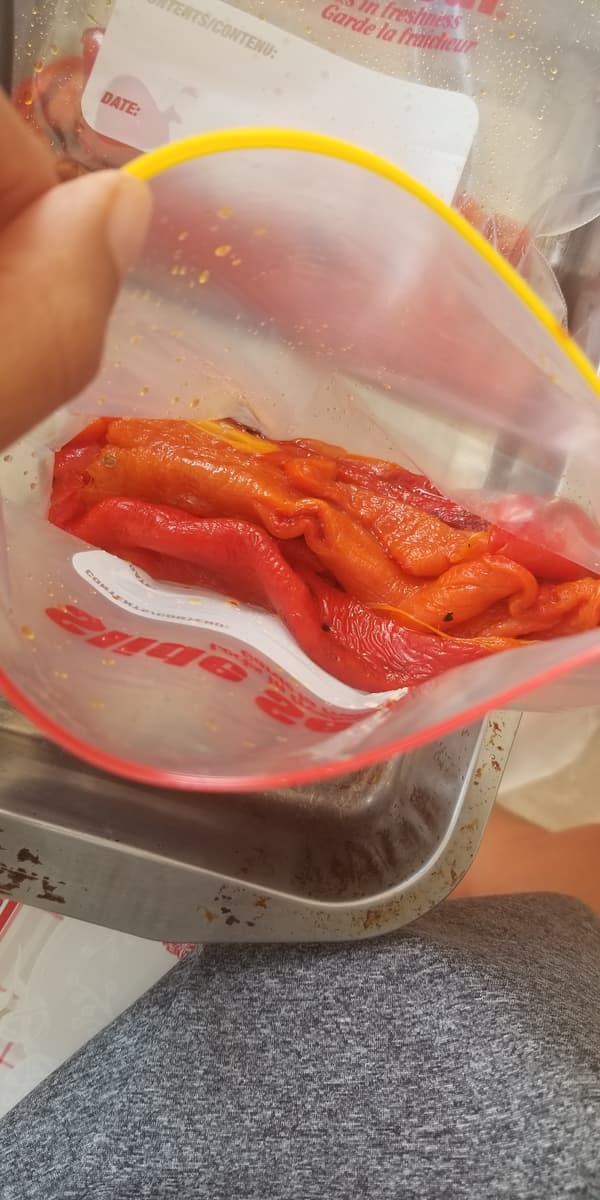
Remove bags from the freezer as you need them. Thaw in a bowl on the counter or in the fridge. Once thawed, squeeze out any water and add to a bowl. Using your hands or a fork, “rip” the peppers into smaller strings/pieces. Add salt to taste, lots of minced garlic and cover in olive oil. Transfer to a jar or keep in a container with a tight fitting lid in the fridge to use as desired.
PRO TIP: They’re the besssssst in sandwiches or on pizza. But we mostly just devour ’em on their own with crackers with absolutely 0 regrets.

FREQUENTLY ASKED QUESTIONS
Yes! Roasted red peppers are packed with vitamins A and C, antioxidants, and fiber. They’re naturally low in calories and a delicious way to boost the flavour and nutrition of your meals.
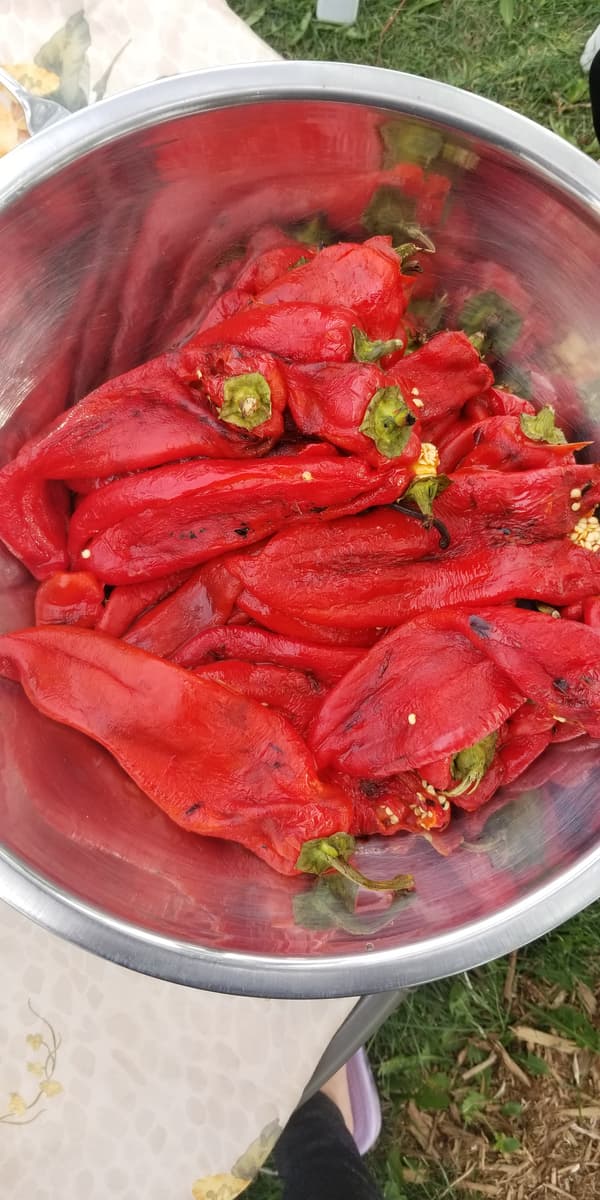
Peeling is recommended for the best texture and taste. Once roasted, the skin blisters and loosens, making it easy to remove and leaving you with soft, sweet, and silky peppers.
Both methods work! Roasting whole peppers gives you a juicier result and is easier for peeling, while sliced peppers roast faster and are great for quick recipes.
The oven and grill are both excellent options! Use the oven for hands-off roasting or the grill for extra smoky flavour.
Roast whole red peppers at 425°F (220°C) for about 25–30 minutes, turning occasionally, until the skin is charred and the flesh is tender.
Yes. Once cooled, store roasted red peppers in an airtight container in the fridge. They’ll keep well for up to 5 days. For longer storage, cover them in olive oil or freeze them.
MORE GREAT CONDIMENT IDEAS
SERIOUSLY THE BEST SUN DRIED TOMATOES
MEXICAN-STYLE CILANTRO LIME CREMA
LOVE THIS RECIPE? PIN IT FOR LATER!
The links in this post are affiliate links. Thanks for supporting HipHipGourmet!