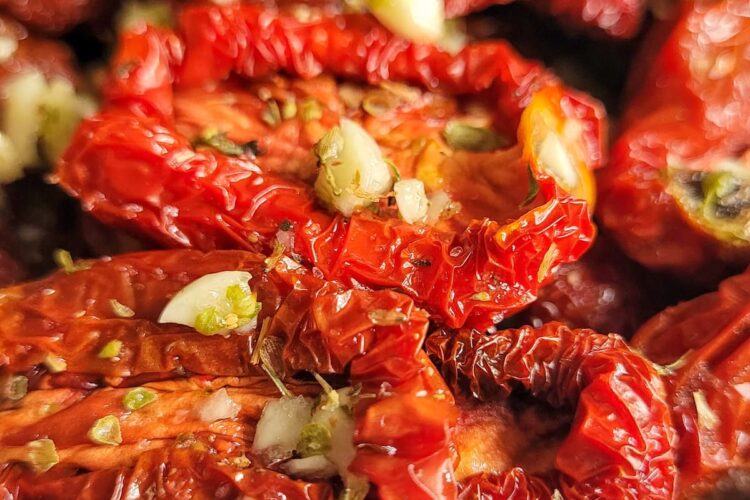
This recipe for Sun Dried Tomatoes is a family recipe that my parents have been making for literal decades! They’re a true staple, a definite favourite and so much easier to make than you might think!
Many, many (many, many many!!!!) moons ago, my parents invested in a dehydrator (probably one of the best decisions they’ve ever made…if I do say so myself). They’ve had it for over 20 years now and yes, the thing is still kickin’. The best part? I’m not lying when I tell you that the only thing they’ve ever used it for in those 20 years is this recipe right here. That’s right. Making Sun Dried Tomatoes from scratch. Just like making homemade tomato sauce, it became a yearly tradition. Their yearly tradition. And one, now that I’m older and have my own dehydrator (again, best decision evvvver), I have every intent to carry on. This family recipe for Sun Dried Tomatoes is just TOO good not to! Annnnd we just know you’re going to love it as much as we do!

If you really want to, sure, you can make sun dried tomatoes solely in the oven. But why?! A dehydrator is a fairly cheap investment and makes recipes such as this one and homemade beef jerky an absolute breeze. I’m not going to sit here and sugar coat that the process of making homemade sun dried tomatoes is short and sweet. Because it ain’t. As a matter of fact, it’s quite lonnnnng. But, rest assured, it’s mostly hands off (hence, the dehydrator) and the result (aka high quality, perfectly sun dried tomatoes to use however your little heart desires) is beyond worth it. Have I sold ya yet?!
WHAT YOU’LL NEED TO MAKE PERFECT SUN DRIED TOMATOES (BESIDES A DEHYDRATOR)
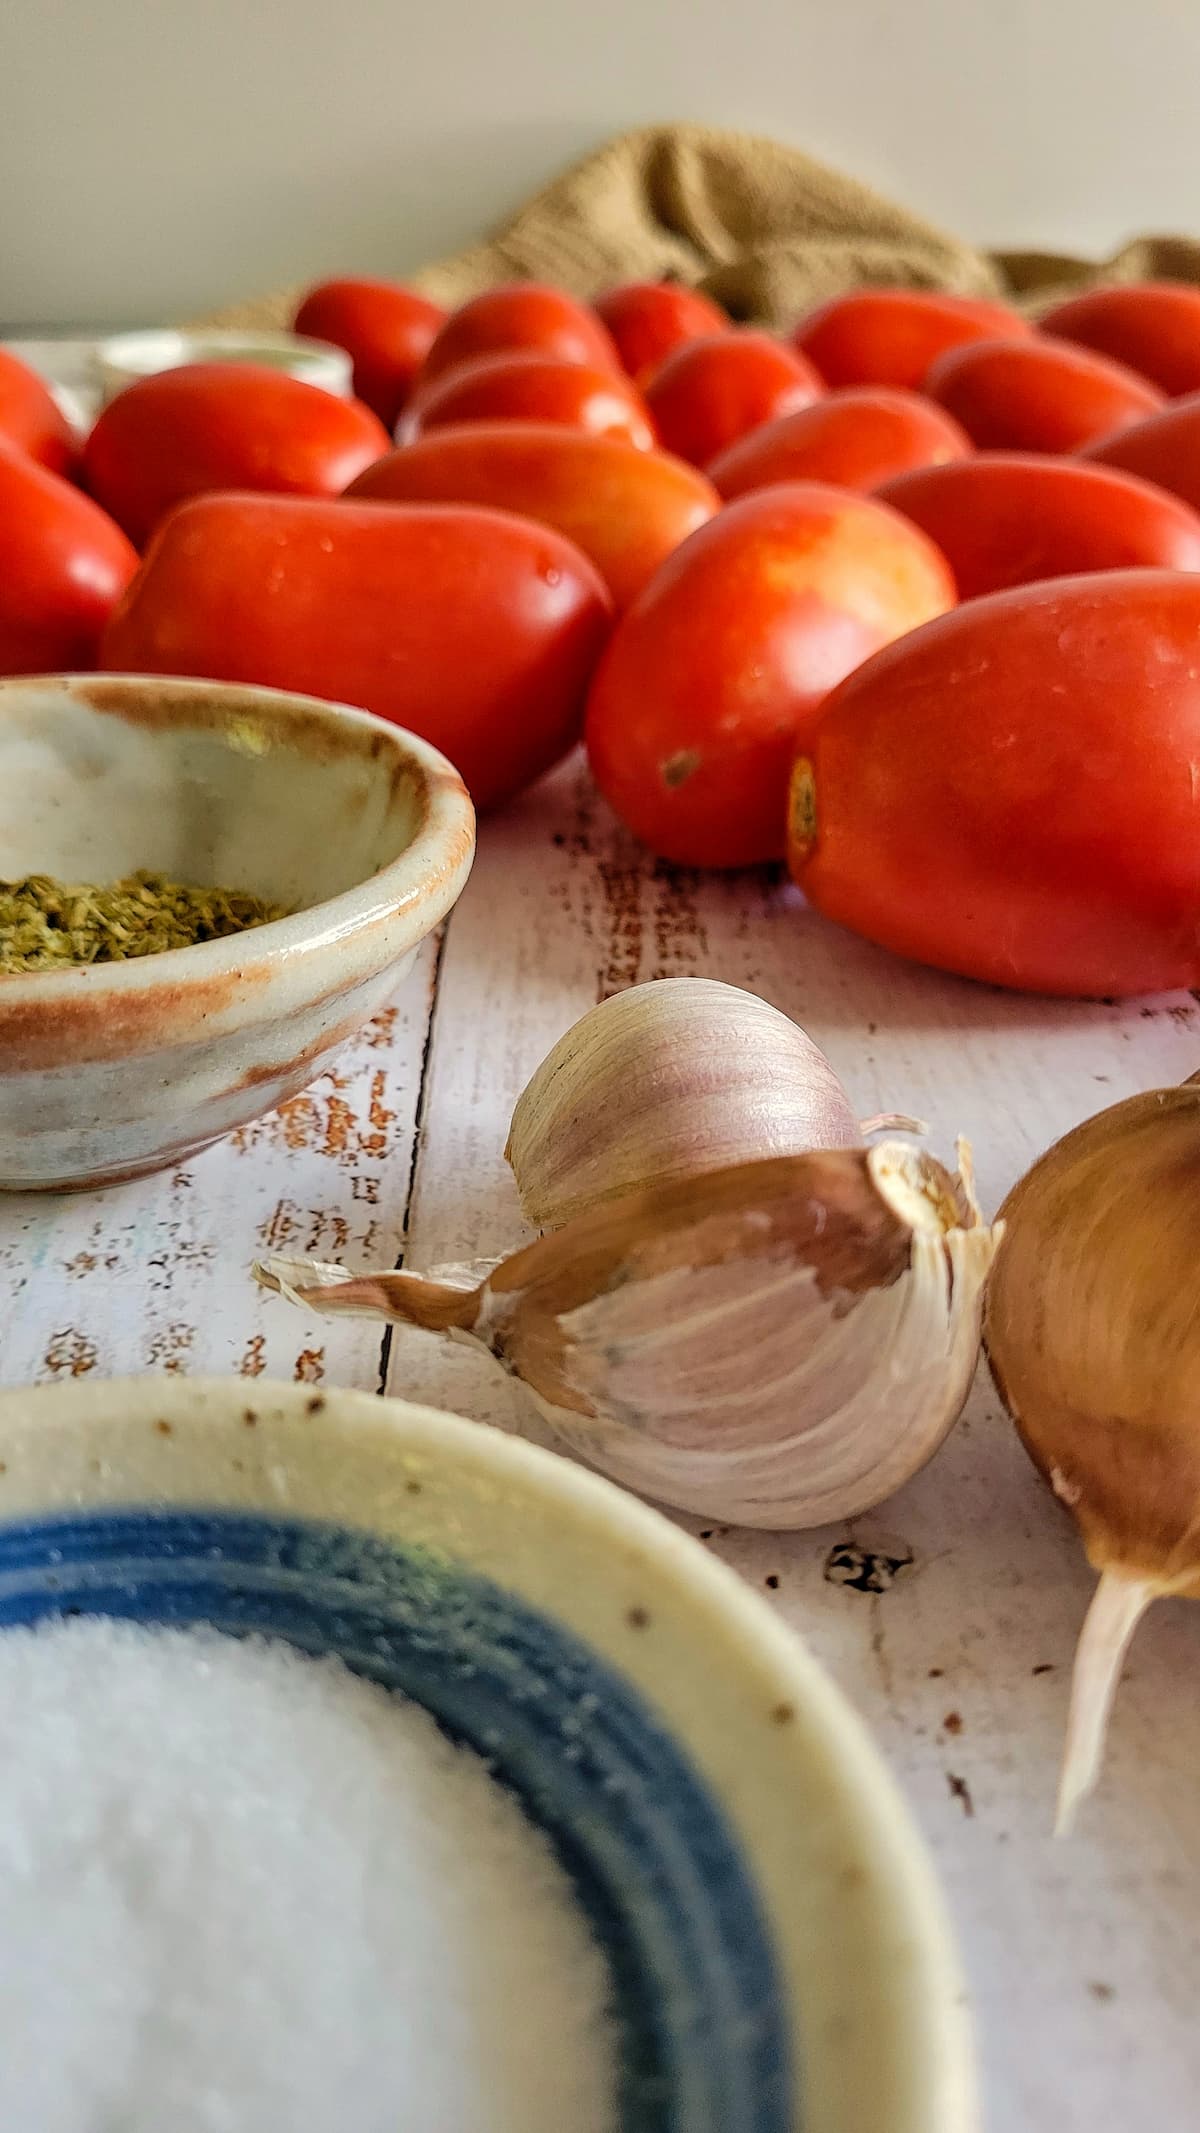
As you might suspect, this is a recipe where quality and freshness truly makes a difference in the final product. Since there are so few ingredients that will each shine through in their own way, it is super important to use good, fresh and high quality ones. Let’s get into the exact details of what you’ll need to make this family recipe for sun dried tomatoes in a dehydrator in a little bit more detail down below:
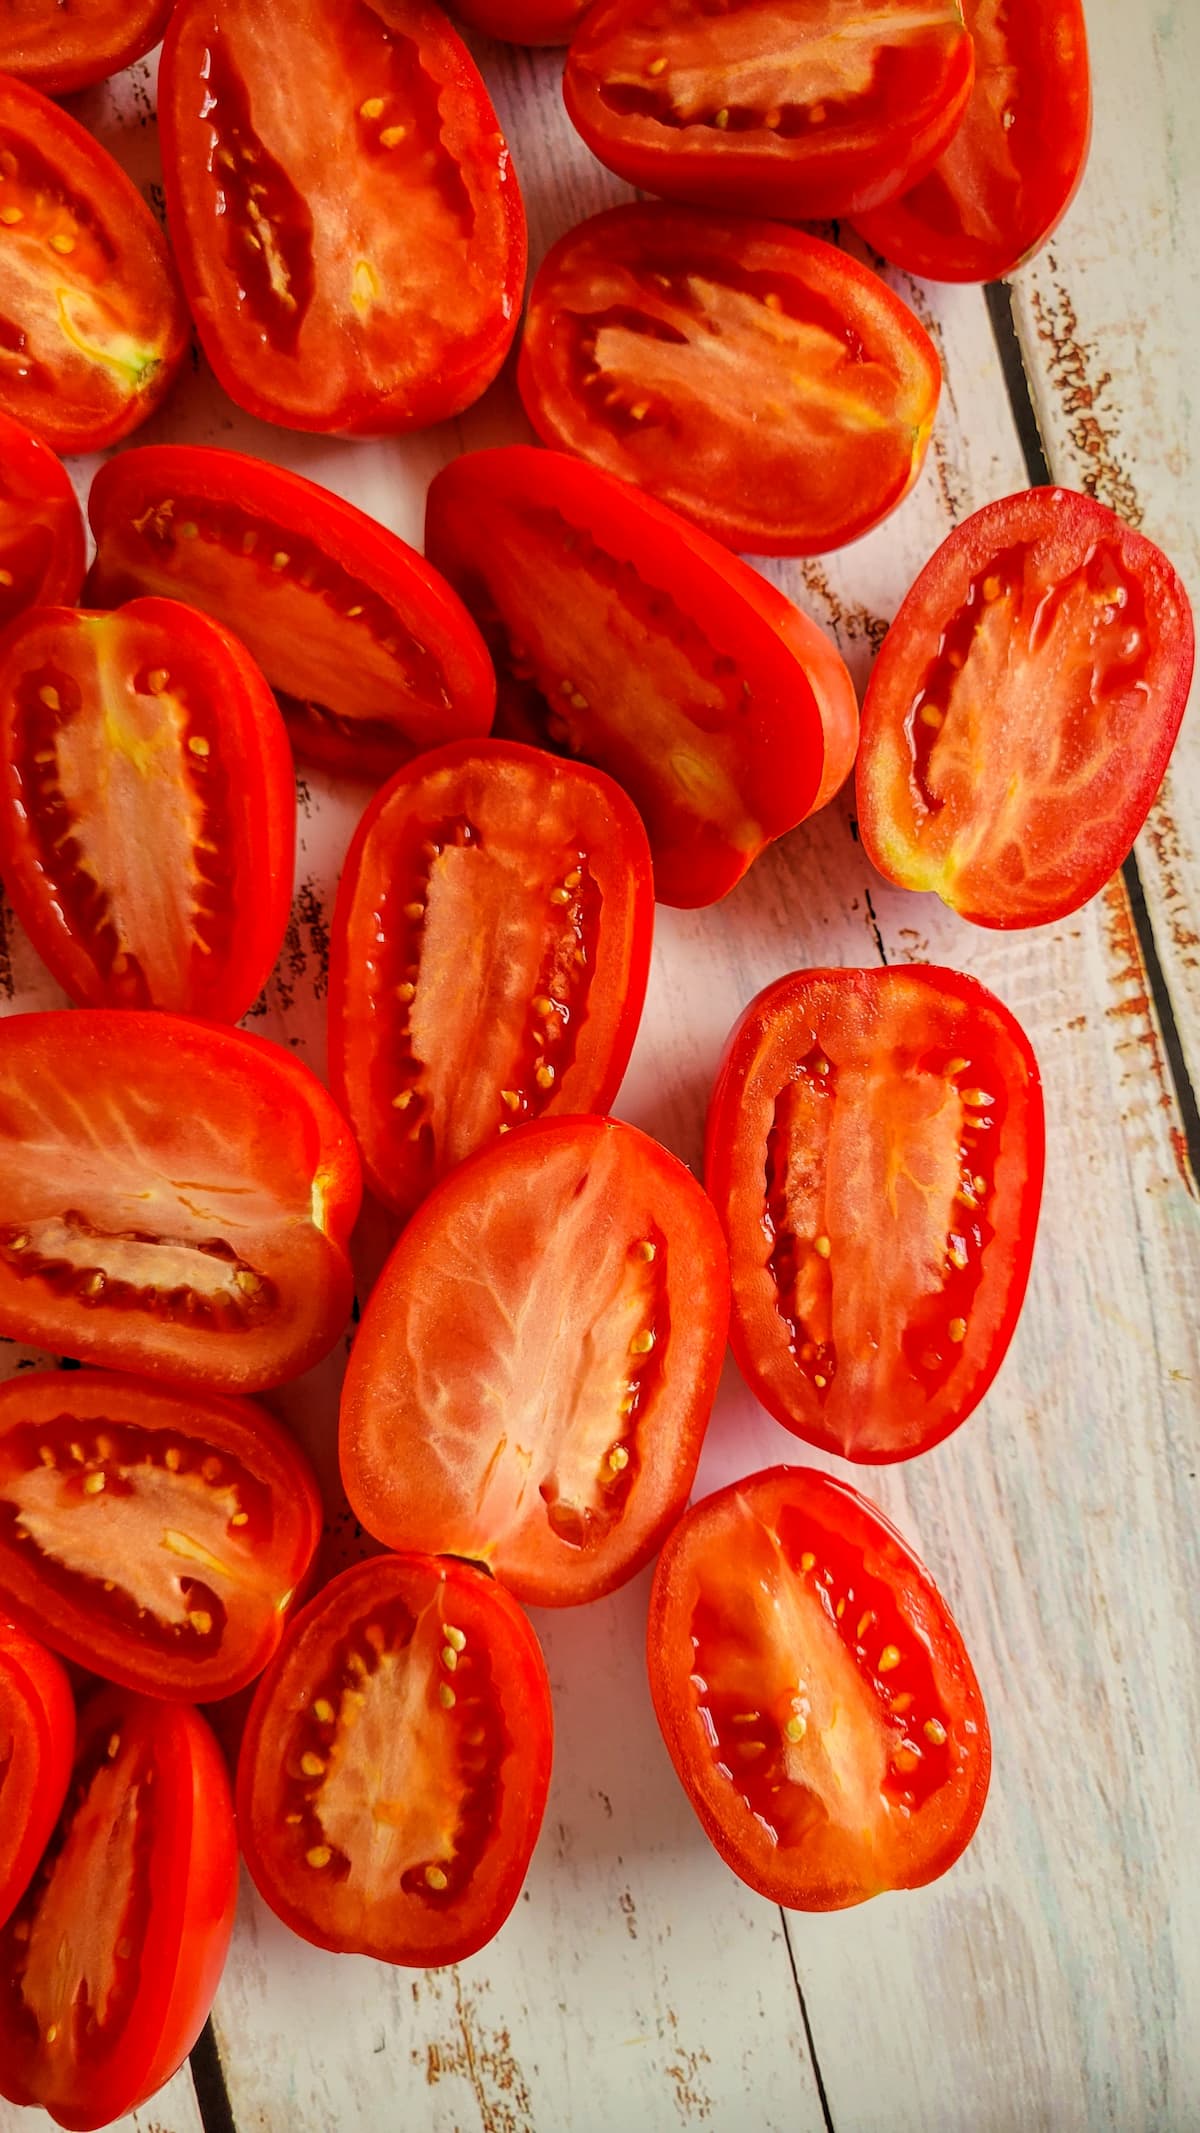
- Tomatoes: Obviously the most important ingredient in this recipe as we can’t make sun dried tomatoes without them! The best tomatoes to use for this recipe are san marzano or roma tomatoes. They are the perfect shape and size. They have a thick inner wall (aka meaty), very few seeds, low water content, lots of acidity, an oval-ish shape and a pointy tip. Cut them in half and voila… they’re ready to dry! PRO TIP: Make it a point to get the smallest tomatoes out of the bunch. In general, the smaller, the better.
- Oil: Adds flavour, prevents mould and helps preserve the freshness of the sun dried tomatoes once canned. I like using a good quality extra virgin olive oil. HOWEVER, my parents (who are the O.G. creators of this recipe) like using vegetable oil. We understand that doing extra large batches can get quite expensive using only good quality olive oil. With that being said though, keep in mind that you’ll have sun dried tomato flavoured oil at the end of it to use in a variety of tasty dishes which is ultimately why I stick to using olive oil.
- Garlic: Adds freshness, flavour and a pop of colour to this homemade sun dried tomato recipe. Fresh minced garlic works best and I wouldn’t recommend using garlic powder or any other substitute.
- Oregano: Adds a herby freshness and loads of flavour to these homemade sun dried tomatoes. Dried oregano works best in this recipe. However, if you don’t have any on hand, dried basil or Italian seasoning are good alternatives.
- Salt: Adds flavour and balance to this recipe for sun dried tomatoes.
HOW TO MAKE SUN DRIED TOMATOES IN A DEHYDRATOR (KEY TIPS)
You can find full instructions for how to make these homemade Sun Dried Tomatoes in the recipe card down below, but here are a few quick tips to keep in mind:
- Use good quality and fresh ingredients. There isn’t a lot going on in this recipe for sun dried tomatoes. It’s extremely important to start with the freshest and highest quality ingredients you can find. Trust me, it really makes a difference as each ingredient has an important role to play in the overall taste of the final product.
- Use the right tomatoes. The reason that this recipe for sun dried tomatoes is the best is because we use the best tomatoes! That is either roma or san marzano tomatoes which are the perfect shape and size for this recipe. EXTRA TIP: Go for the smallest ones you can find as halving them is the only cut we’re going to make.
- Use the oven to kickstart the process (aka total game changer!) It’s no secret at this point that this is a pretty lonnnng (but totally worth it) process. Therefore, to kickstart it and shave off a bit of time in the dehydrator, my parents have come up with the genius idea of throwing the tomato halves in the oven at the beginning. To do this, turn the oven on to verrry low (almost minimum, according to them) and spread the tomato halves in a single layer, cut side up, on a large baking sheet. Then, place them in the oven on the lowest rack for 2-3 hours. This will start the drying process. And yes, it really does make a difference in the overall time the tomatoes will ultimately need in the dehydrator.
- Don’t overcrowd the dehydrator trays. The air needs room to circulate and overcrowding the trays or overlapping the tomatoes will result in uneven and improperly dried tomatoes. Place the tomatoes in a single and even layer for best results.
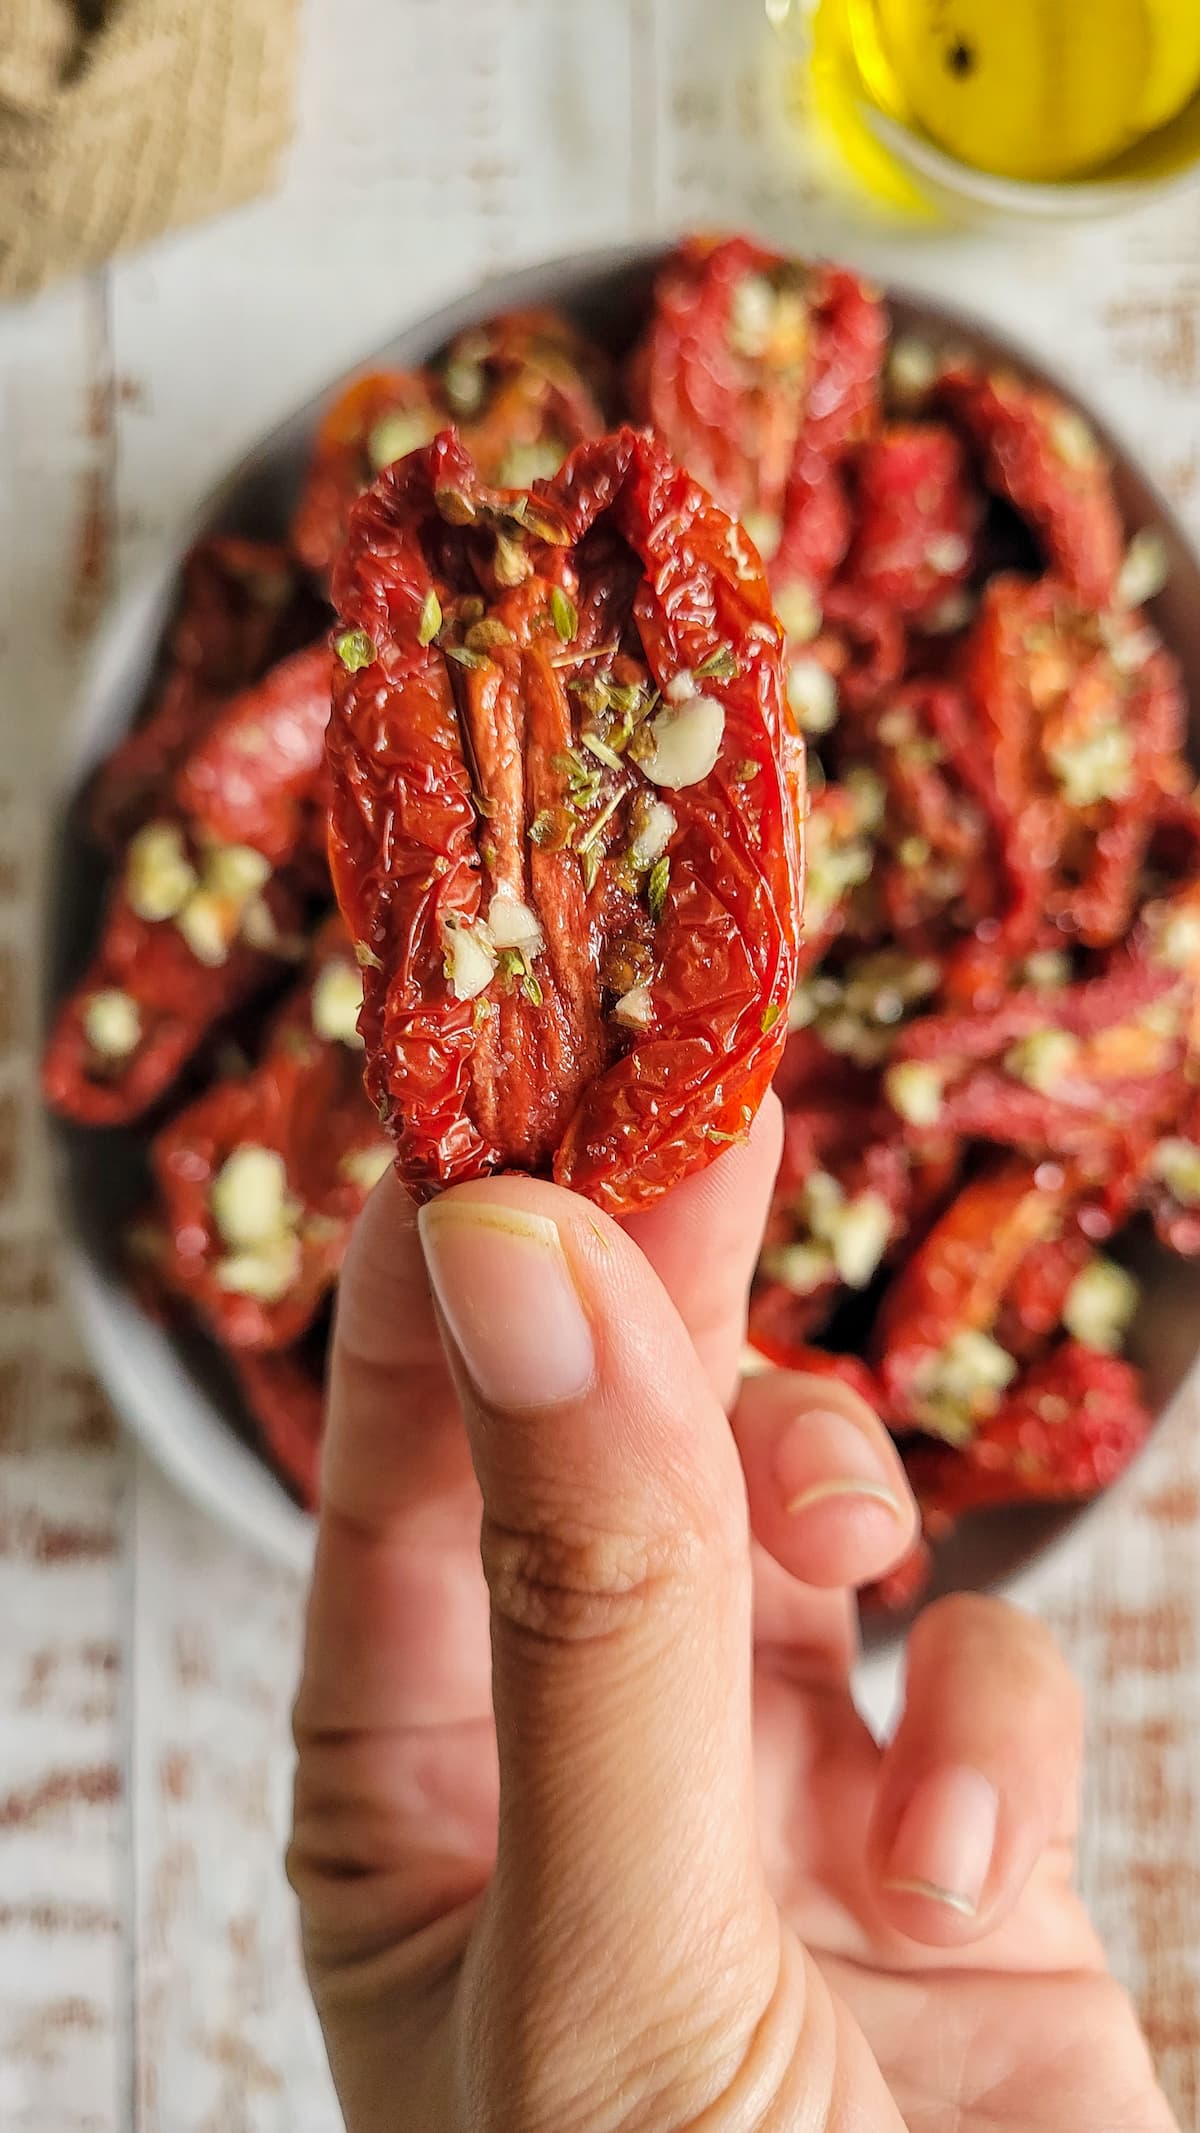
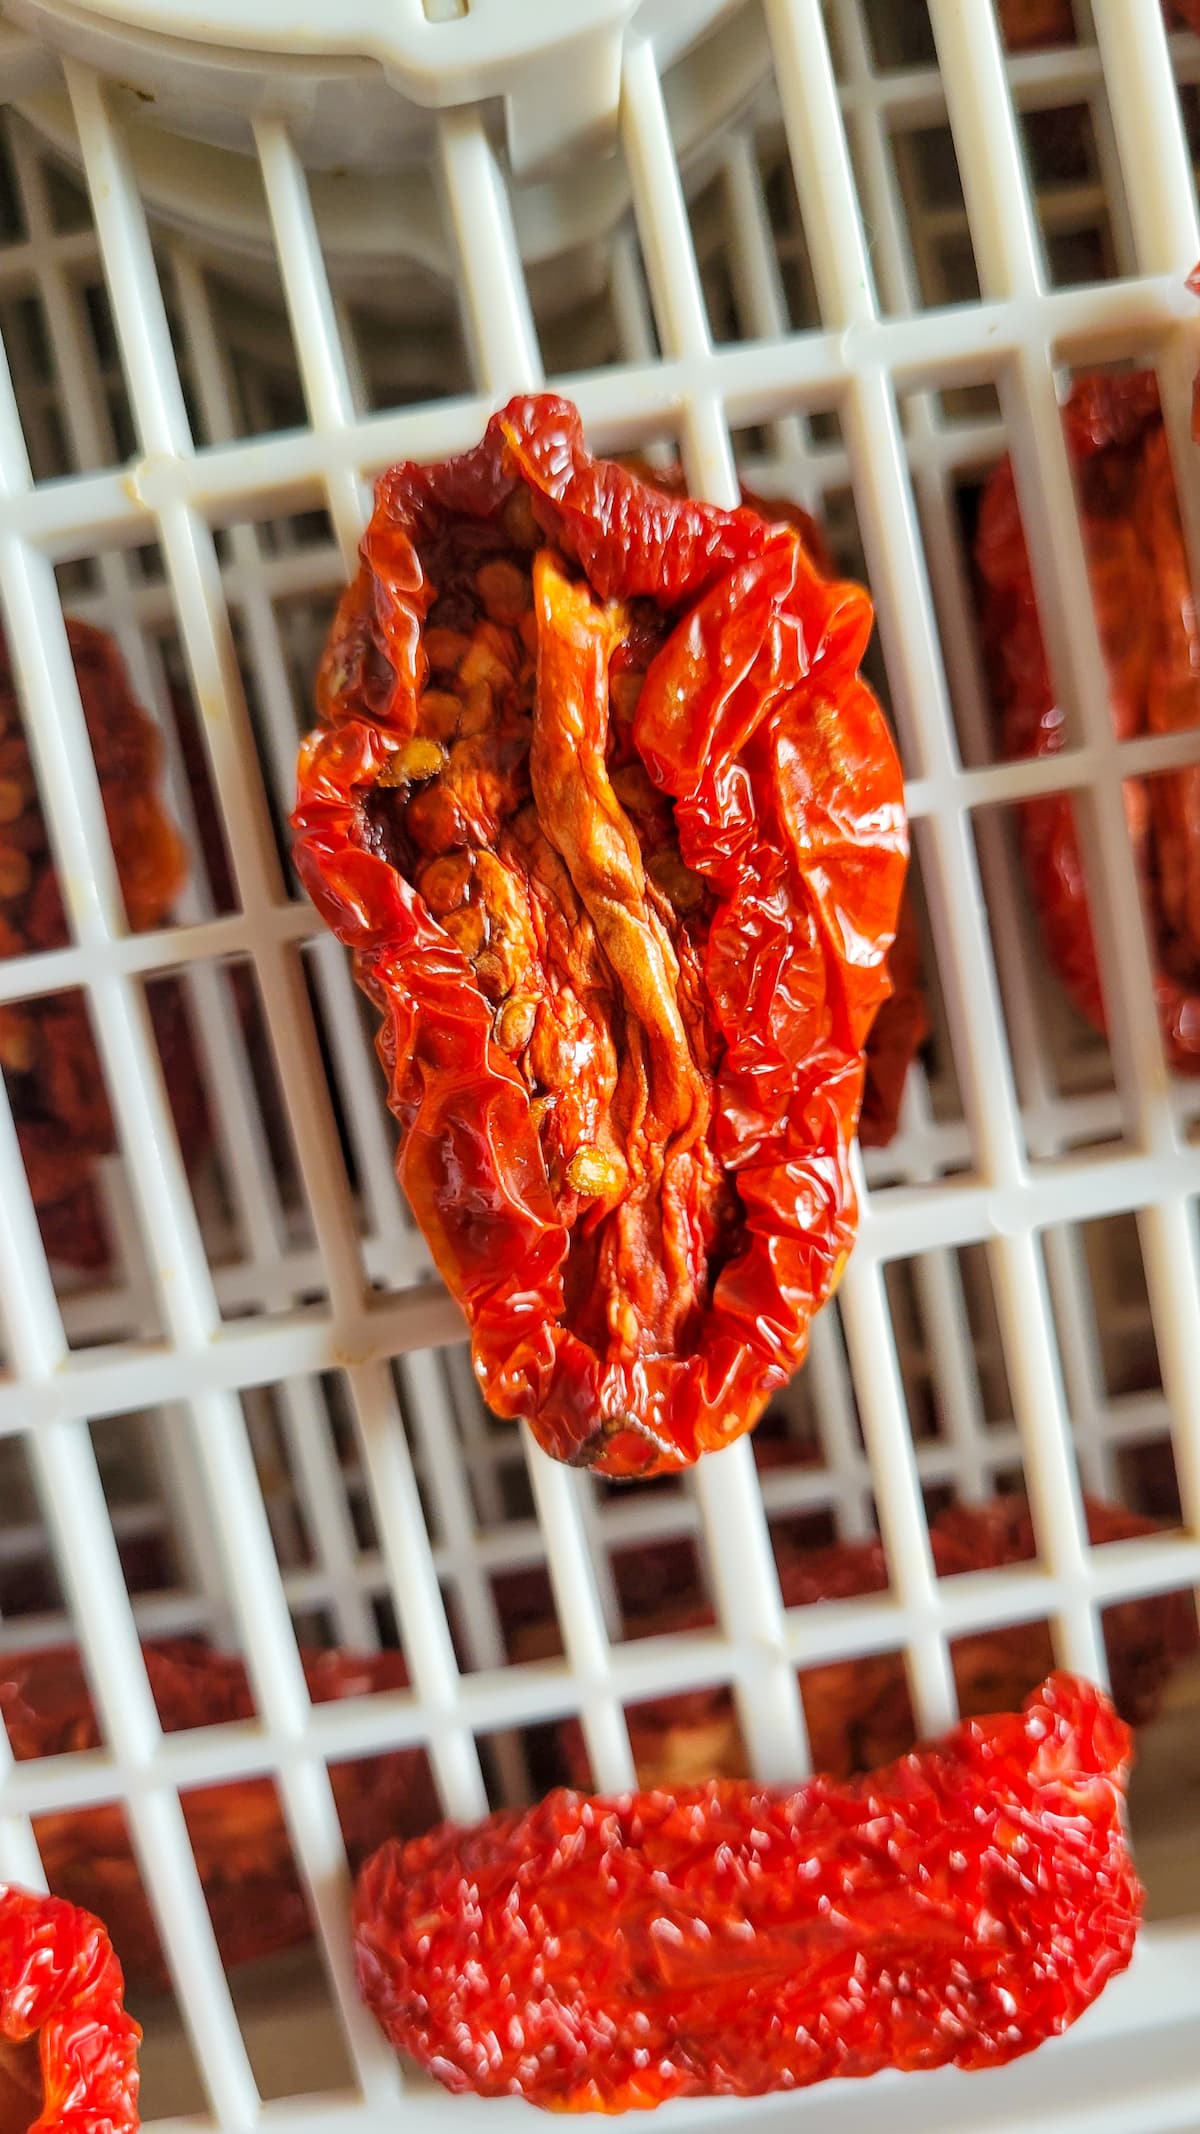
- Be patient. This is a lengthy process of waiting and checking and waiting and checking. It could take anywhere from 8 hours to a couple days to get all of your halved tomatoes completely and properly dried. You’ll have to go in a few times a day (especially towards the end of the drying time) to check for doneness as some tomatoes might dry out faster than the others and therefore you will have to remove them from the dehydrator sooner. The tomatoes are done when they are dried but still bendy when you press them between your fingers. In general, you don’t want them to be moist, squishy or hard at all.
- Use oil to prevent mould while waiting for the rest of the tomatoes to dry. As mentioned above, some tomatoes might take less time than others to dry and therefore will have to be taken out sooner. Simply add the tomatoes to a large airtight container as they’re ready and always keep them coated in a splash of oil.
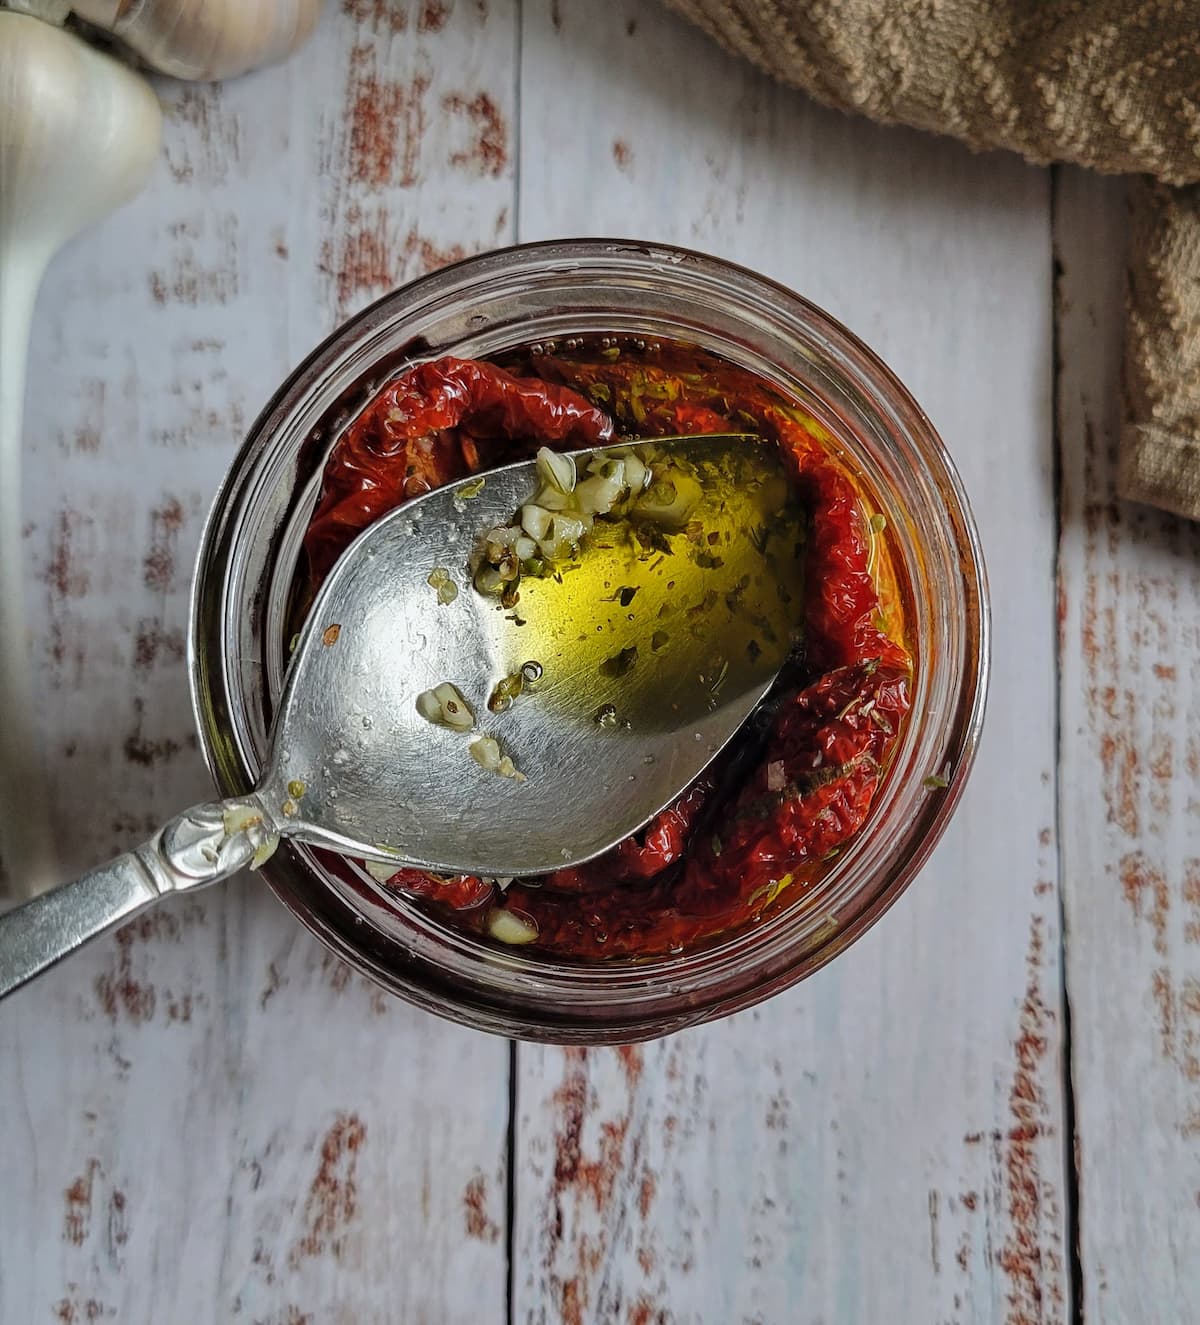
- After jarring the final product, always make sure the sun dried tomatoes are completely submerged in oil at all times. This includes the resting stage (before eating) as well as the finished stage and as you eat them. You might have to add a few additional splashes of oil each time and press the tomatoes down into the jar with the back of a spoon.

FREQUENTLY ASKED QUESTIONS
No! There is very minimal prep involved in this recipe for sun dried tomatoes. The only thing you have to do to the tomatoes themselves is cut them in half! That’s it! No coring, seeding or peeling necessary!
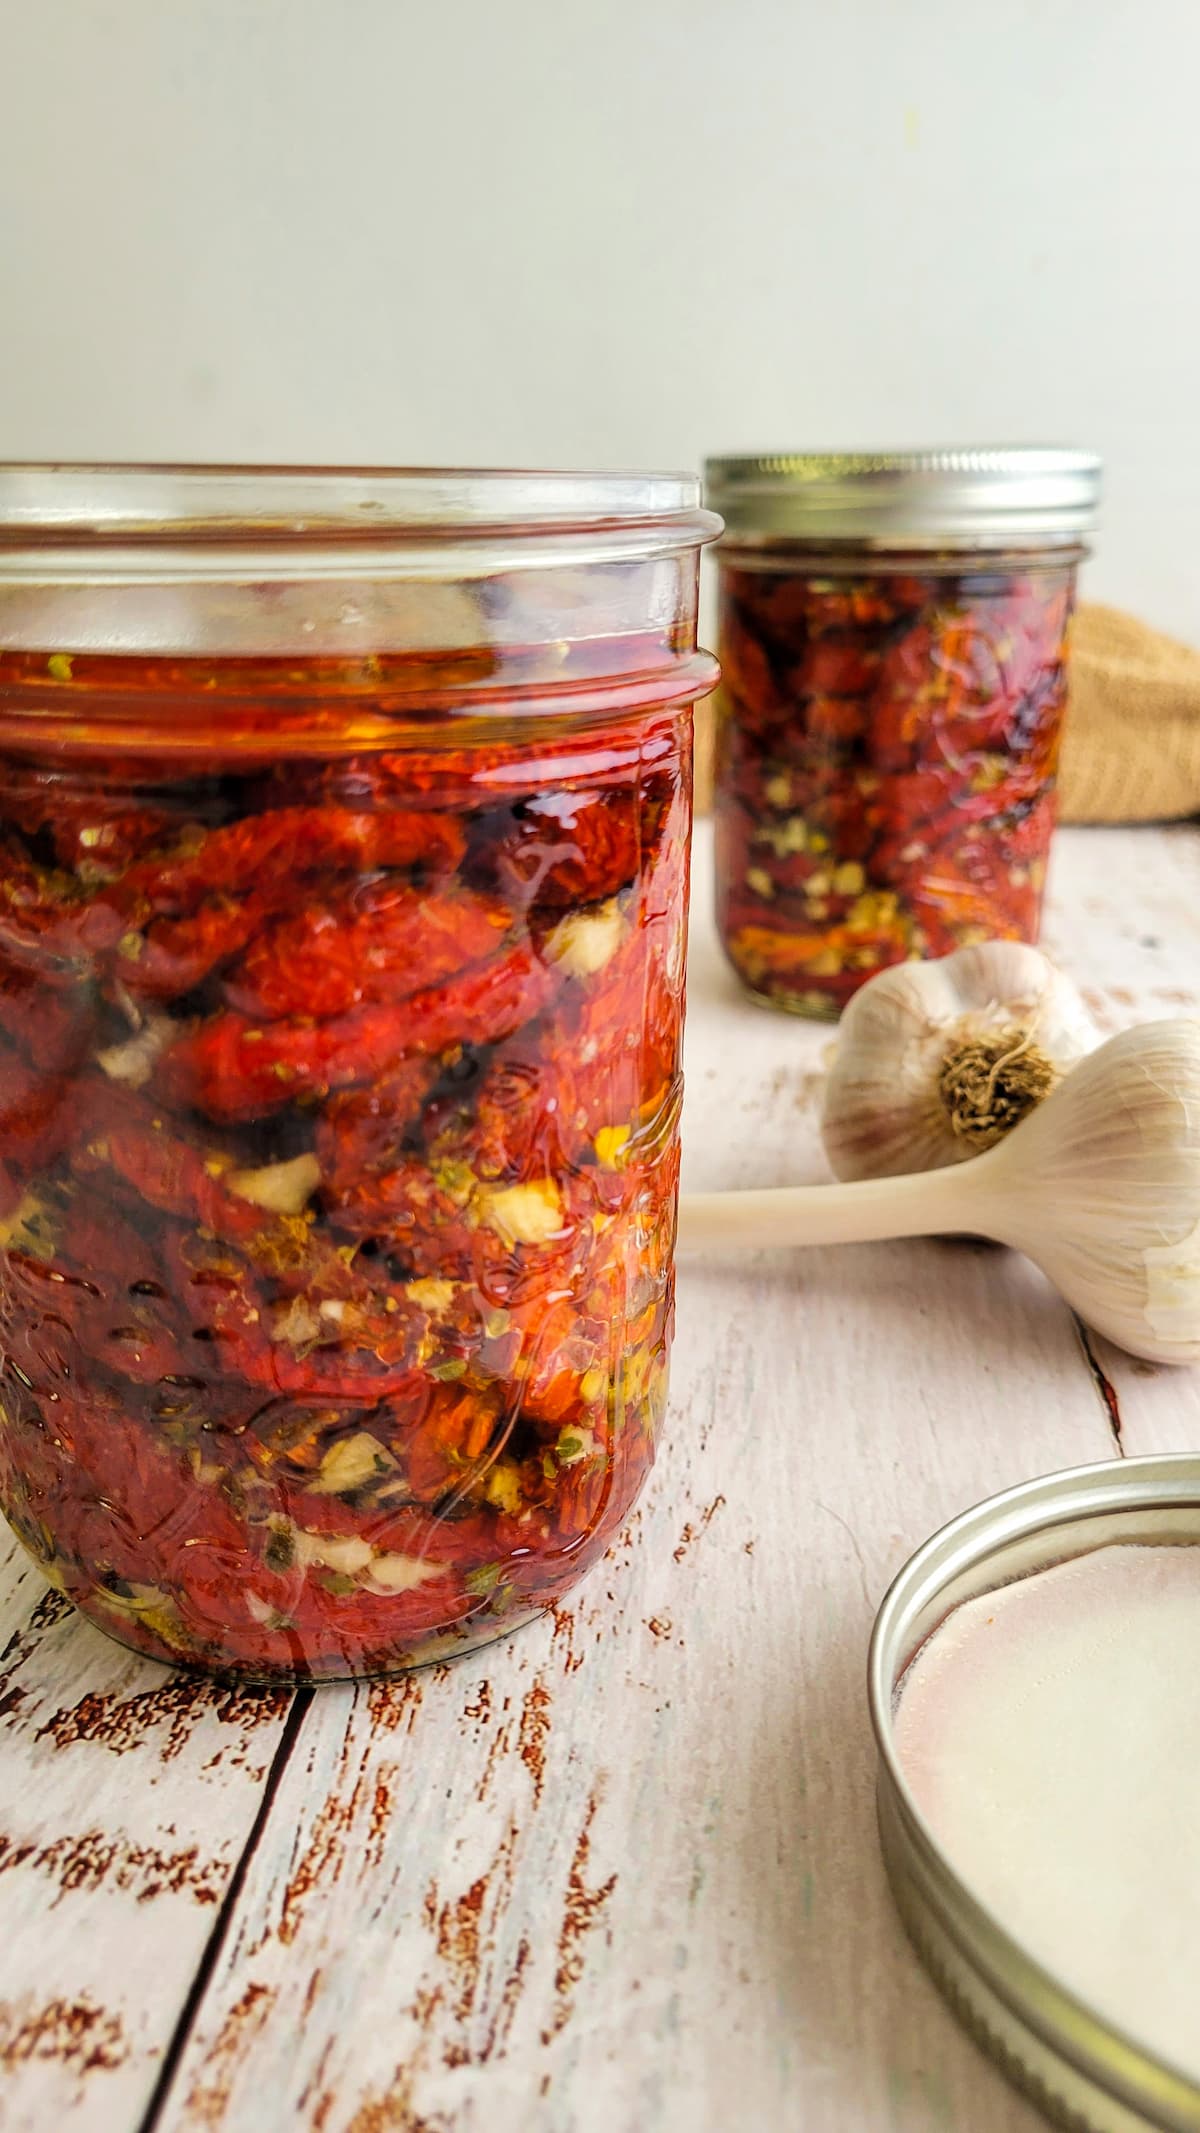
Forever! Lol. Well, they really do last a long time. My parents normally make very large batches to keep throughout the year and sometimes, beyond that. Technically speaking, this is not a canning recipe and we don’t do anything special to seal the jars we’re going to store the sun dried tomatoes in. However, the oil preserves them, prevents mould and keeps bad bacteria from getting in. Therefore, it’s extremely important to make sure that the tomatoes are all completely submerged in the oil at all times.
You can keep the sun dried tomatoes in the fridge as you use them. However, it’s obviously not practical to keep 20 jars of sun dried tomatoes in the fridge at the same time. Storing them in a cool dry place (such as a cellar or cupboard) for long periods of time has never given us any issues.
Unopened jars are best stored in a cool, dry and dark place. A cupboard will work fine. We keep our several jars in the cantina (aka Italian cold cellar. If you know, you know) for a year or beyond with no issues. Opened and in use jars can be stored in the fridge (always ensure all of the tomatoes are submerged in the oil at all times). You may notice the oil harden when it’s cold and this is completely normal. Just set it on the counter to soften before each use.
Yes! If you want to freeze this recipe for sun dried tomatoes, you’re going to do so when the tomatoes are plain (coated in a little bit of oil is ok). Lay them out in a single layer on a lined baking sheet, flash freeze for a few hours until firm and then transfer them to a freezer safe bag or airtight container. They’ll be good for up to 4 months and you can add them directly to things like soups and stews without thawing.
Alternatively, I like to chop some up and put them in ice cube trays with a bit of olive oil and seasonings for easy boosts of flavour to a variety of tasty dishes.
Whatever you like! I mean, the options are pretty endless. I love them on their own, with crackers or as part of a charcuterie board setup alongside things like roasted red peppers or hot peppers in oil. They’re good on anything from pizza (try my homemade pizza dough recipe!) and burgers to pastas and sauces (this sun dried tomato pesto is seriously killer!) You can even add them to things like eggs, omelettes or quiches. Or try them in my turkey meatballs with goat cheese and spinach or in this lightened up Tuscan chicken recipe.
Seeeeee?! Endless options!!!
RECIPE FOR SUN DRIED TOMATOES (DEHYDRATOR)
This recipe for Sun Dried Tomatoes is a family recipe that my parents have been making for literal decades! They're a true staple, a definite favourite and so much easier to make than you might think!
Ingredients
- 10 pounds Roma or San Marzano Tomatoes
- Chopped (not minced) Garlic
- Dried Oregano
- Salt
- Oil*
- Mason Jars with 2 Piece Separable Lids and Bands
Instructions
- Wash, dry and half the tomatoes. Optional (but Recommended) Step: Lay the tomato halves, cut side up, in a single layer on a large baking sheet. Position the oven rack on the bottom and set the oven to verrry low (almost minimum). Cook for 2-3 hours to kickstart the drying process which really helps in shaving off some of time the tomatoes will need in the dehydrator.
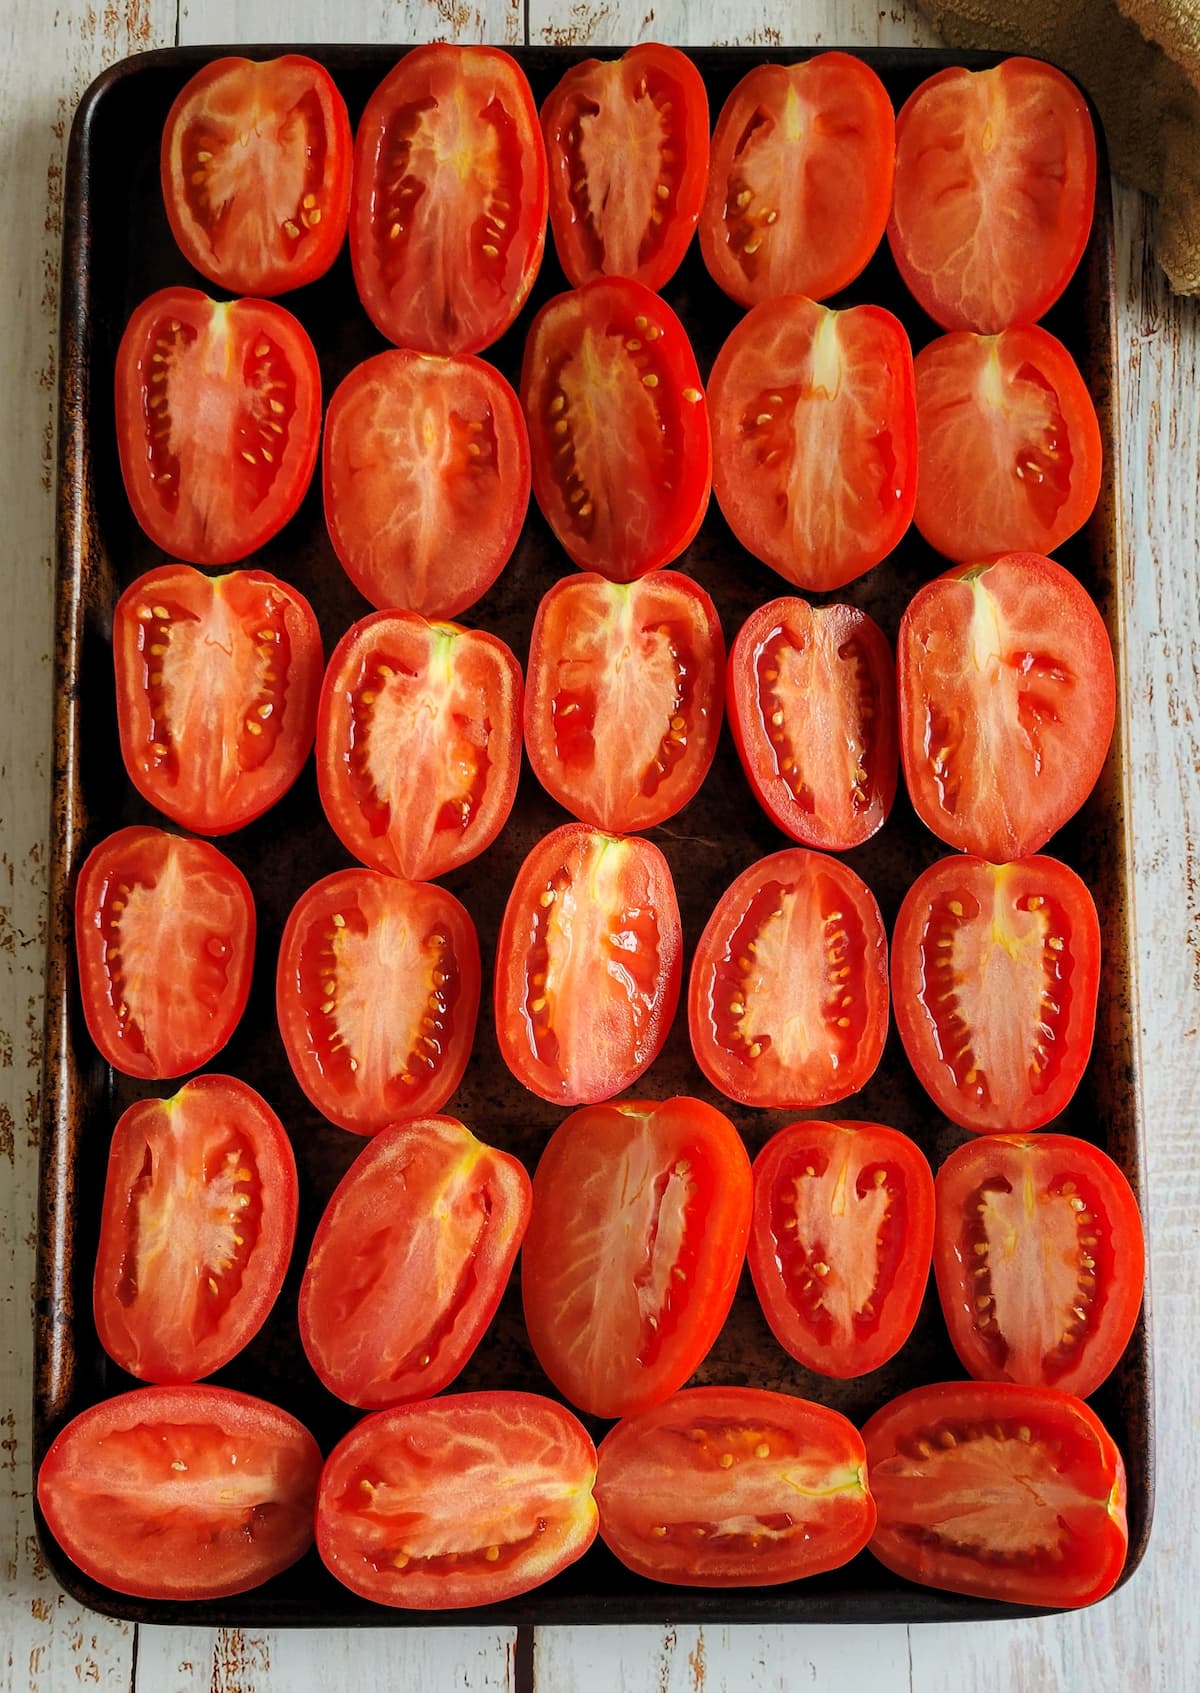
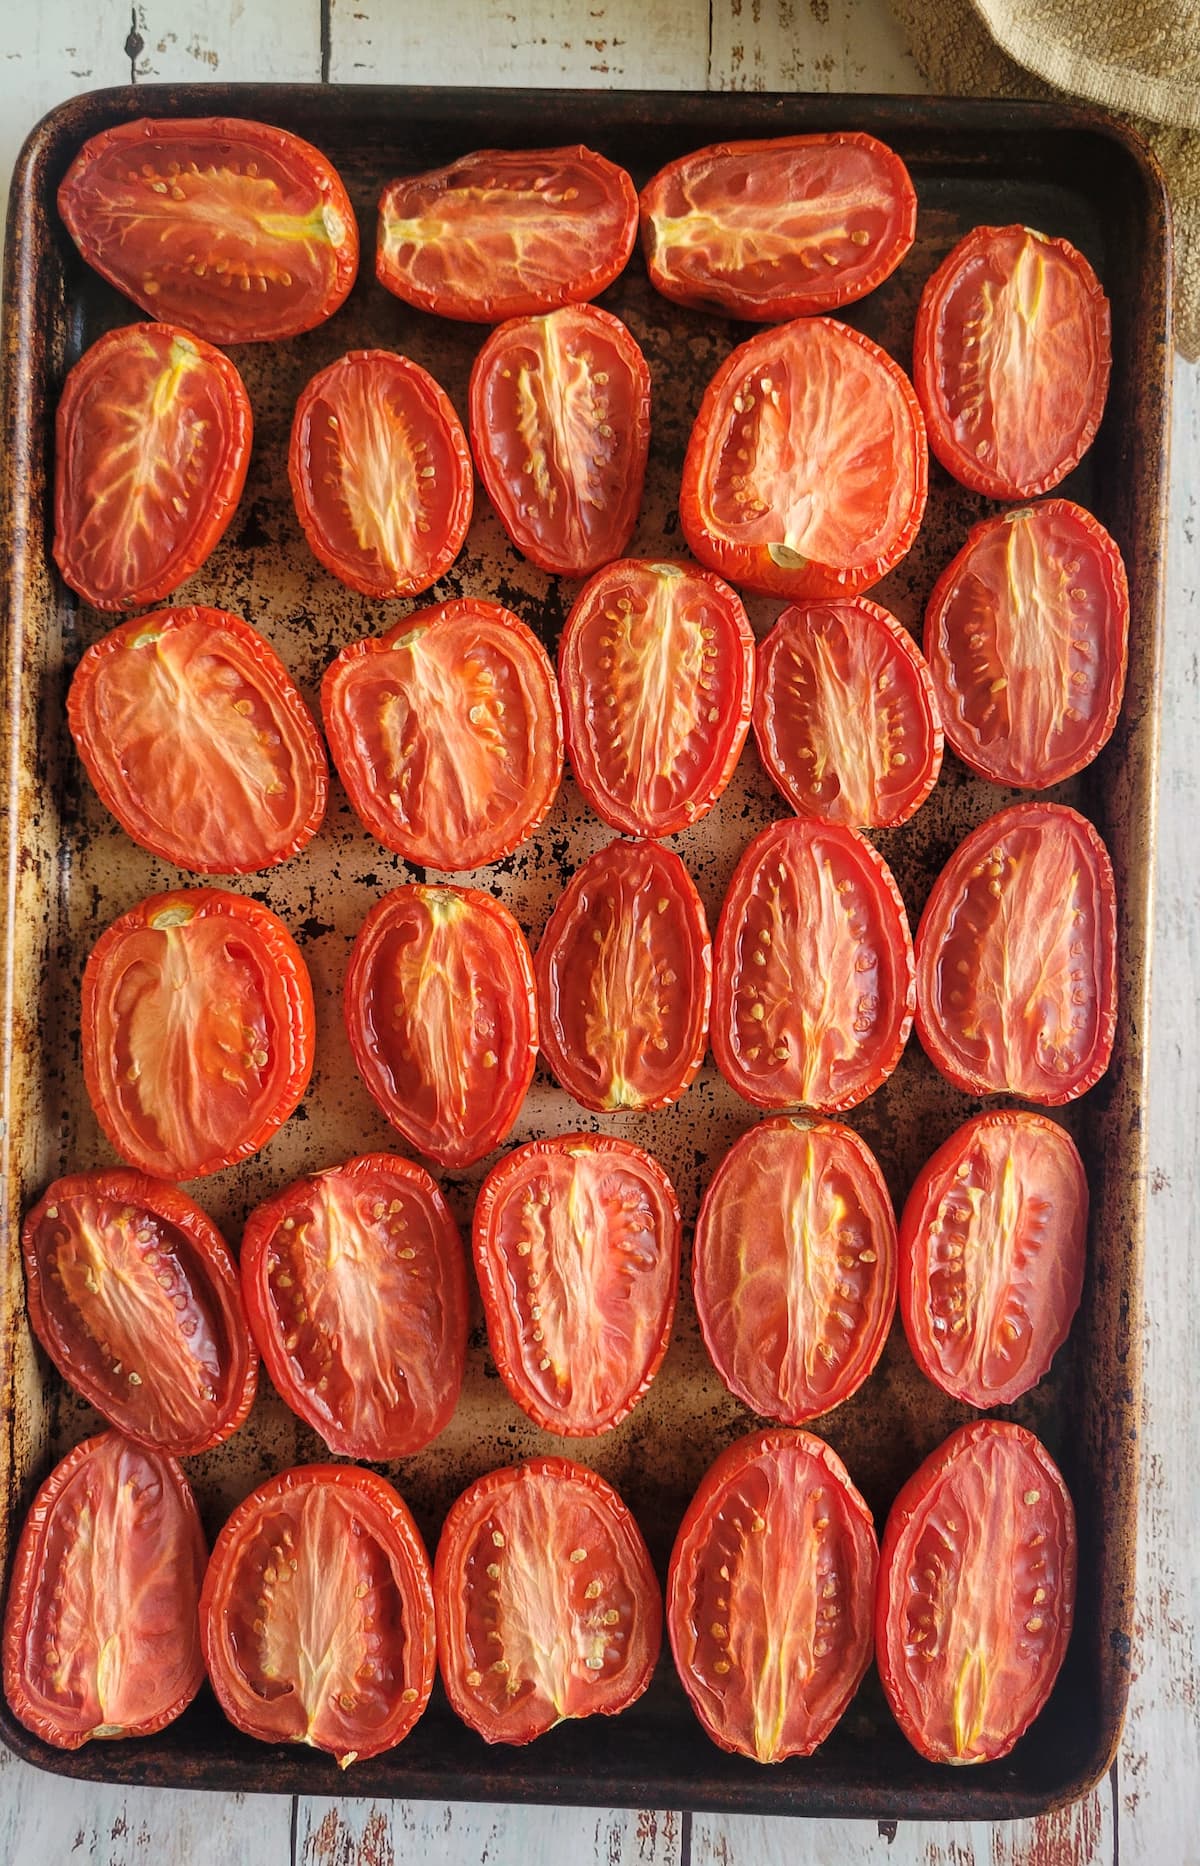
- Lay the tomatoes out in a single layer in the dehydrator trays being careful not to overcrowd them. The first photo is what they should look like if you did the optional step above and the second photo is what they're going to look like if you skip that step and pop the tomato halves straight into the dehydrator.
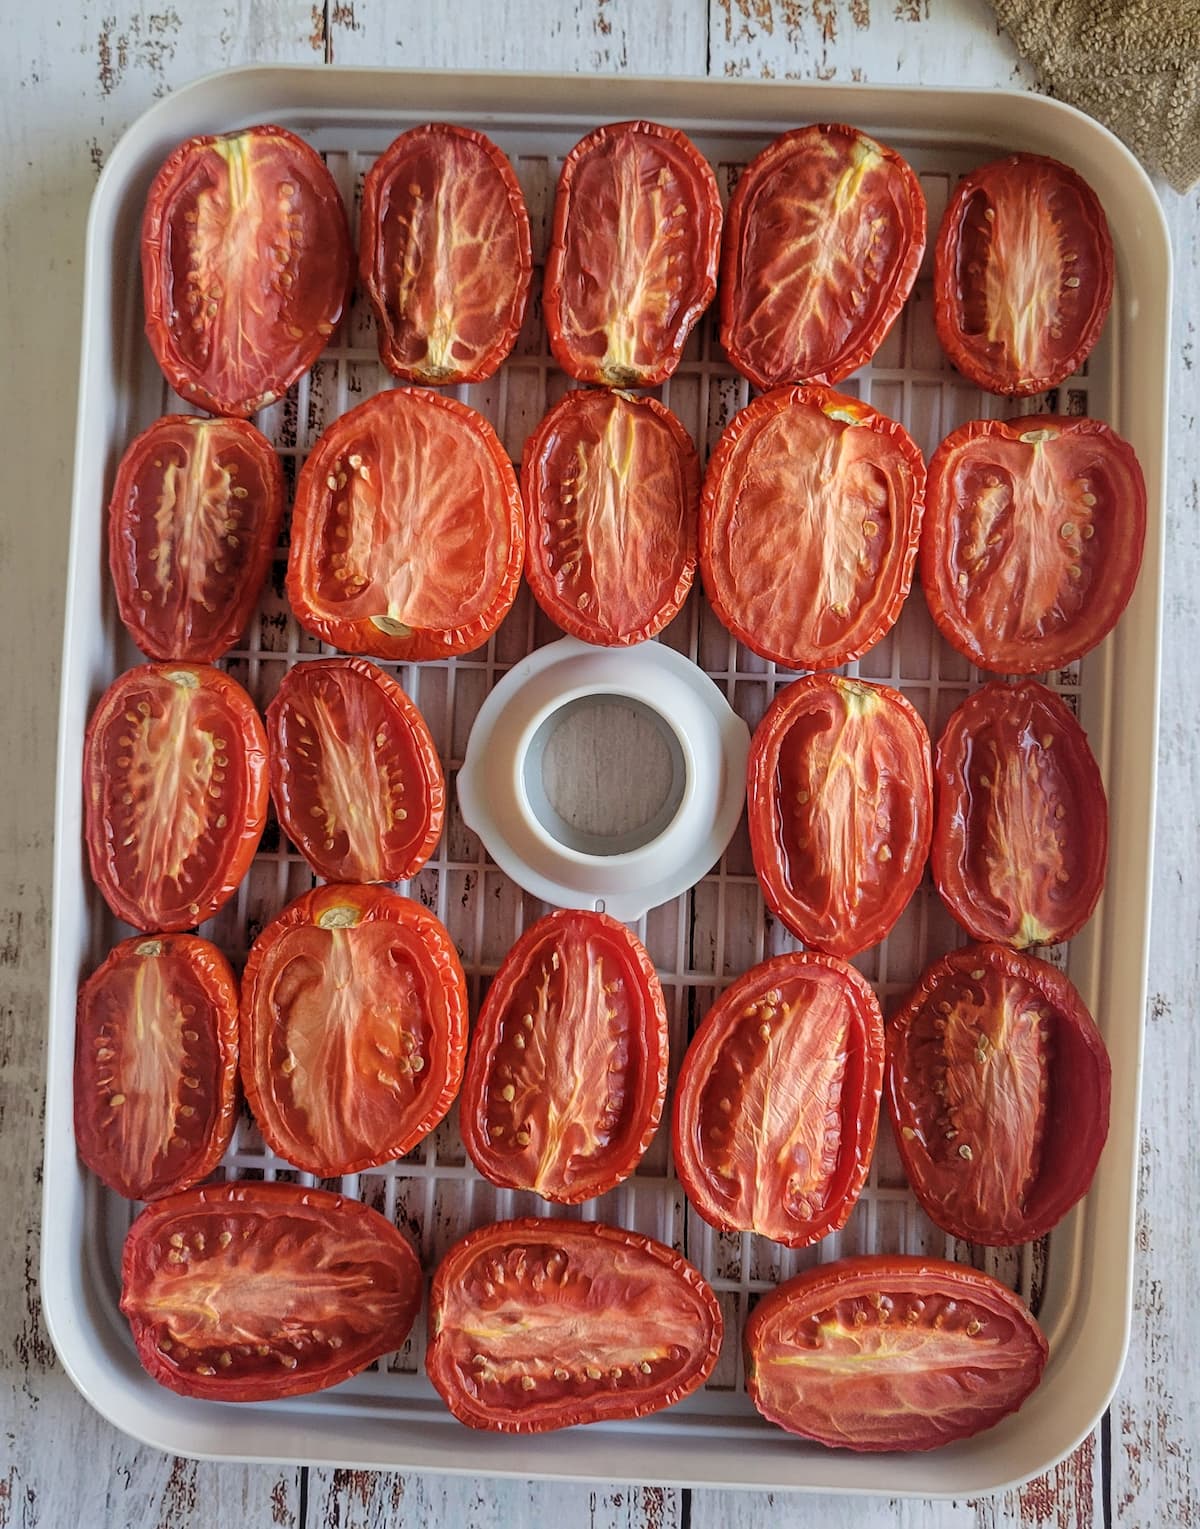
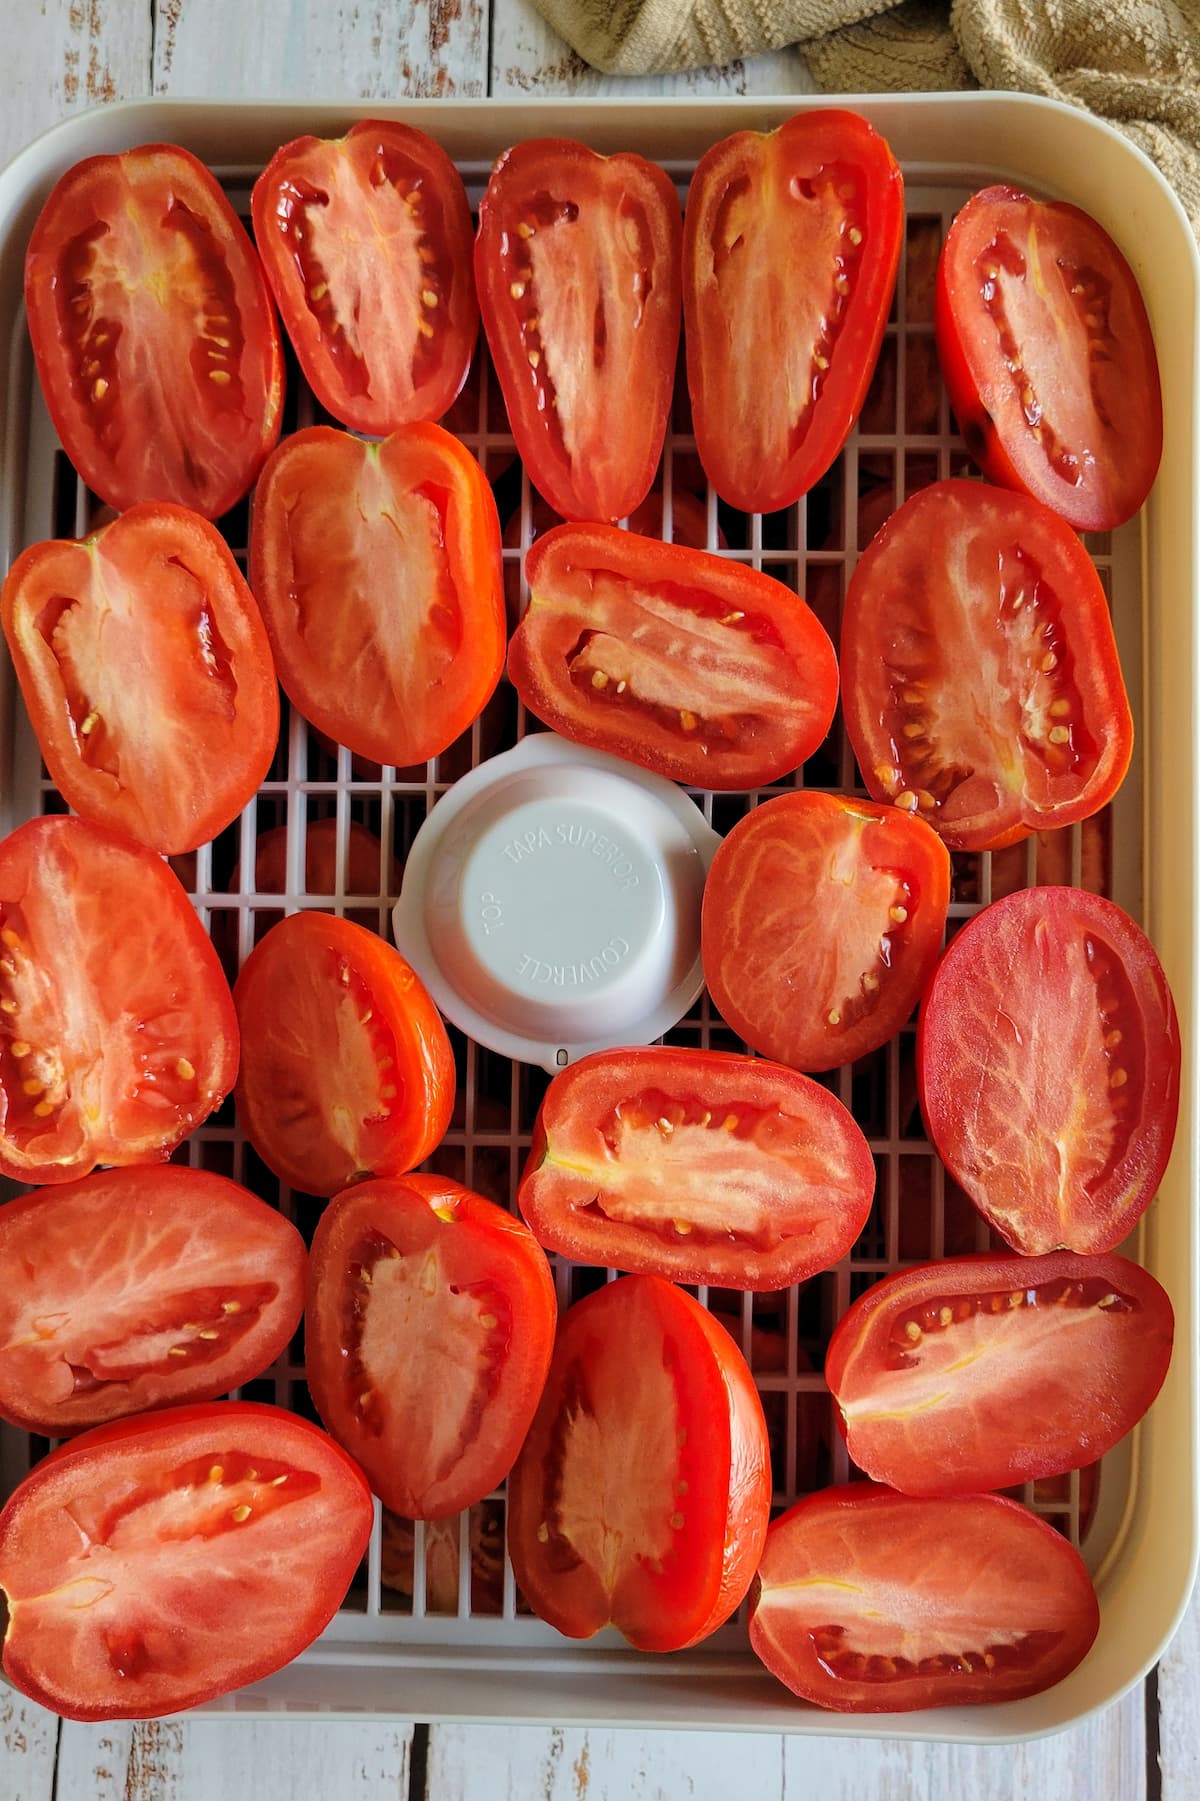
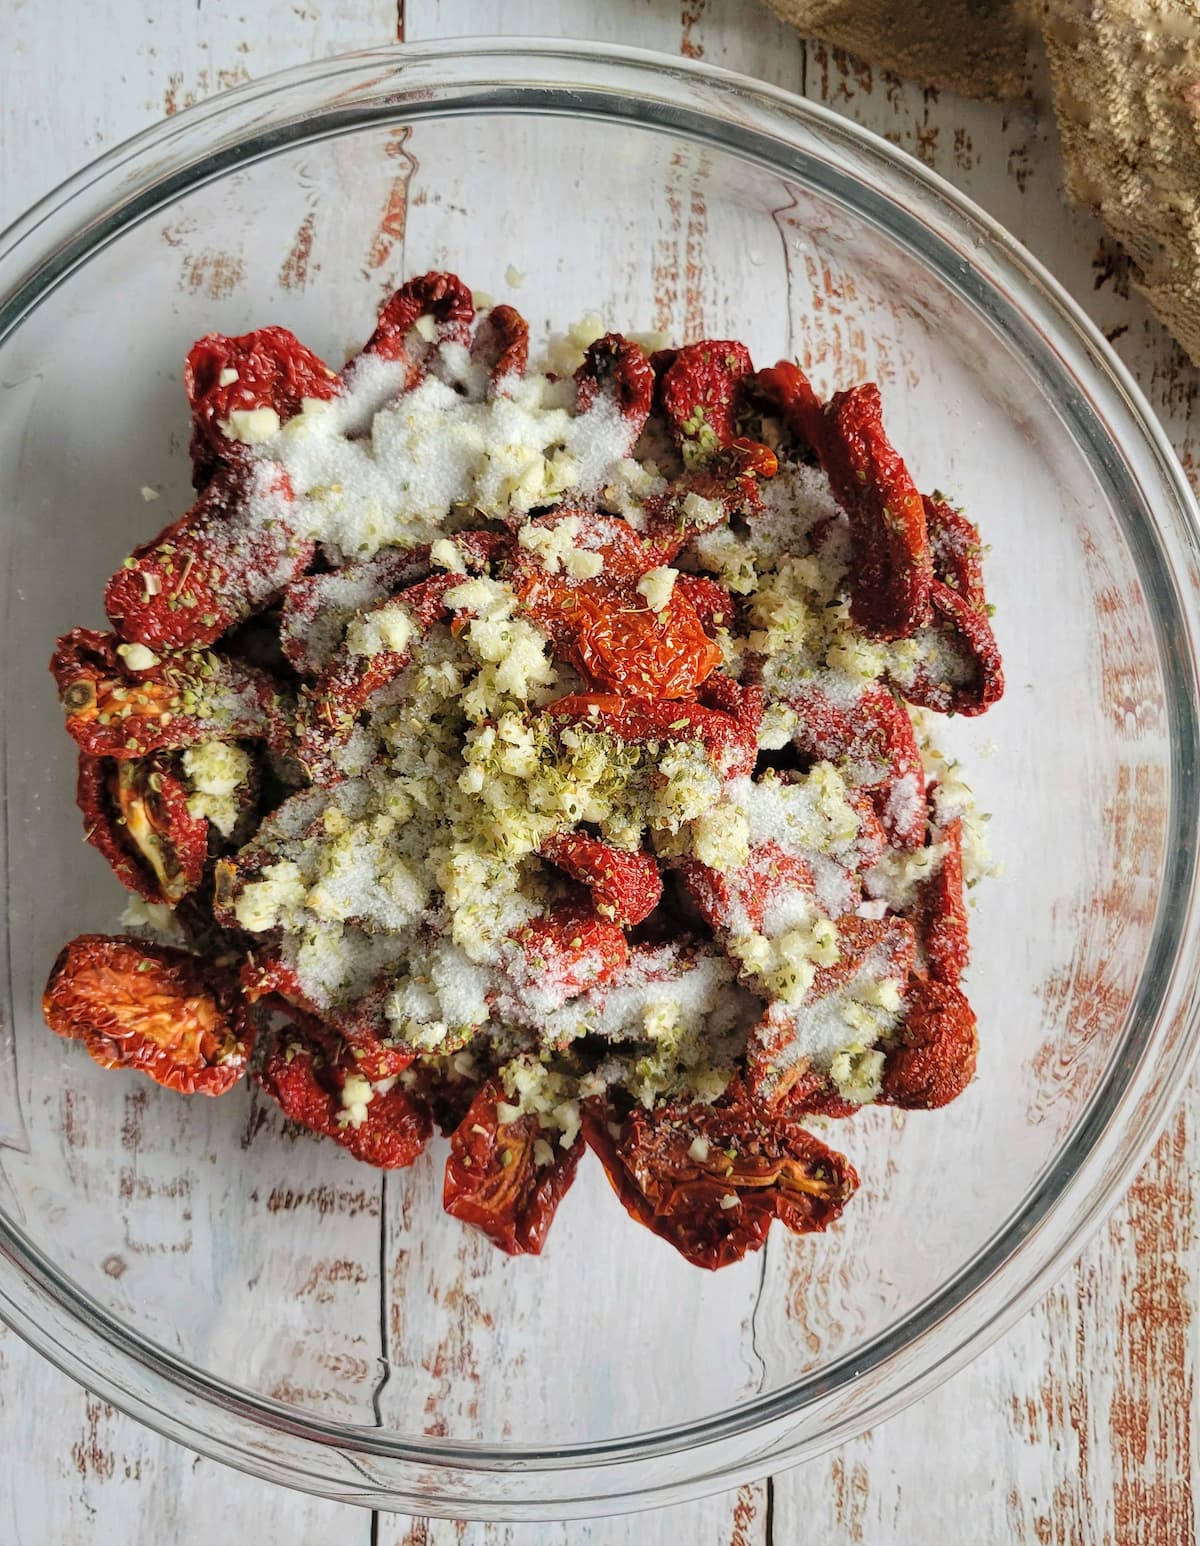
- Dehydrate your tomatoes at 140°F for 8 hours to start, rotating the trays if needed. At the 8 hour mark, have a large airtight container or bowl with a tight fitting lid handy. You'll open the dehydrator and pick out the ones that are ready. Ready means dried but still bendy when you press them between your fingers. In general, you don't want them to be moist, squishy or hard at all. Put the 'ready ones' in the bowl. Then, toss them in a splash of oil to keep them coated while waiting for the others. This avoids mould. Keep adding new tomato halves to the dehydrator trays as you take the done ones out. Do this until 0 tomatoes remain and all of your tomatoes have been equally dried. Depending on how large your batch is, your dehydrator, whether or not you used the kickstart method, this could take several hours or even days to complete and you just have to keep checking every so often. Once your bowl has all the sun-dried tomatoes, you're ready to jar.
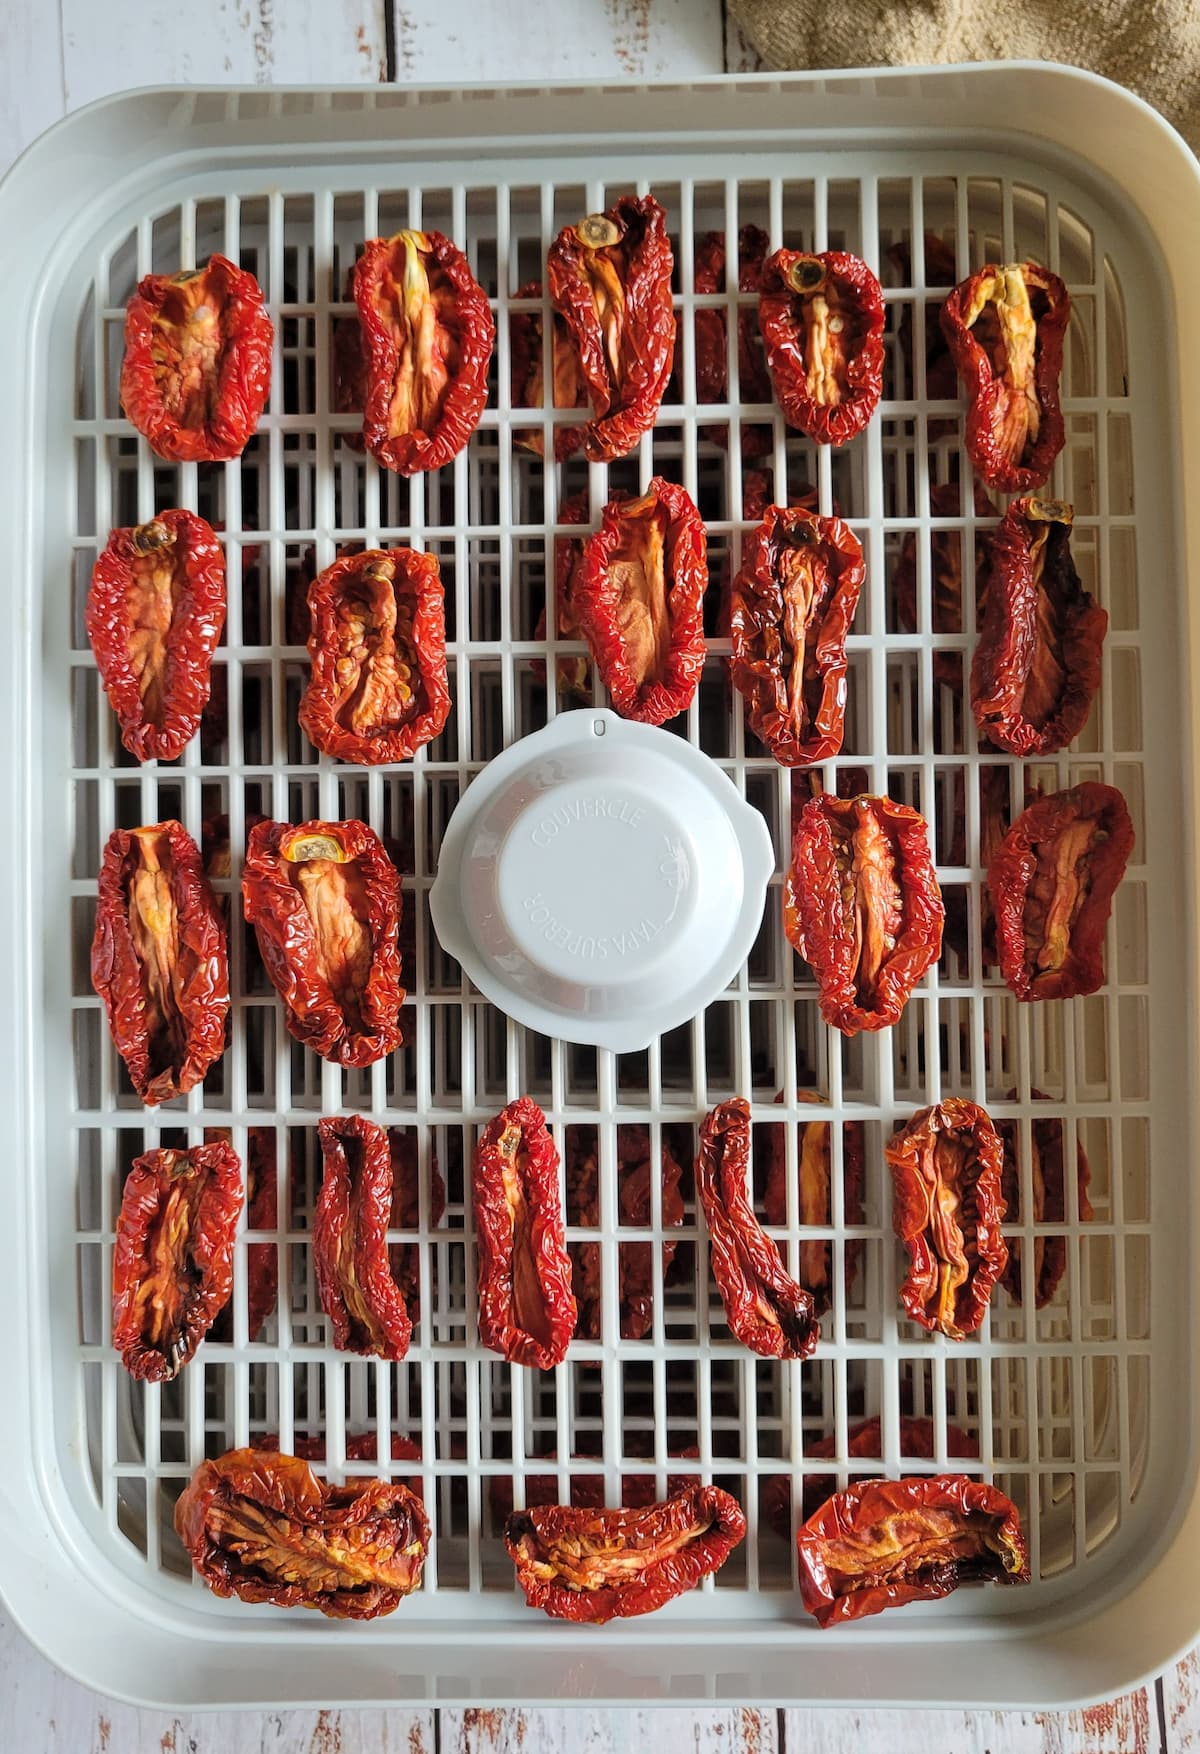
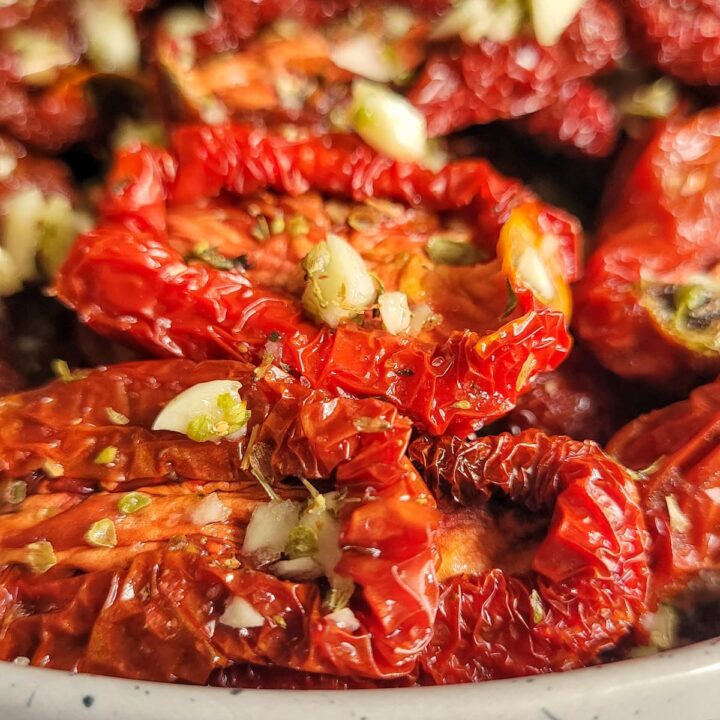
- To the bowl with the lightly oil coated sun-dried tomatoes, add lots of chopped garlic, oregano and salt. You may notice I don't give measurements for these ingredients and that's because my parents measure with their heart when it comes to this recipe and you should, too! We do a lottttttt but go based on your own preference. Give it a good stir to ensure that everything is well combined.
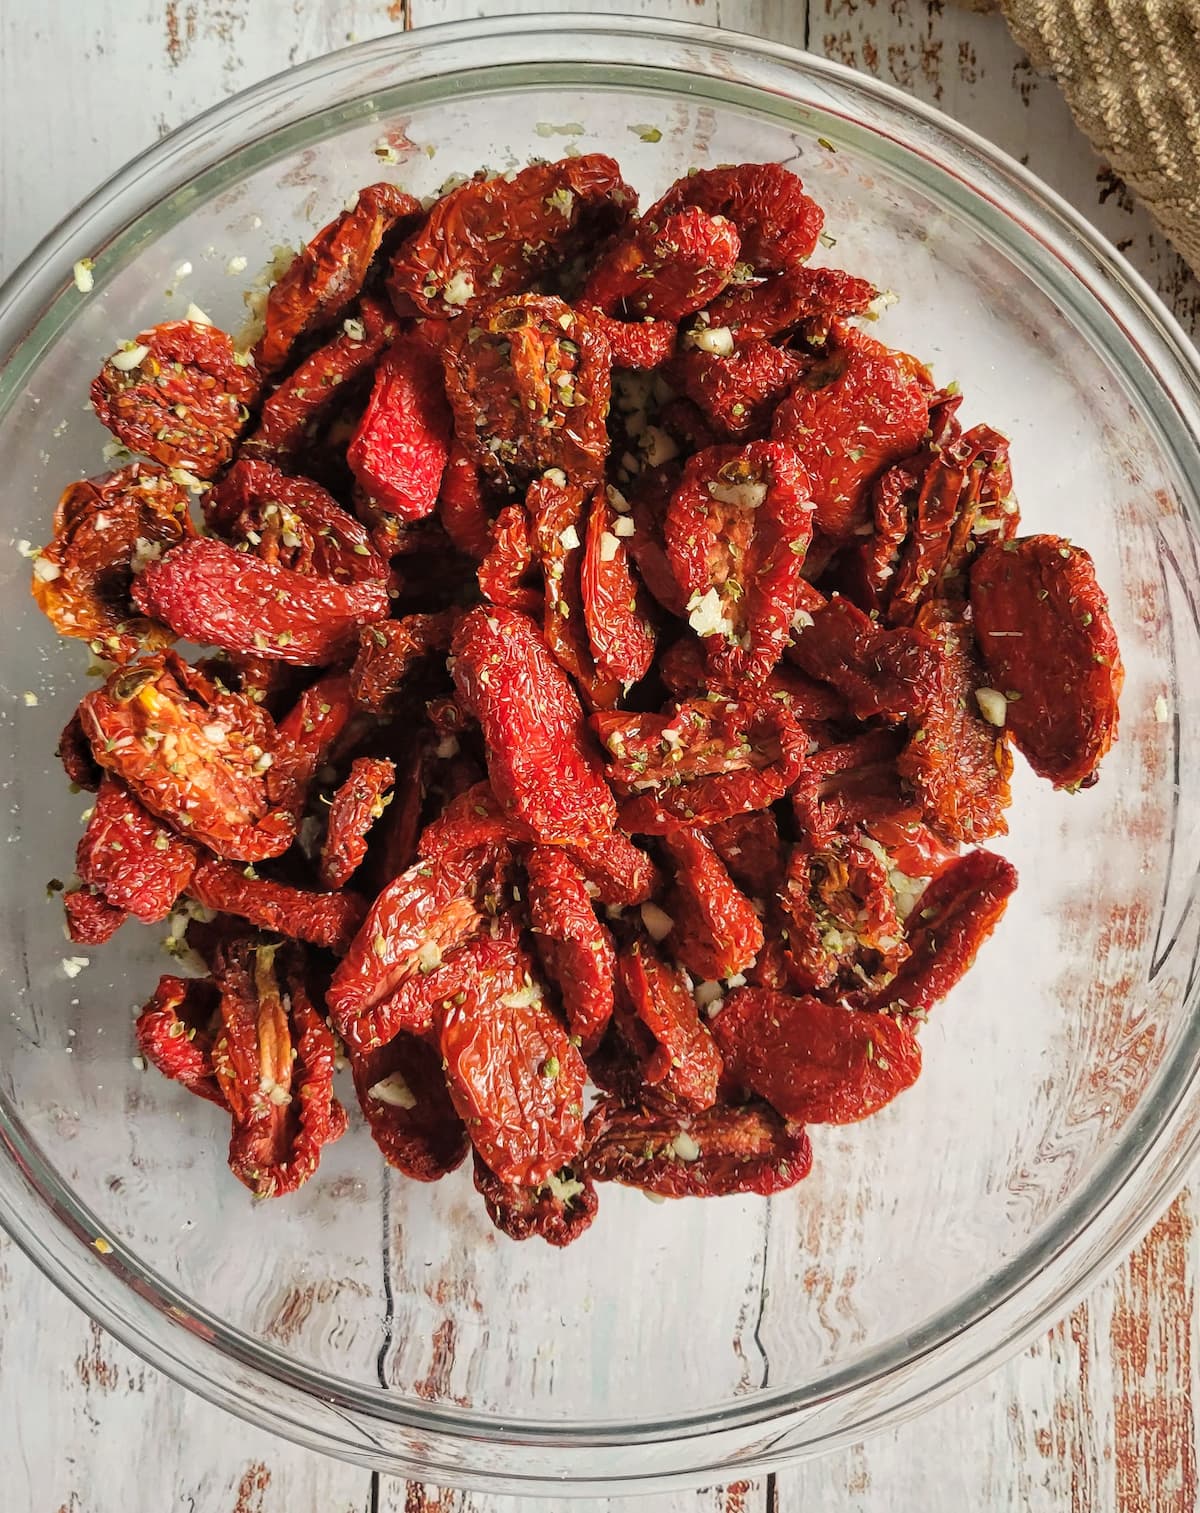
- Add the sun-dried tomatoes to the jars, a couple spoonfuls at a time and cover with olive oil as you go. Push them down using a pestle, back of a spoon or similar object til they're nice and compact, trying your best to squeeze out all the air. Add a few more spoonfuls, some more oil and repeat the process until the jar is mostly full. IMPORTANT: Leave a few inches of space at the top of each jar in case the tomatoes expand, leaving room for them to grow. Ensure that all the tomatoes are submerged in/below the oil.
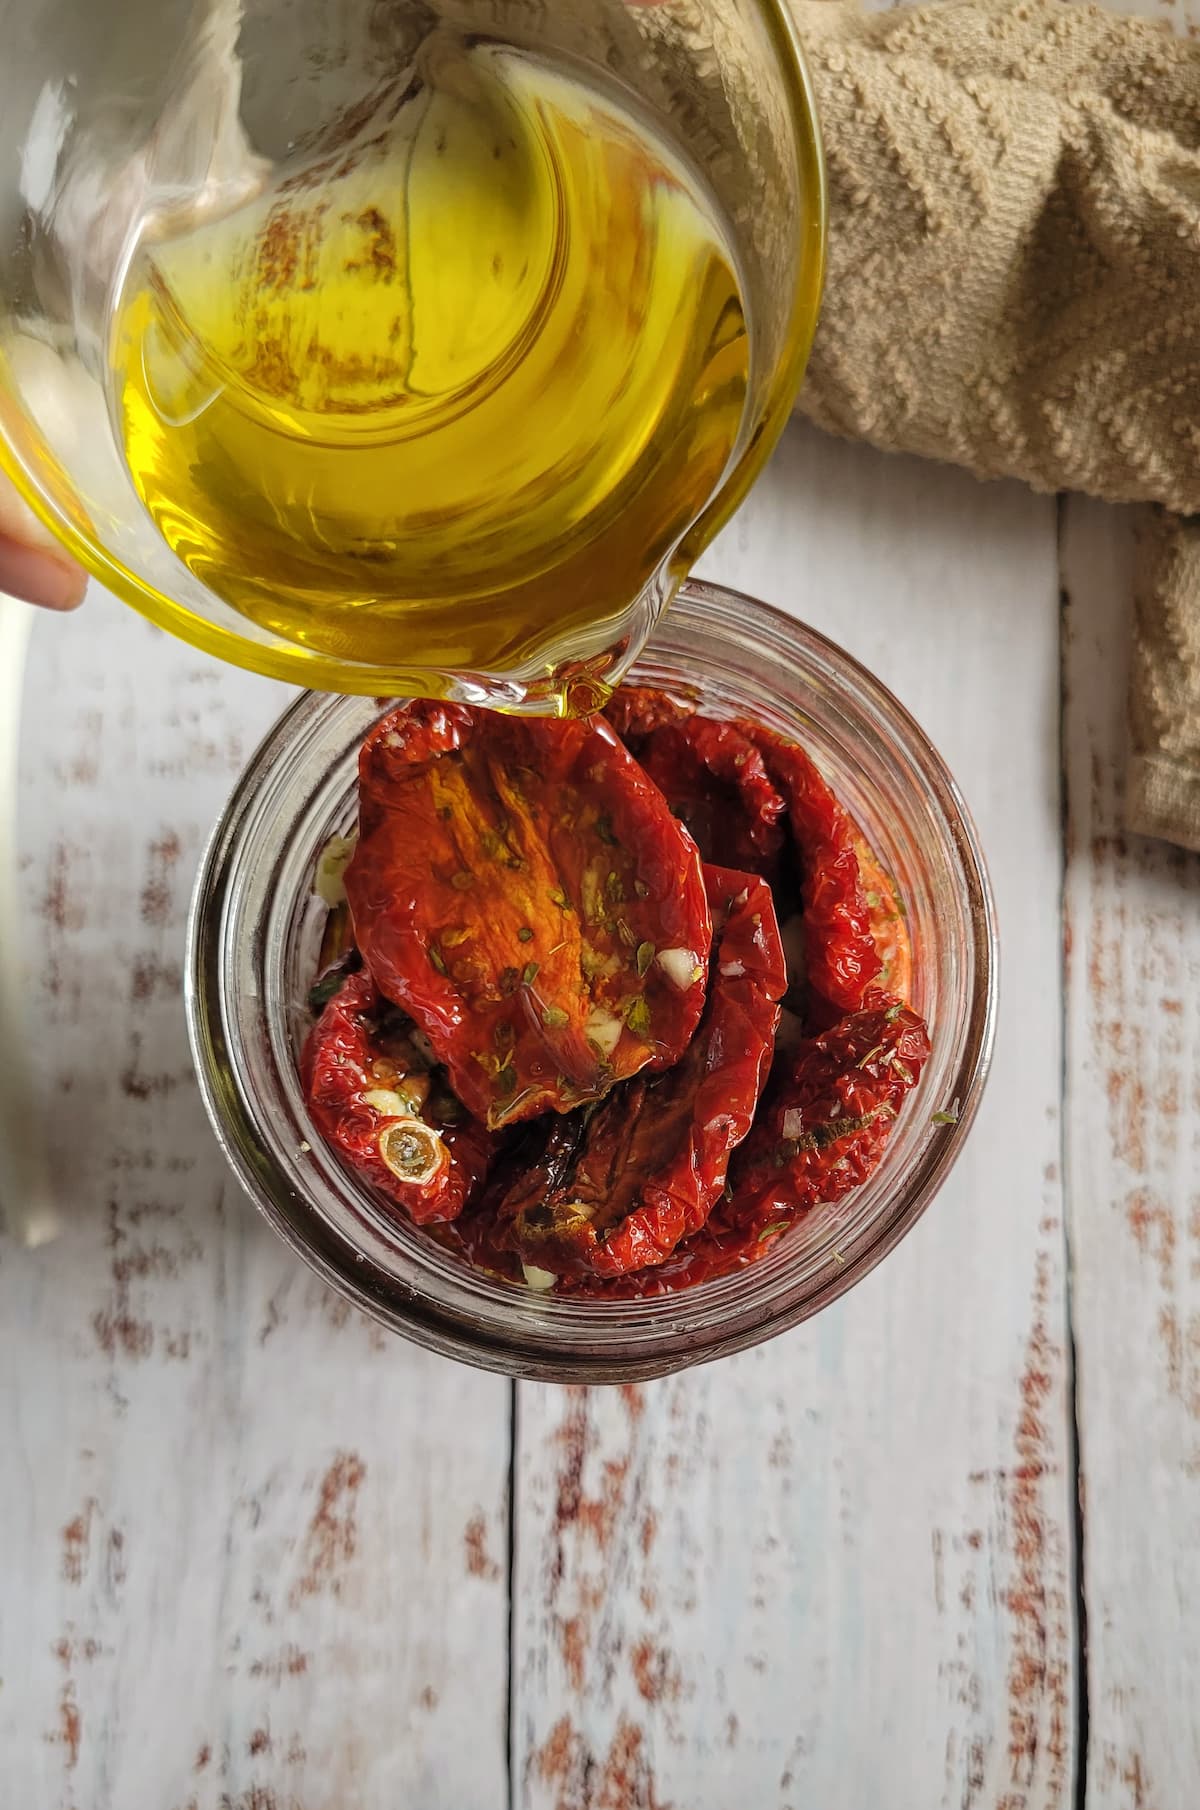
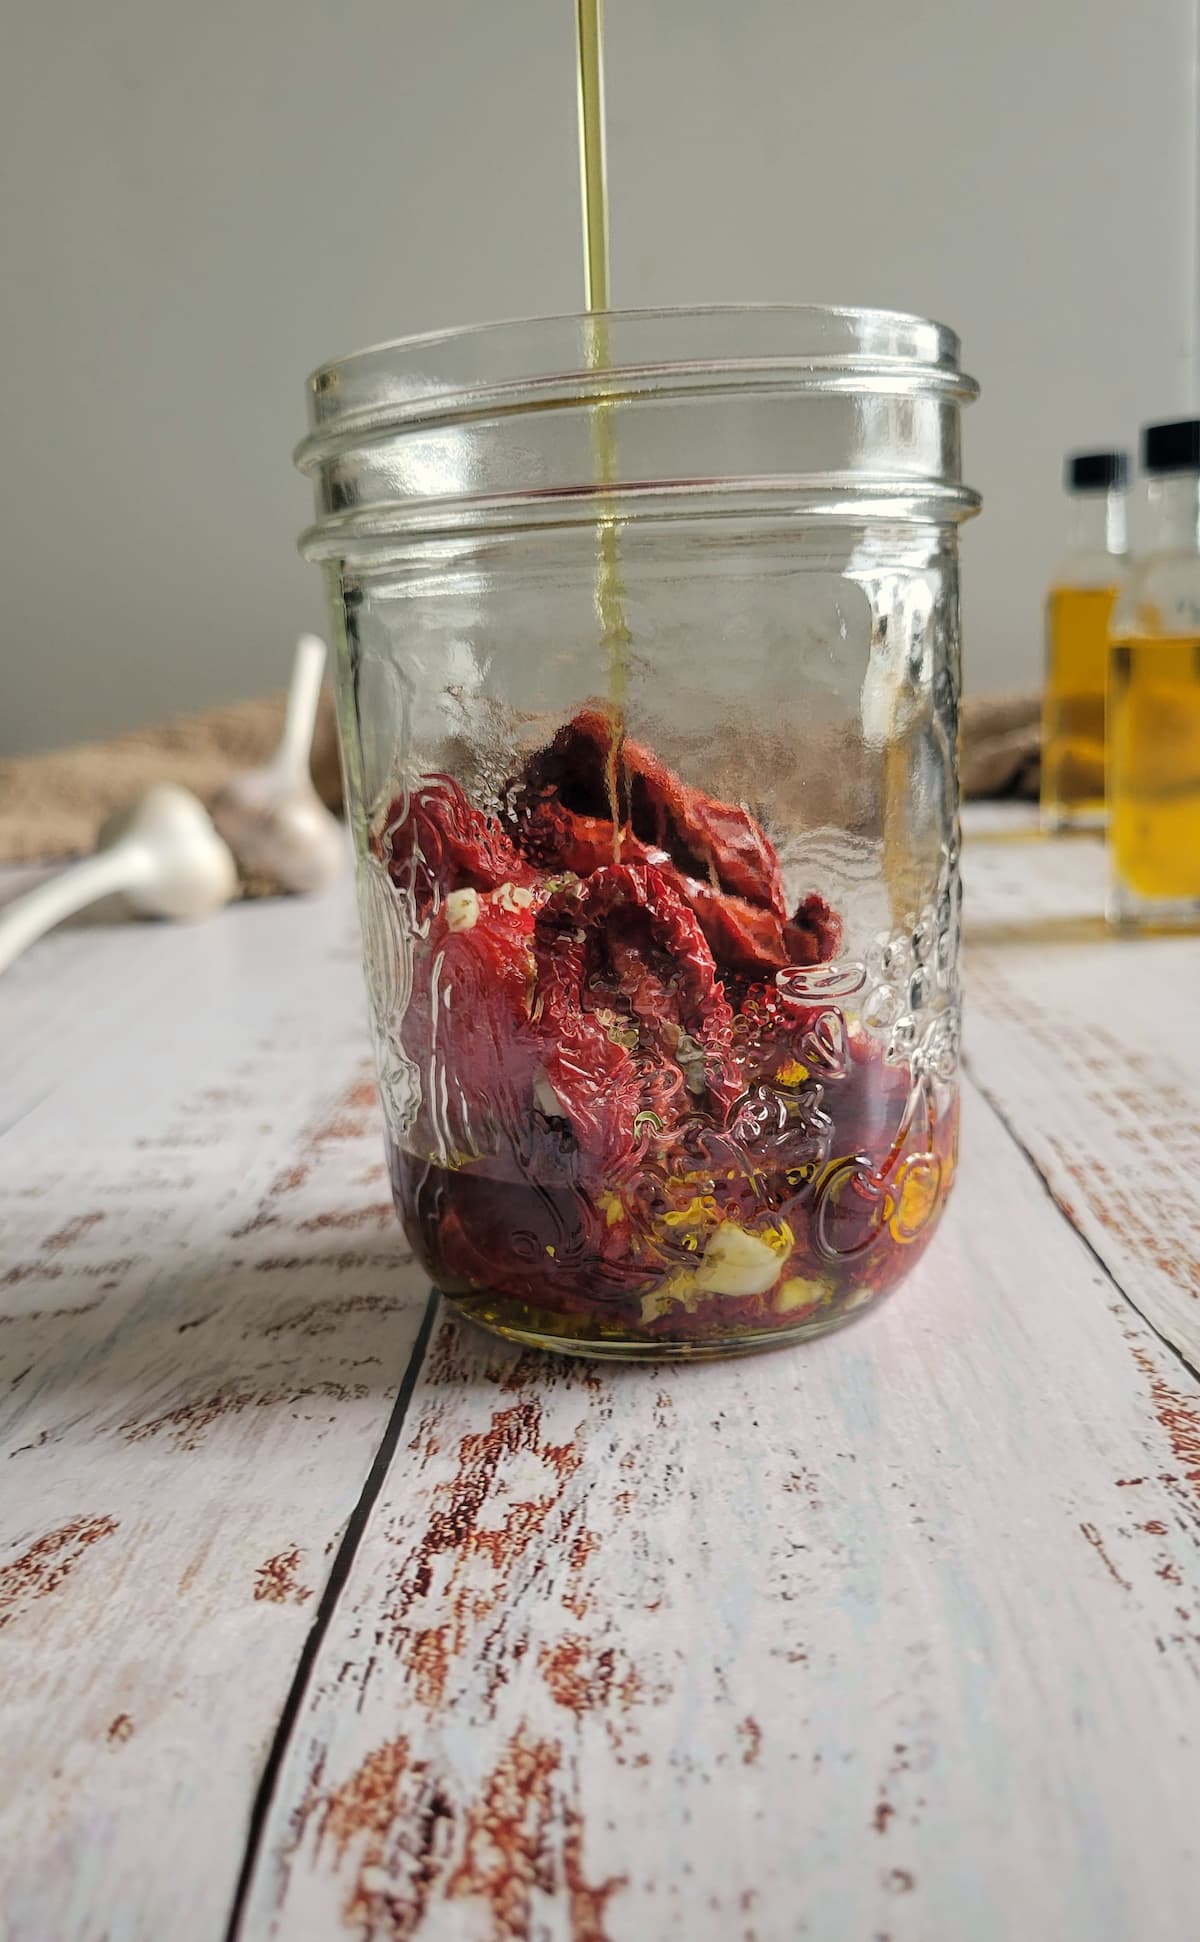
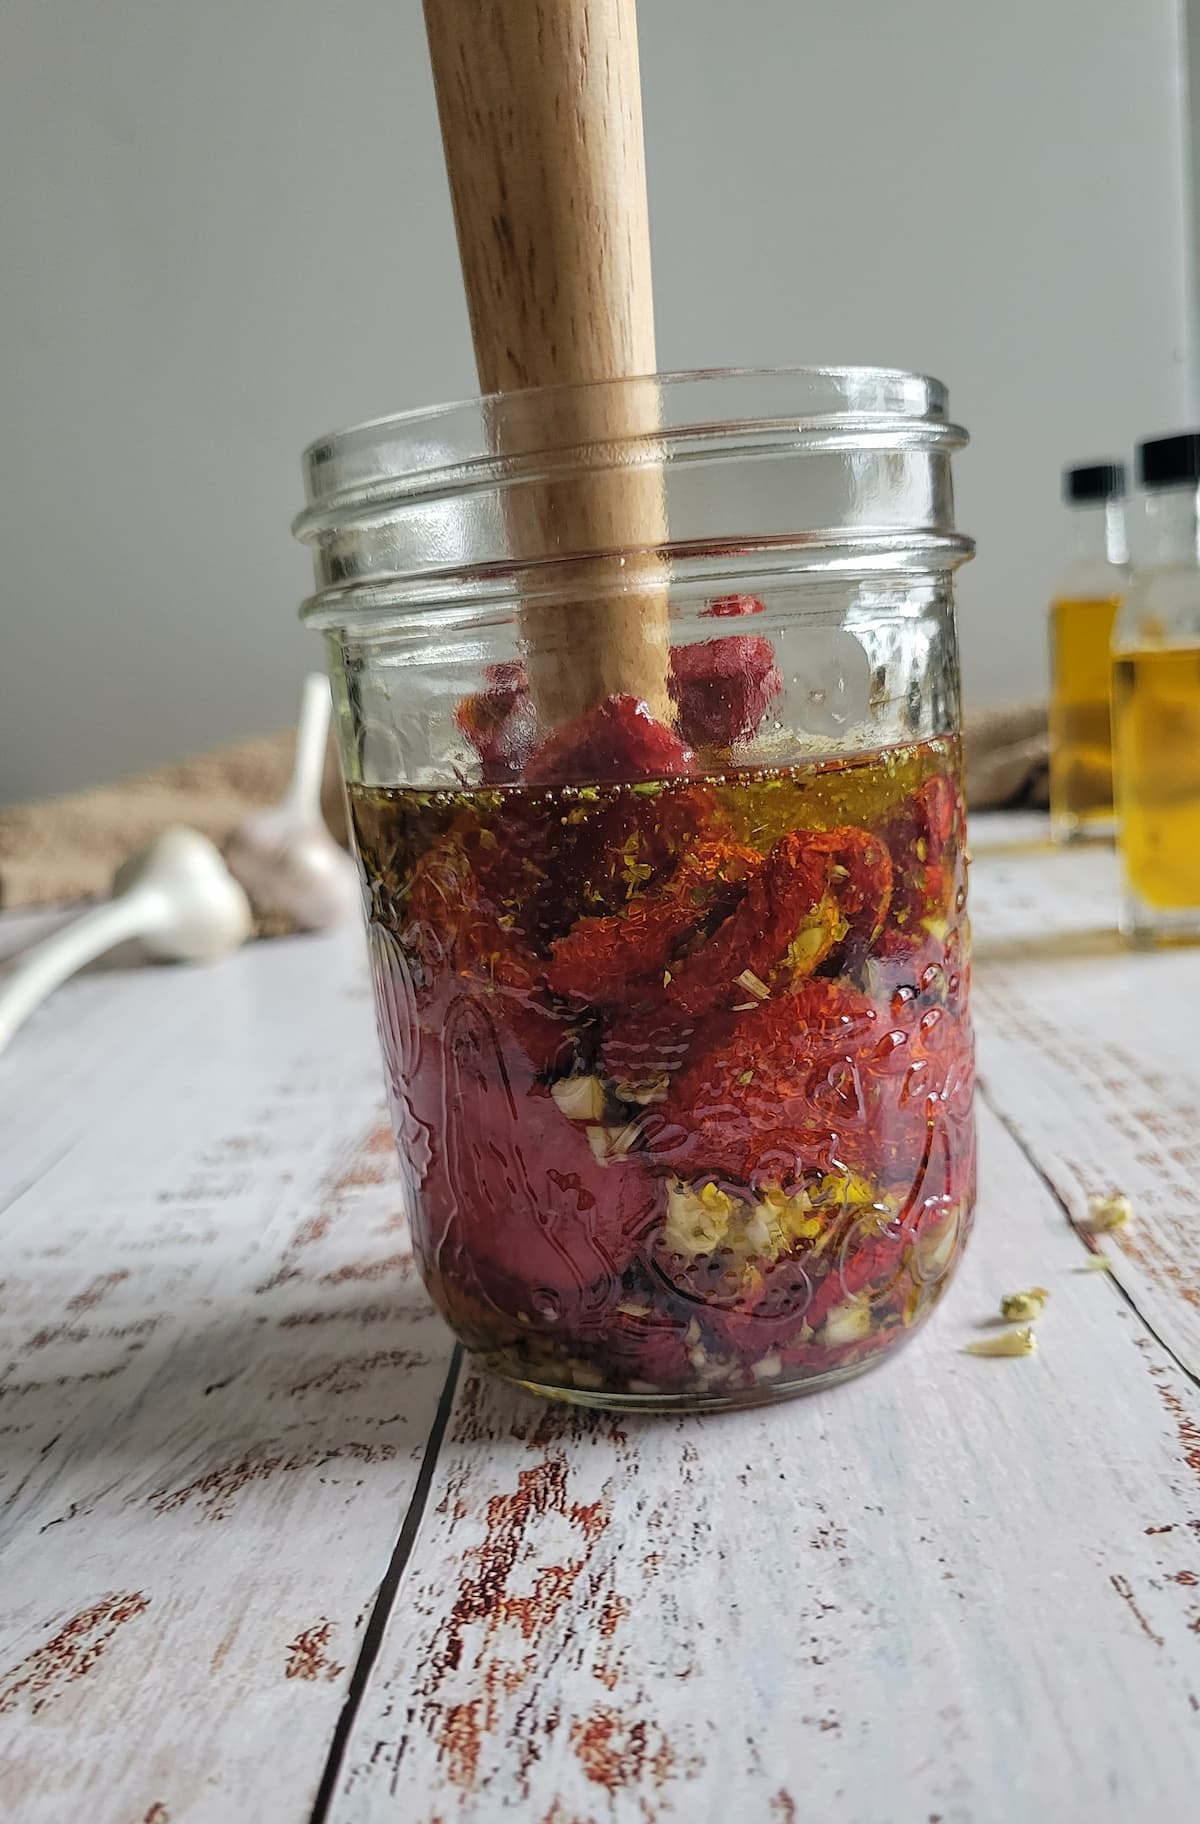
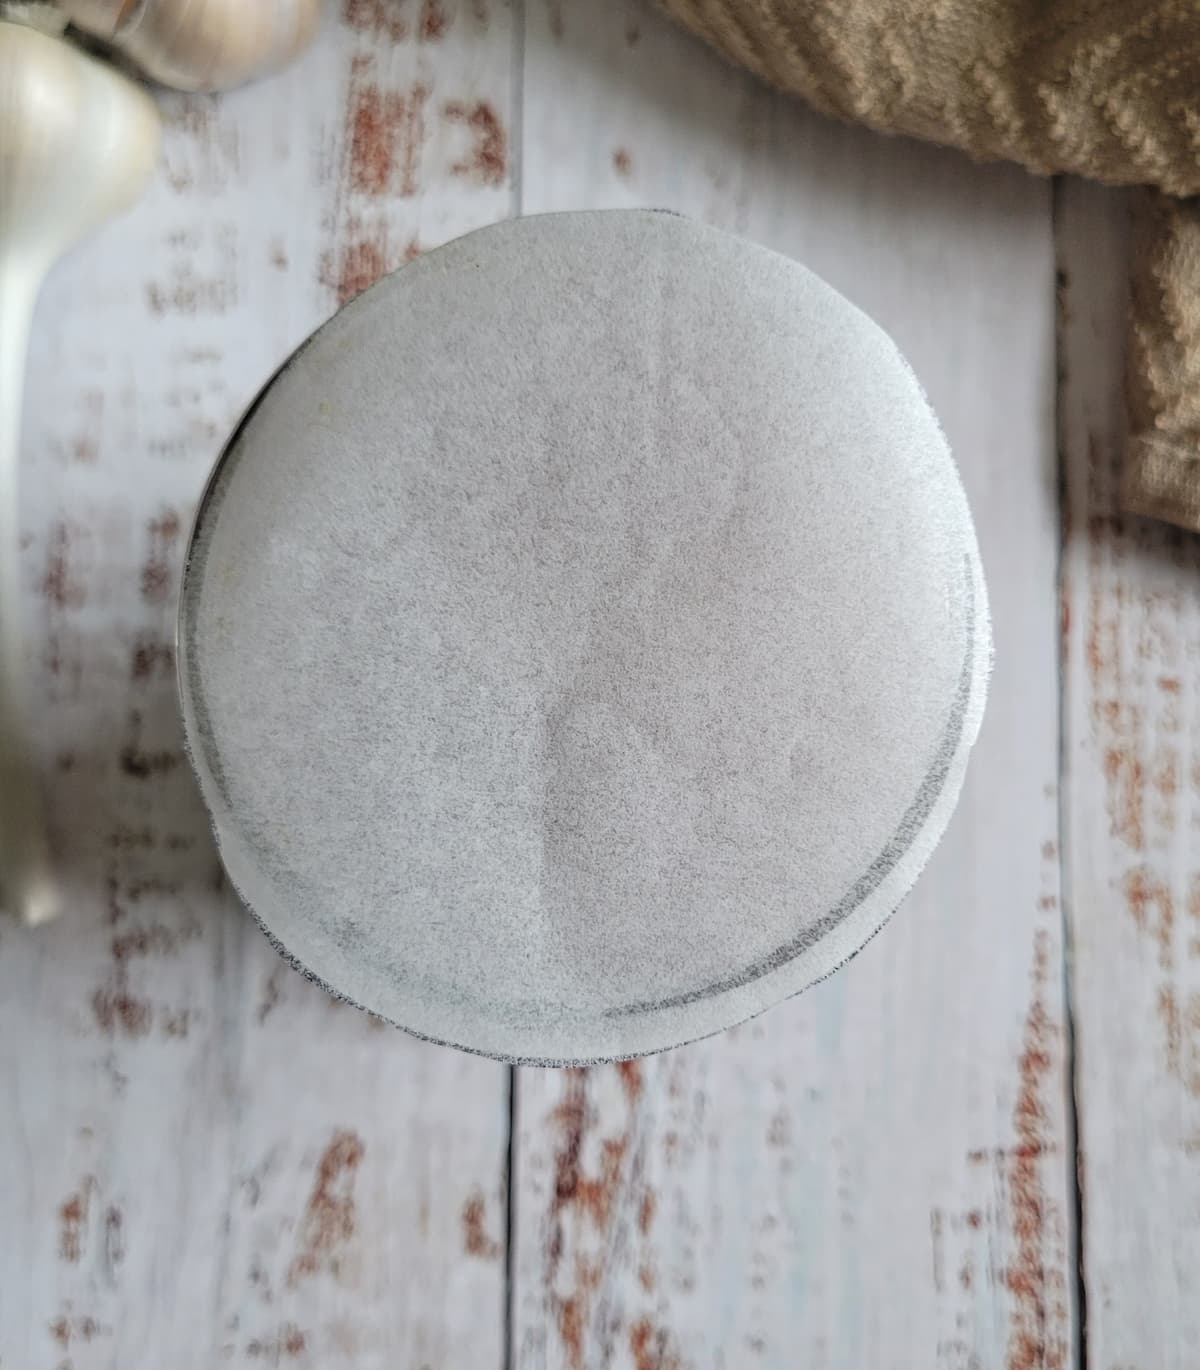
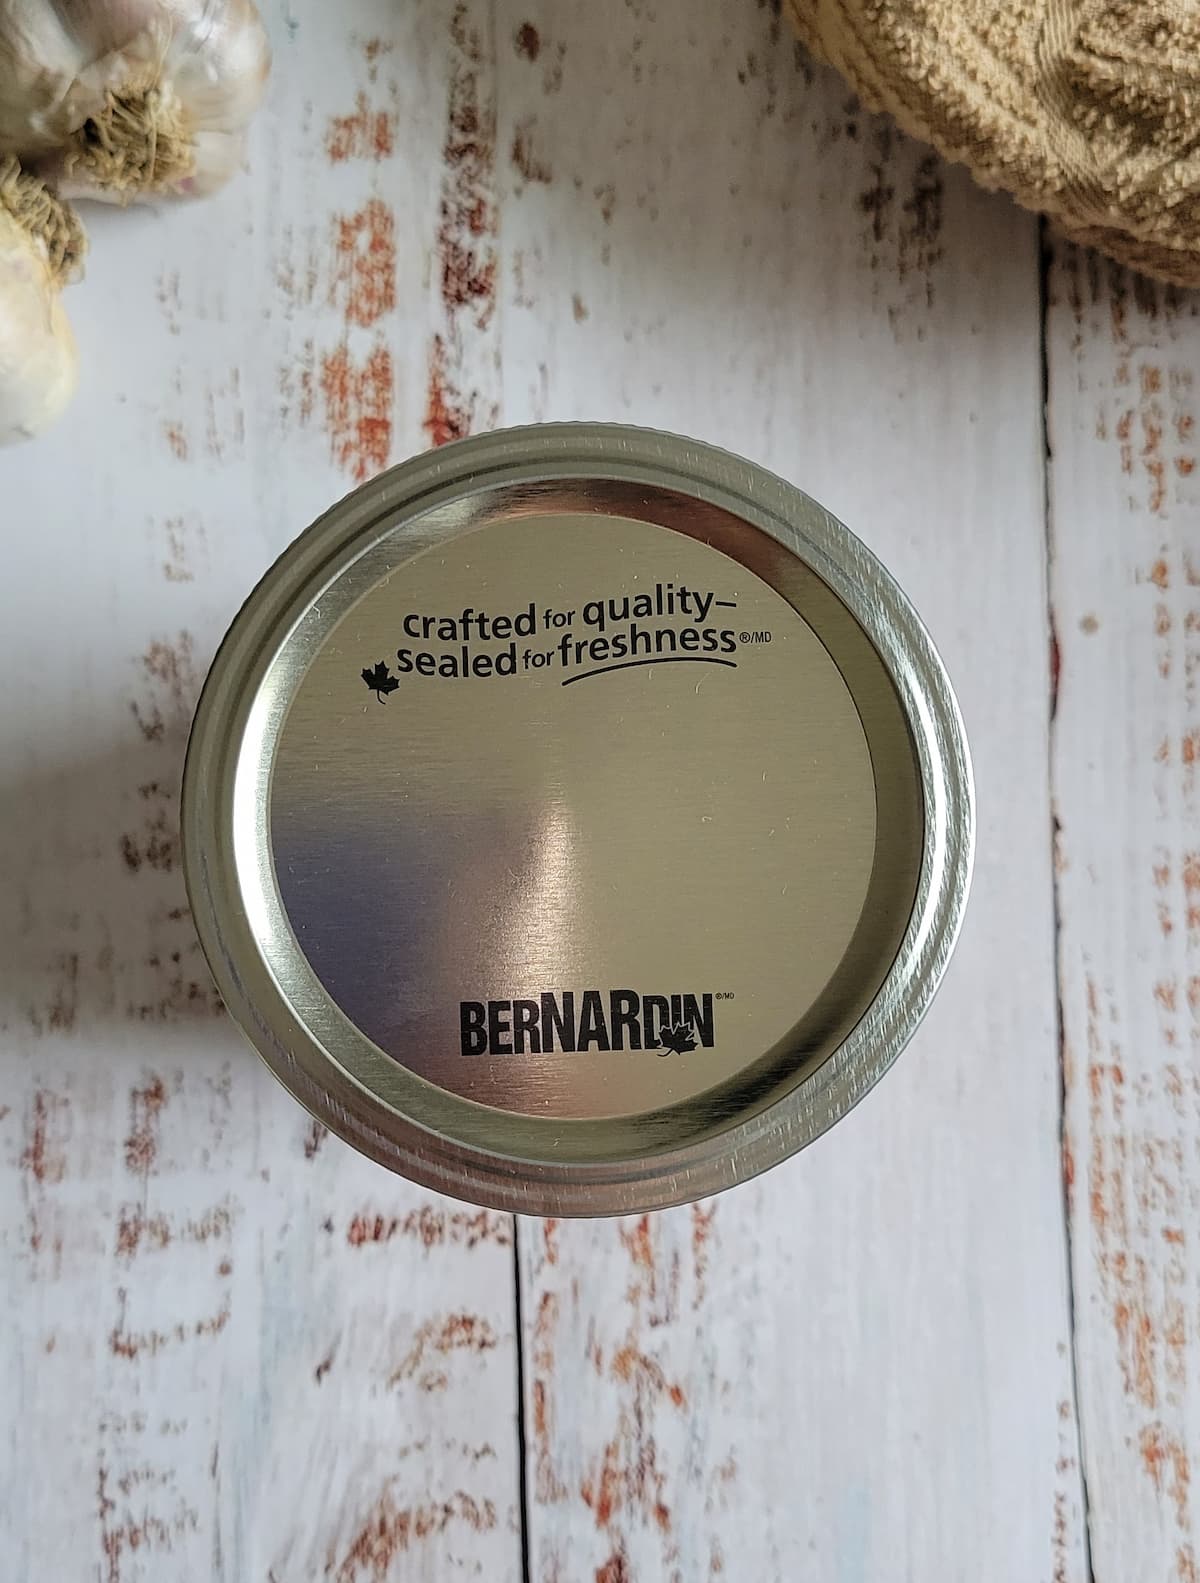
- Cut a circle piece of parchment paper out to fit the opening of the jar and loosely place it over top of the oil. Put the sealing compound (flat metal lid) over the jars and store them in a cool dry place such as a cold cellar or cupboard. Don't completely or tightly seal the jars at this point.
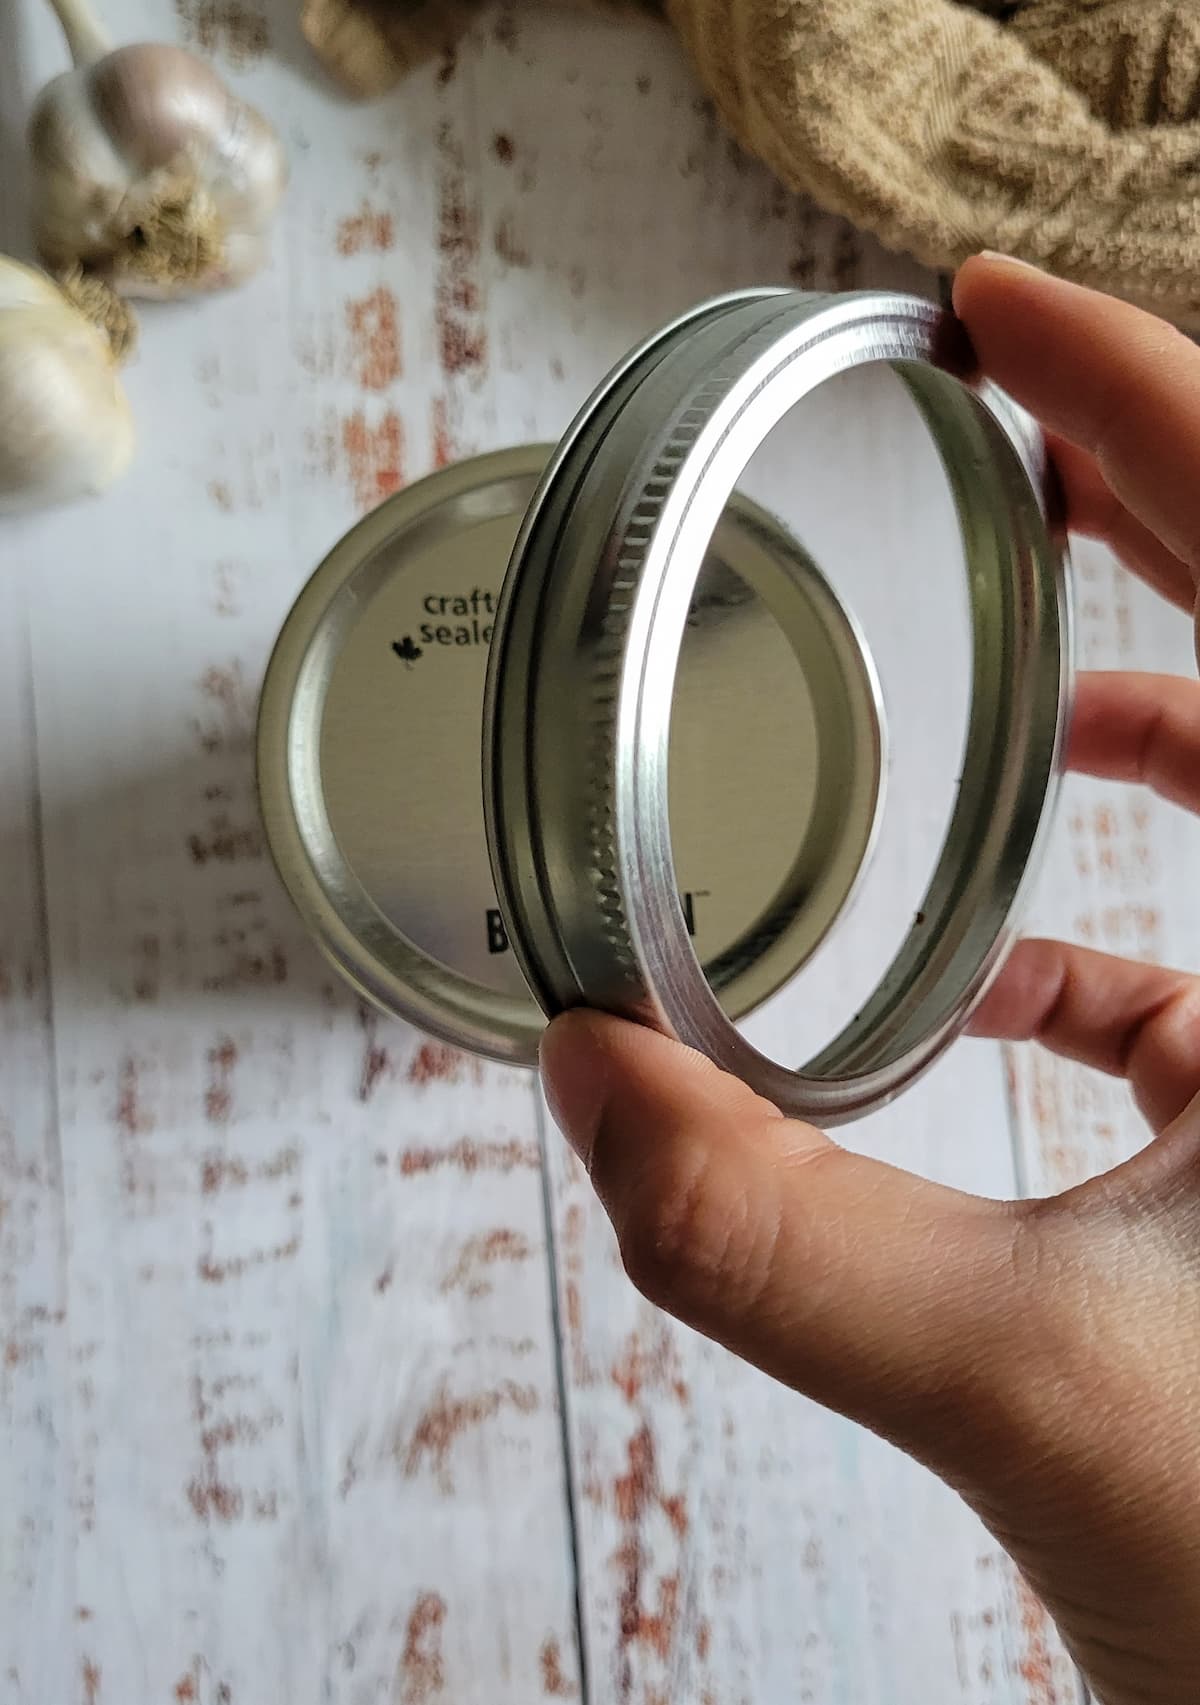
- For the next few days, you'll check on your tomatoes to ensure that no oil is overflowing (most of the time, it's not if you've left those few inches). You may have to top the oil up in certain cases to ensure that the tomatoes remain below the oil at all times. 1-2 weeks after everything is going okay and as planned, you may seal the jars with the ring piece. For best results, leave them sealed in a cool dry place for 3-4 weeks before eating (including the 1-2 weeks of checking).
Notes
I like using a good quality extra virgin olive oil for this recipe. HOWEVER, my parents (who are the O.G. creators of this recipe) like using vegetable oil. We understand that doing extra large batches can get quite expensive using only good quality olive oil. With that being said though, keep in mind that you'll have sun dried tomato flavoured oil at the end of it to use in a variety of tasty dishes which is ultimately why I stick to using olive oil.
Always remember to continuously top up the oil and push the remaining tomatoes below the oil after each use. Once the sun-dried tomatoes hit the jar, they must be submerged in the oil at all times to prevent mould and keep bad bacteria away.
Store your jars of sun-dried tomatoes in a cool, dry place such as a cold cellar or cupcoard. Opened and in use jars can be kept in the fridge. The oil will solidify and that's completely normal. Just take it out to soften as needed before use.
Nutrition Information:
Yield: 2 Serving Size: 1Amount Per Serving: Calories: 104Total Fat: 7gSaturated Fat: 1gTrans Fat: 0gUnsaturated Fat: 7gCholesterol: 0mgSodium: 302mgCarbohydrates: 9gFiber: 3gSugar: 6gProtein: 2g
Nutrition is only an estimate and calculated using Nutritionix.
MORE TRIED AND TRUE FAMILY FAVOURITE RECIPES
4 INGREDIENT ITALIAN EGG DROP SOUP (STRACCIATELLA)
MOM’S FAMOUS FRENCH ONION SOUP
