✨This post may contain affiliate links. As an Amazon Associate, I earn from qualifying purchases.
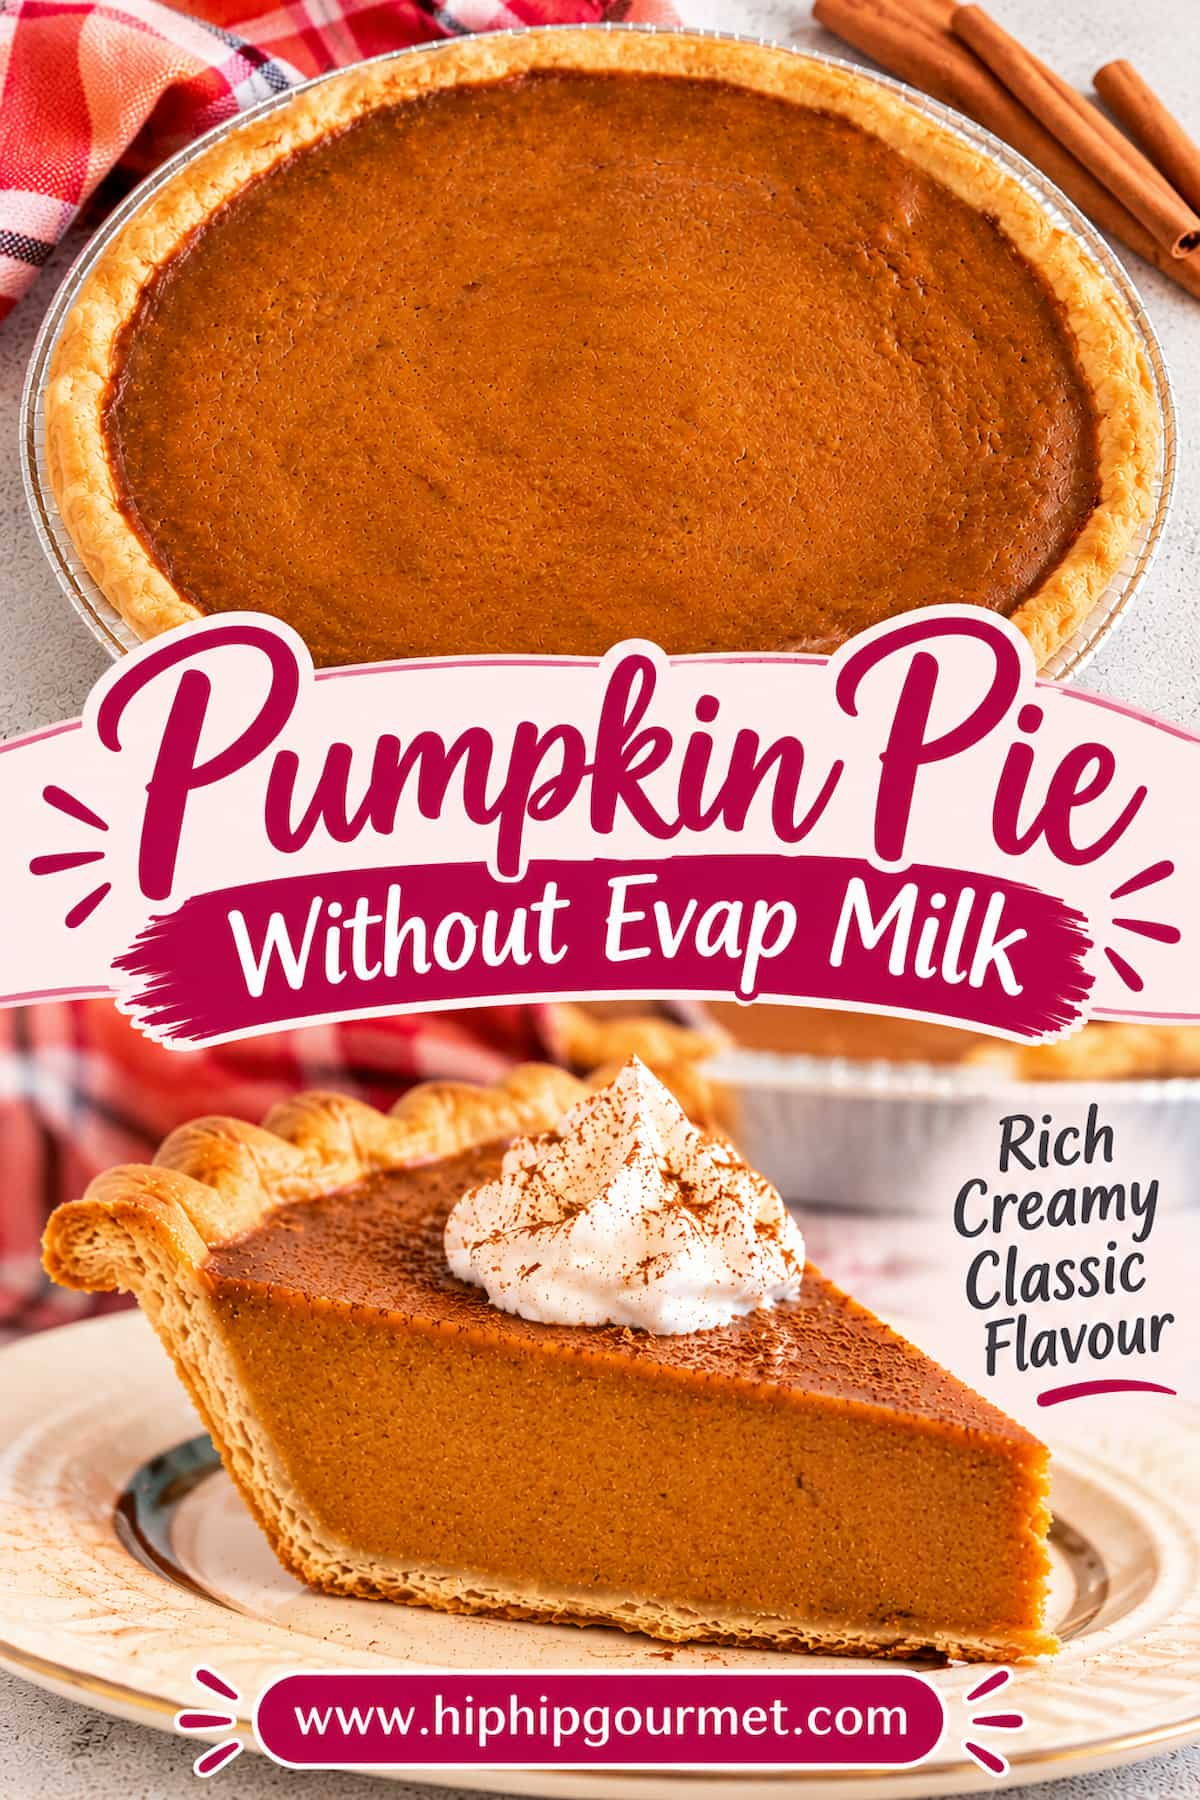
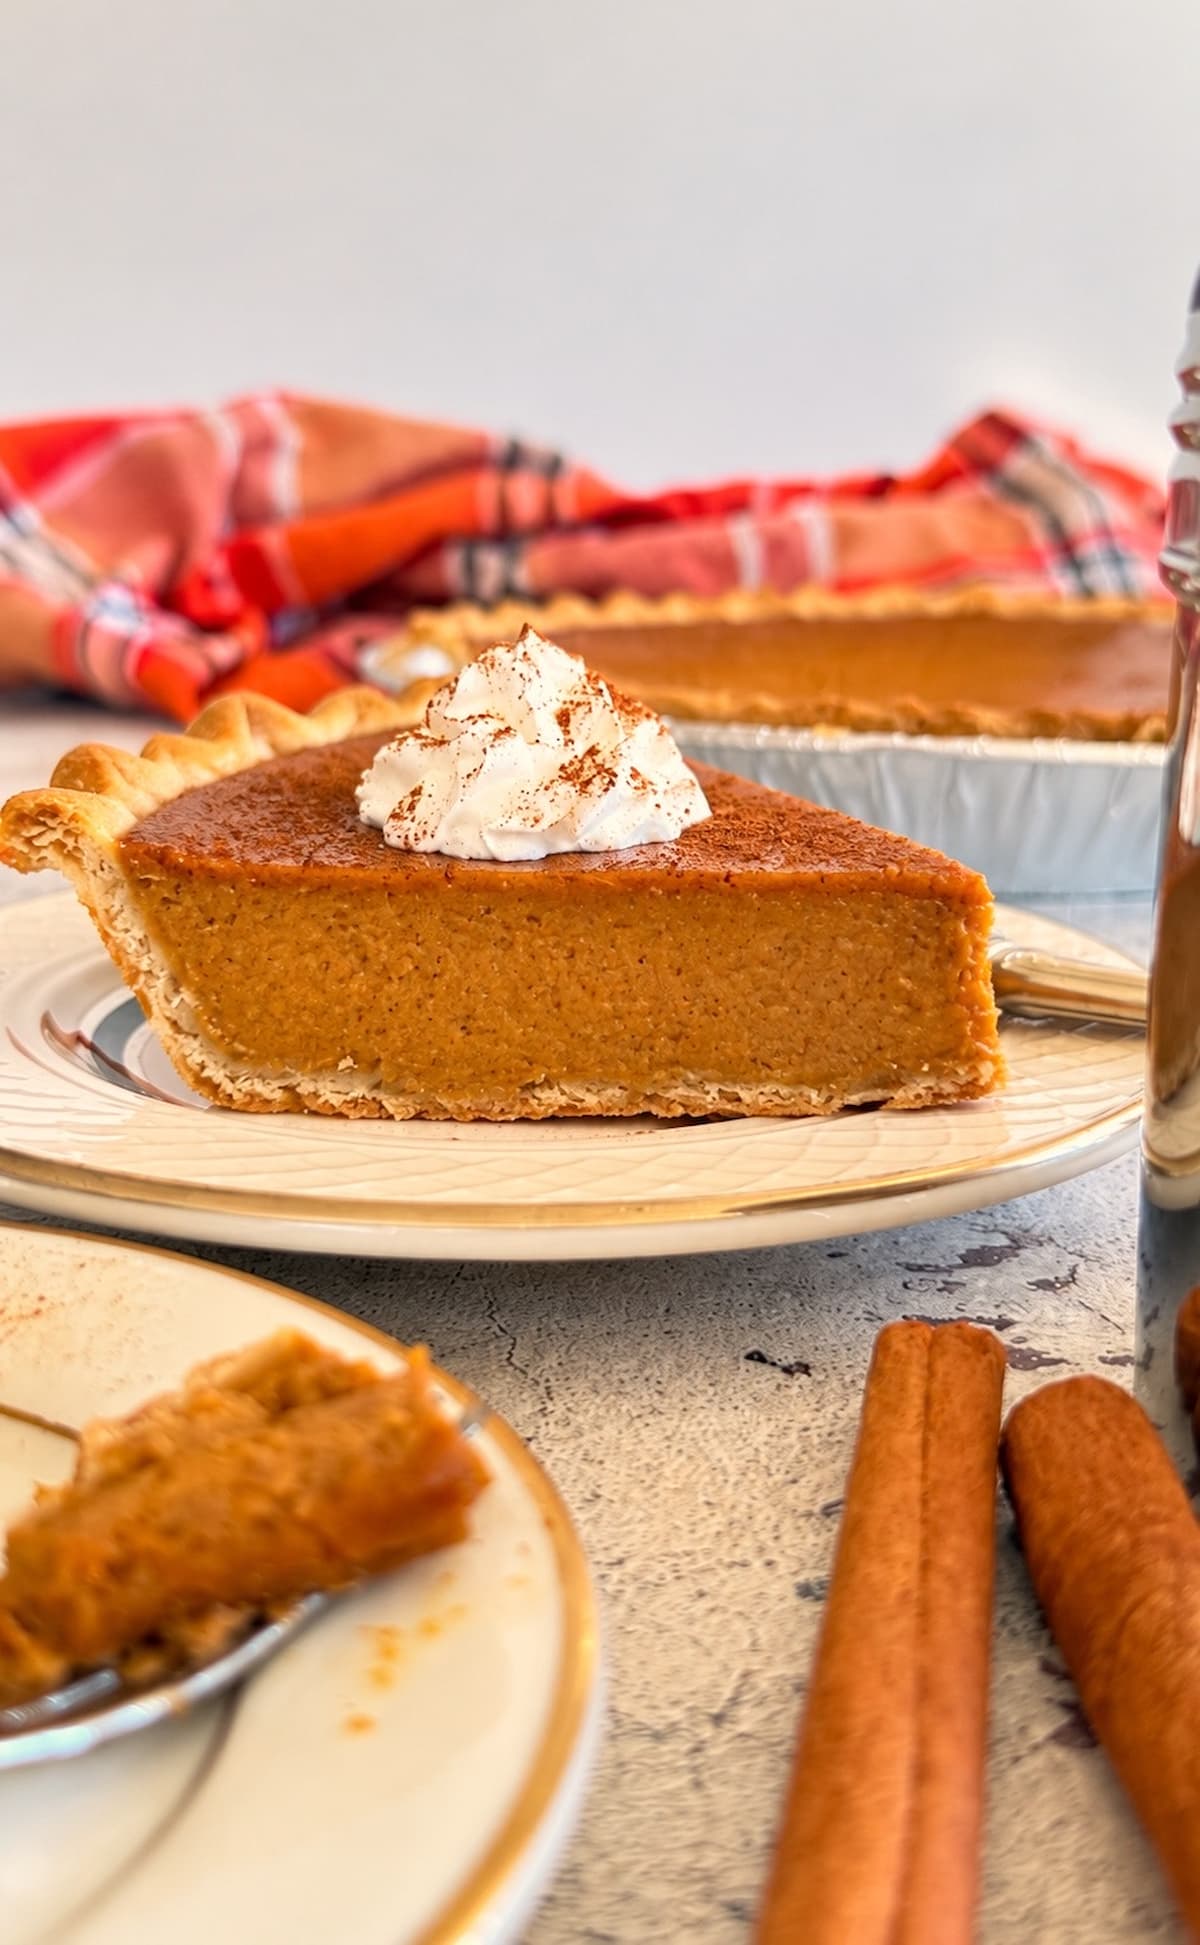
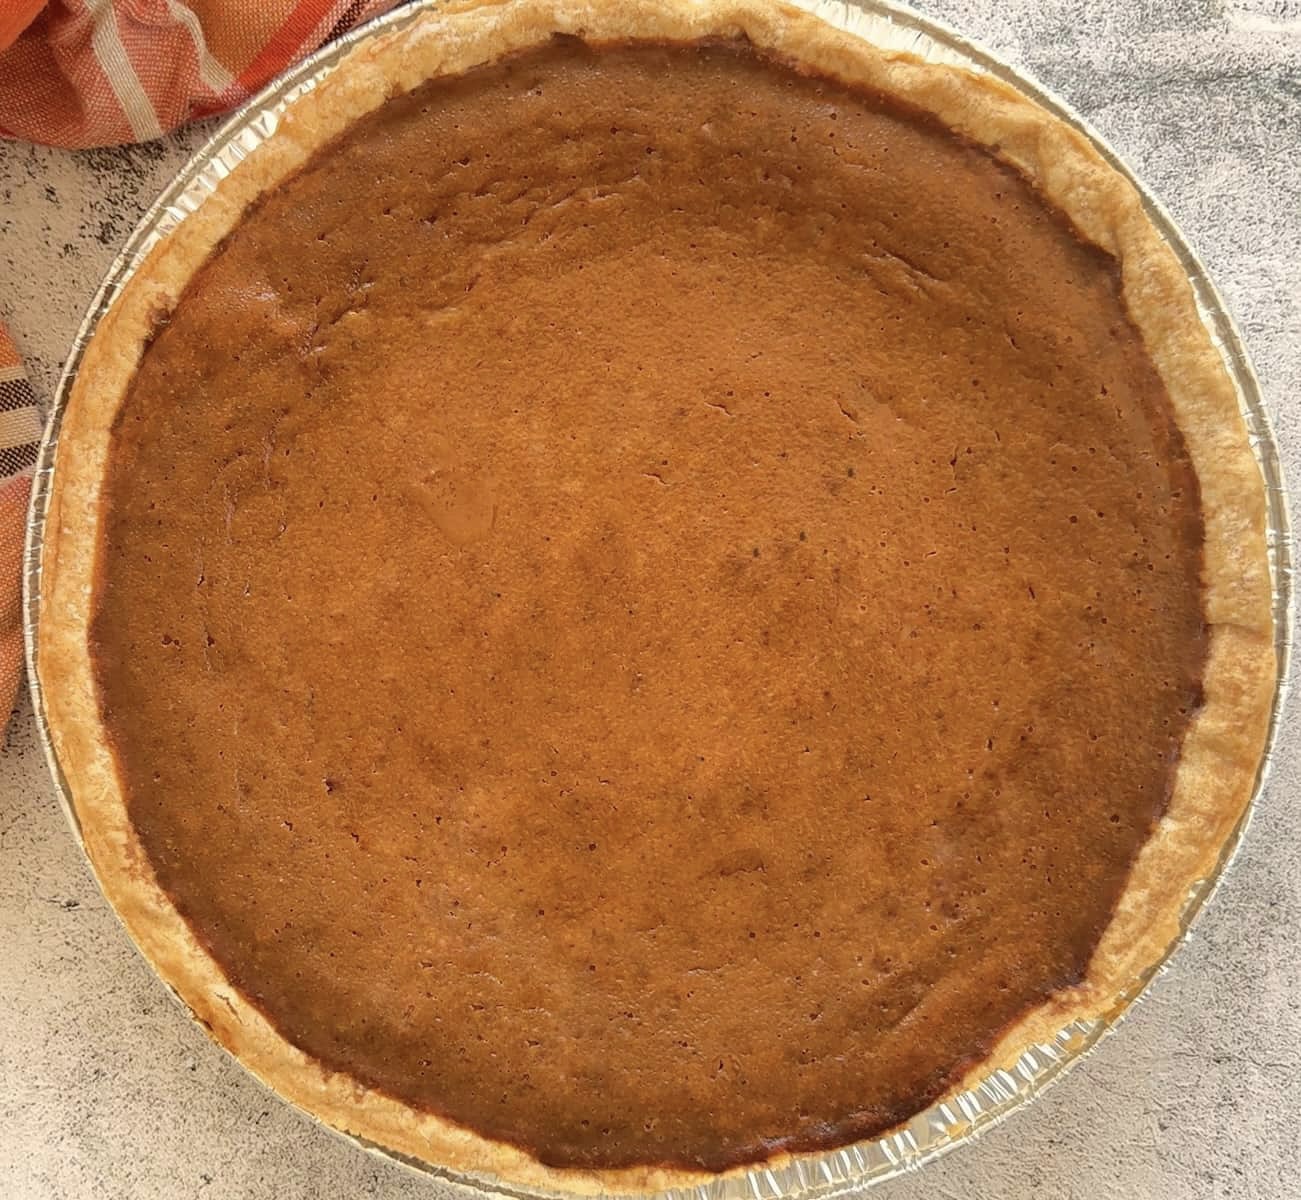
Can you make pumpkin pie without evaporated milk? You absolutely can! This pumpkin pie without evaporated milk uses heavy whipping cream instead, and trust me, you won’t miss that can one bit.
I’m all for a classic pumpkin pie, but who says evaporated milk has to be part of the deal? This version has everything you love about the original: a rich, silky pumpkin custard, warm spices, just the right amount of sweetness, and a golden pie crust to hold it all together. No fancy ingredients or complicated tricks required. Just good old-fashioned pumpkin pie with a little heavy cream doing the heavy lifting!
And if you’re on a pumpkin kick (guilty!), don’t stop here. My pumpkin bread with cream cheese frosting, pumpkin cinnamon buns, and pumpkin mousse are all worth making room for. Because apparently, one pumpkin dessert is never enough around here.
✳︎ Why You’ll Love This Pumpkin Pie
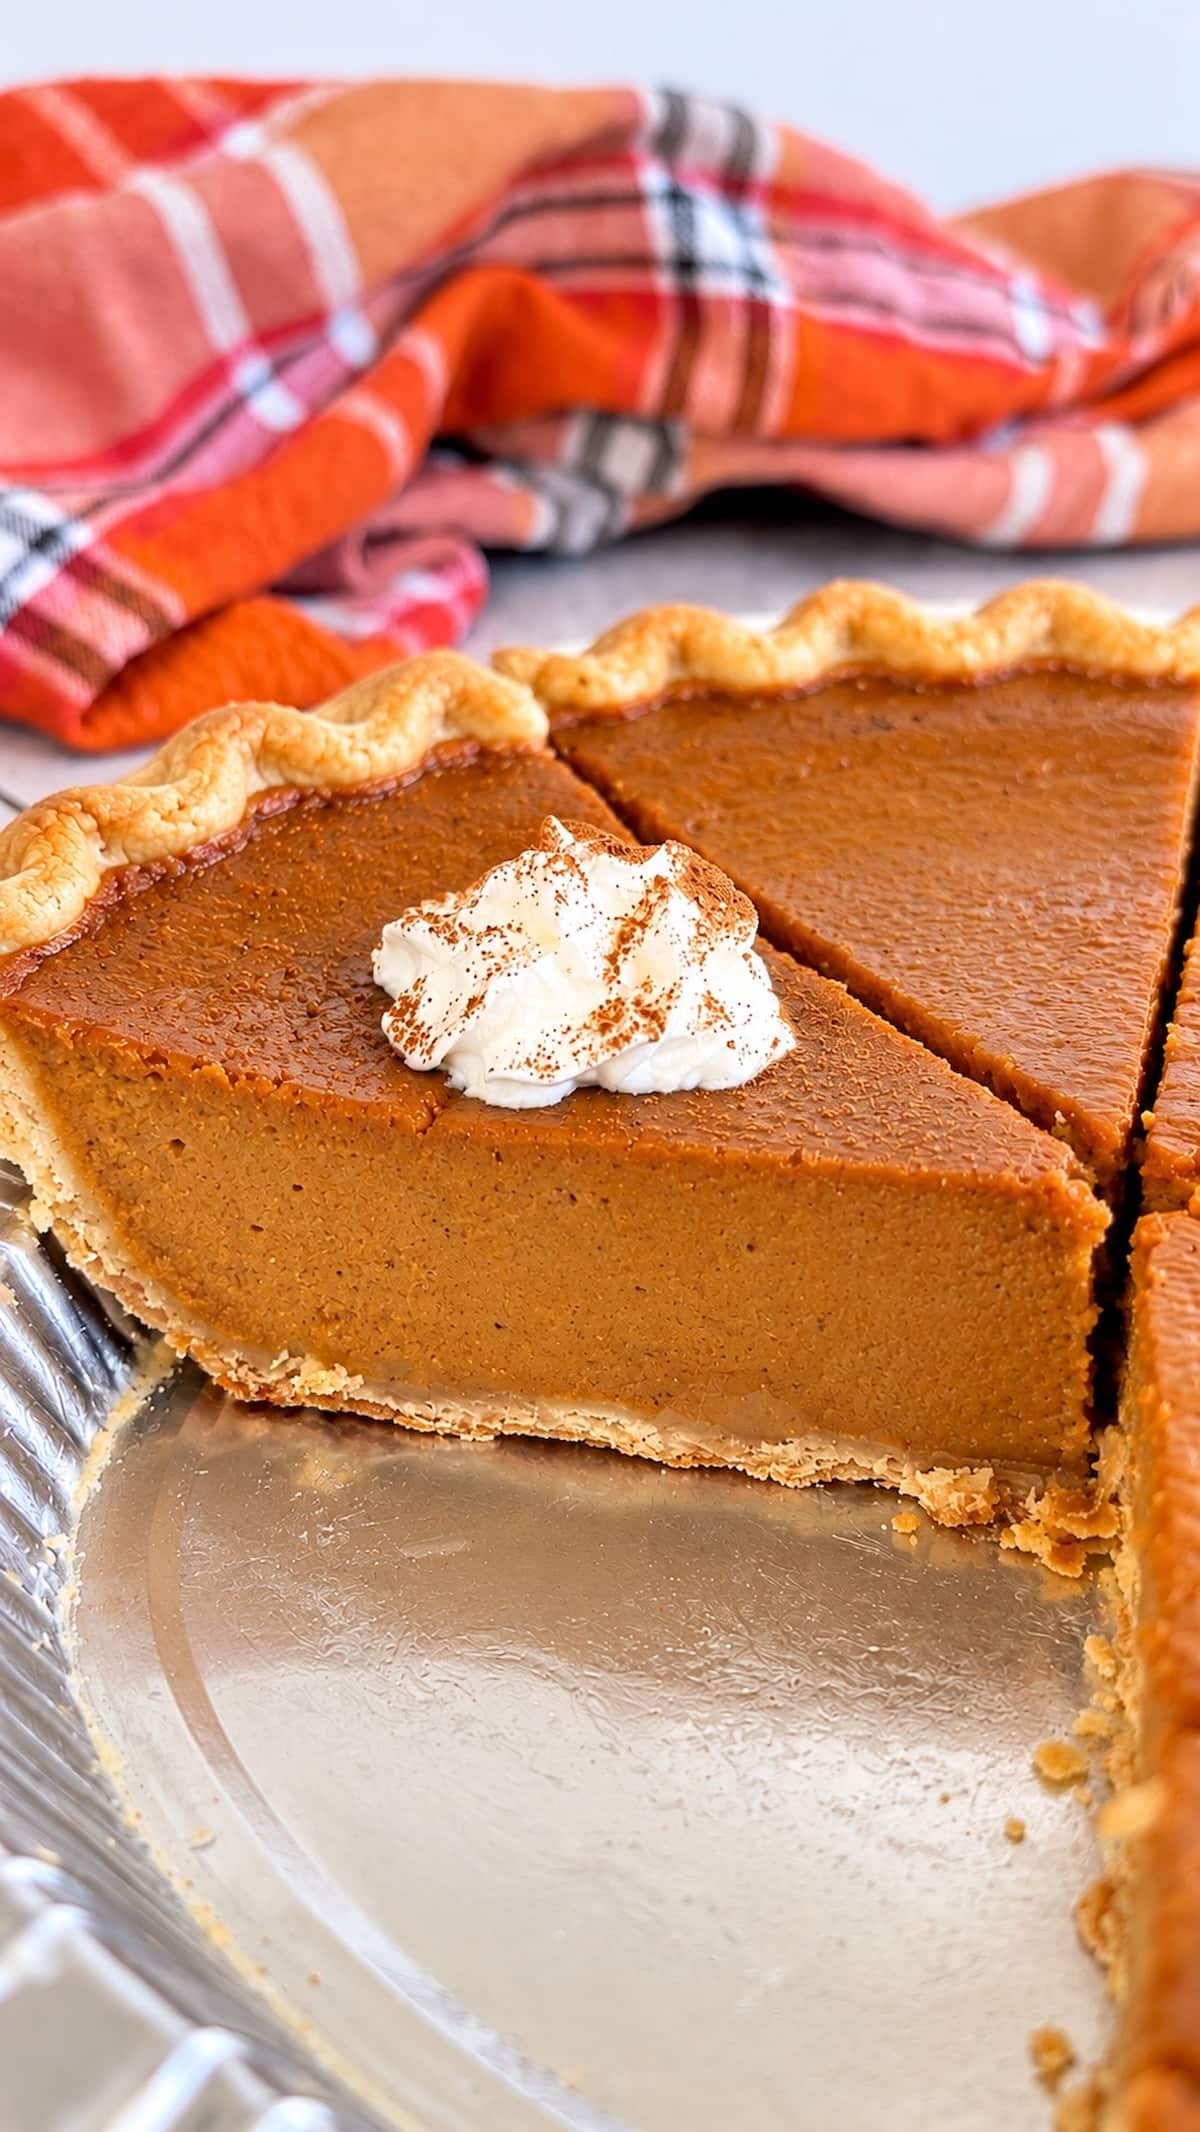
- No evaporated milk needed. Heavy whipping cream gives the filling its rich, smooth texture without relying on the usual canned milk.
- All the classic pumpkin pie flavour. Brown sugar, pumpkin pie spice, and a little extra cinnamon bring that familiar warm, cozy flavour we all know and love.
- A creamy filling that actually sets. The combination of whole eggs and an extra yolk gives the custard enough structure to hold its shape while staying silky and smooth.
- Store-bought crust friendly. A frozen deep-dish pie shell keeps prep manageable, especially when you’ve already got a million other things going on in the kitchen.
Ingredients You’ll Need
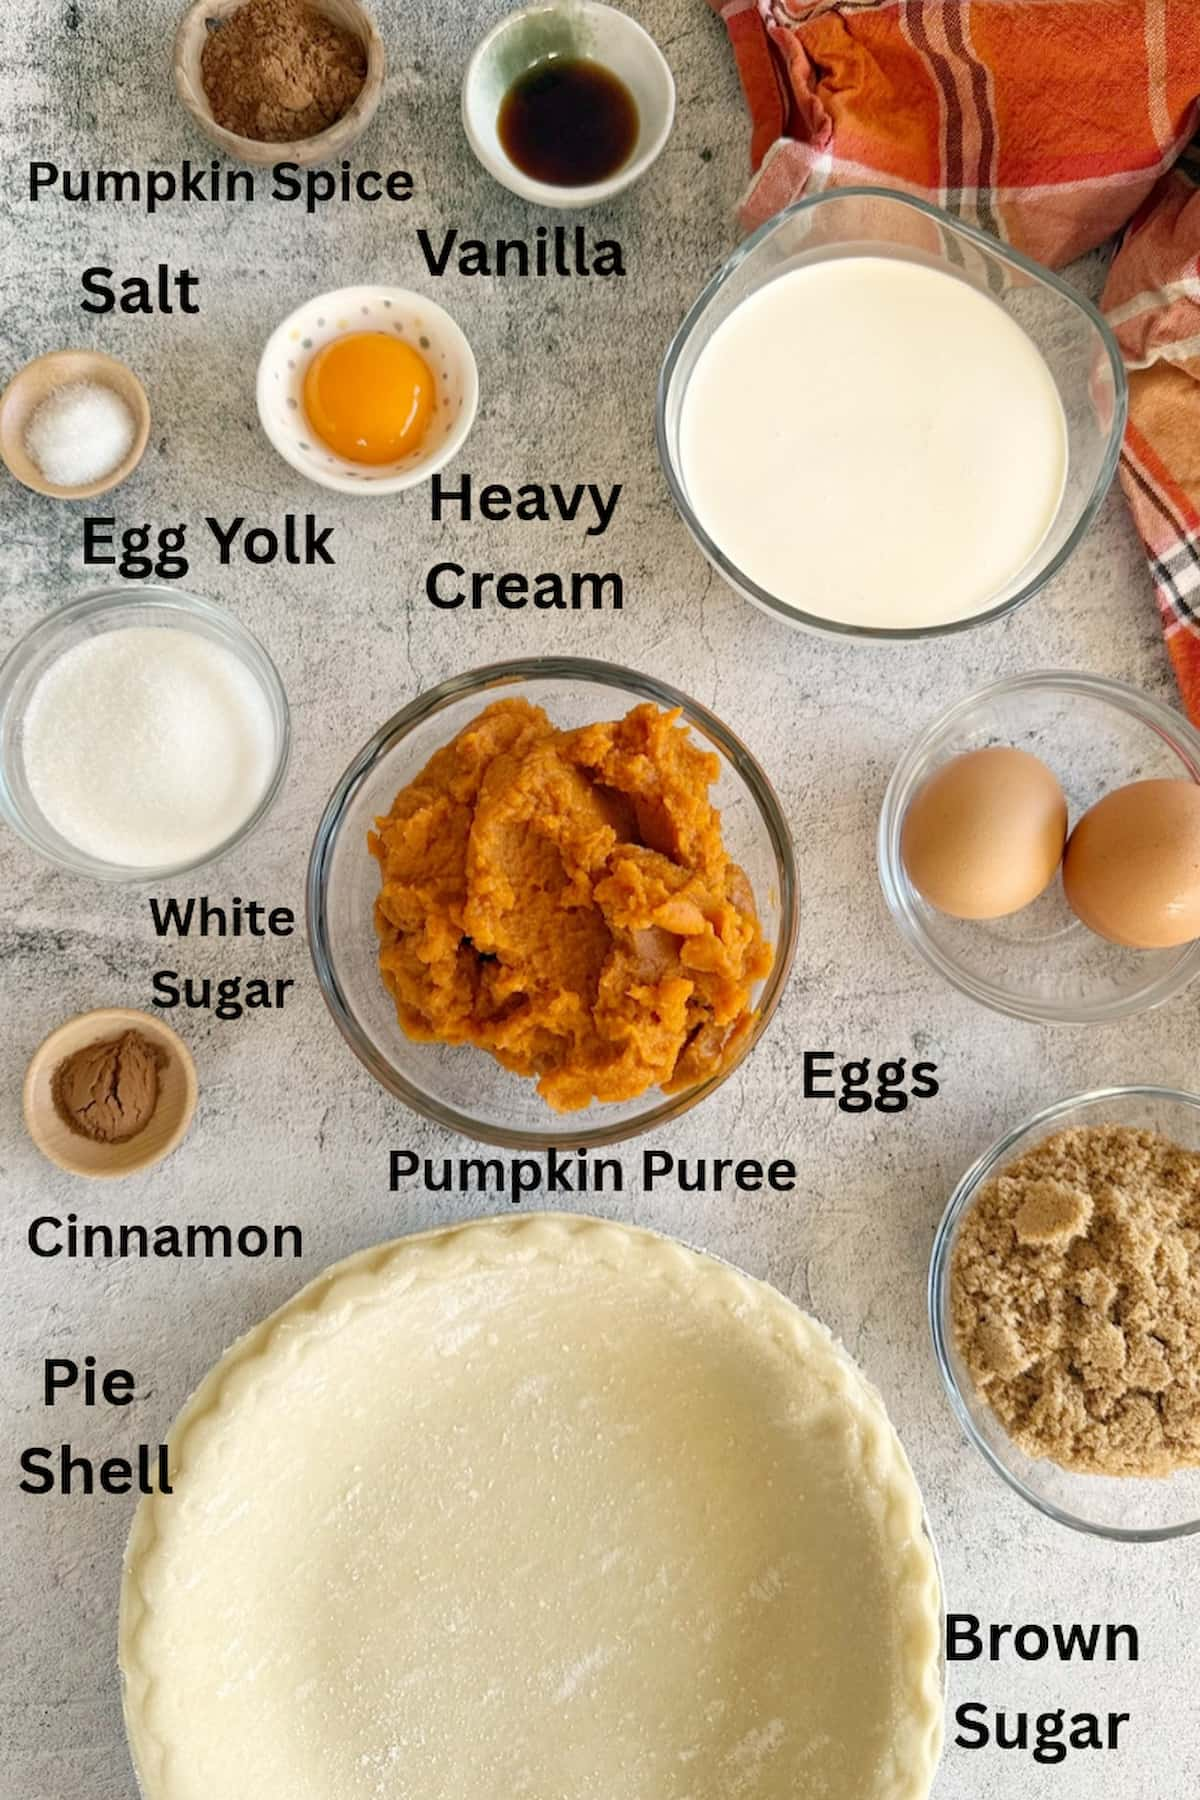
No evaporated milk, no problem! This pumpkin pie sticks to familiar baking ingredients, with heavy whipping cream taking the place of the usual canned milk. Here’s what goes into that rich, creamy filling.
Pumpkin Puree
Make sure you’re using 100% pure pumpkin puree, not pumpkin pie filling. I know, you’d think something literally called “pumpkin pie filling” would be the obvious choice for pumpkin pie, but nope! That stuff already has sugar and spices added, and we want to be in charge of those ourselves. Plain pumpkin puree is what you want here!
Heavy Whipping Cream
The star of the show! Heavy whipping cream gives the pumpkin custard its rich, silky texture without needing evaporated milk. Its higher fat content adds richness, while the eggs help everything set up nicely as the pie bakes. Use full-fat heavy cream for the intended results.
Brown Sugar and Granulated Sugar
We’re using both! Brown sugar adds a little molasses flavour that works beautifully with pumpkin, while granulated sugar brings sweetness without making the filling too heavy tasting.
Eggs and Egg Yolk
Whole eggs help the pumpkin filling set, while an extra yolk adds richness and gives the custard a smoother, creamier consistency. That little extra yolk earns its keep!
Pumpkin Pie Spice and Cinnamon
Pumpkin pie spice brings all those familiar warm flavours together, while a little extra cinnamon gives the filling more depth. Store-bought works just fine, but you can also make your own homemade pumpkin pie spice. And if you’re missing an ingredient or two, check out my pumpkin pie spice substitutes before making a special trip to the store!
Vanilla Extract and Salt
A splash of pure vanilla rounds out the warm spices, while a little salt balances the sweetness and brings out the pumpkin flavour. Small additions, big difference!
Pie Crust
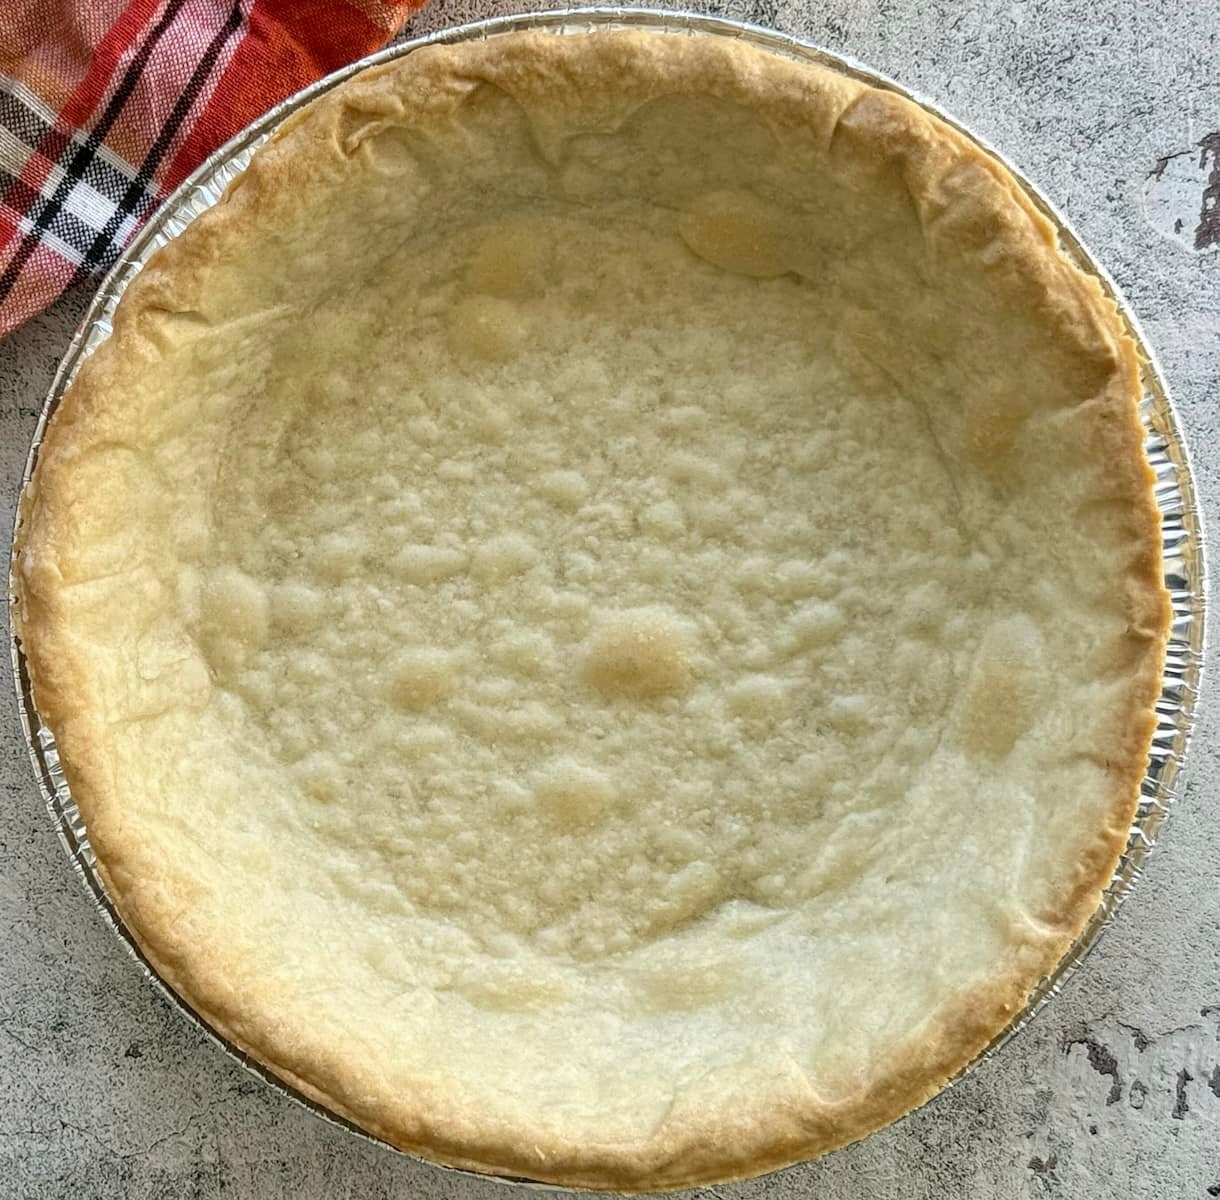
You’ll need one 9-inch deep-dish pie shell, either homemade or store-bought. I used a frozen deep-dish shell and partially blind-baked it before adding the filling to help prevent a soggy bottom. Just make sure your crust has enough room for the custard, since pie shell capacities can vary.
Find the full ingredient list and exact measurements in the recipe card below.
The Key to a Creamy Pumpkin Pie Without Evaporated Milk
The secret to a good pumpkin pie isn’t just what goes into the filling. It’s how you bake it! A few little details can make the difference between a smooth, silky custard and one that’s overbaked, cracked, or a little too firm for its own good.
- Give the crust a head start. I partially blind-bake my pie shell before adding the filling to help prevent a soggy bottom. It’s an extra step, but one worth considering, especially when using a frozen crust.
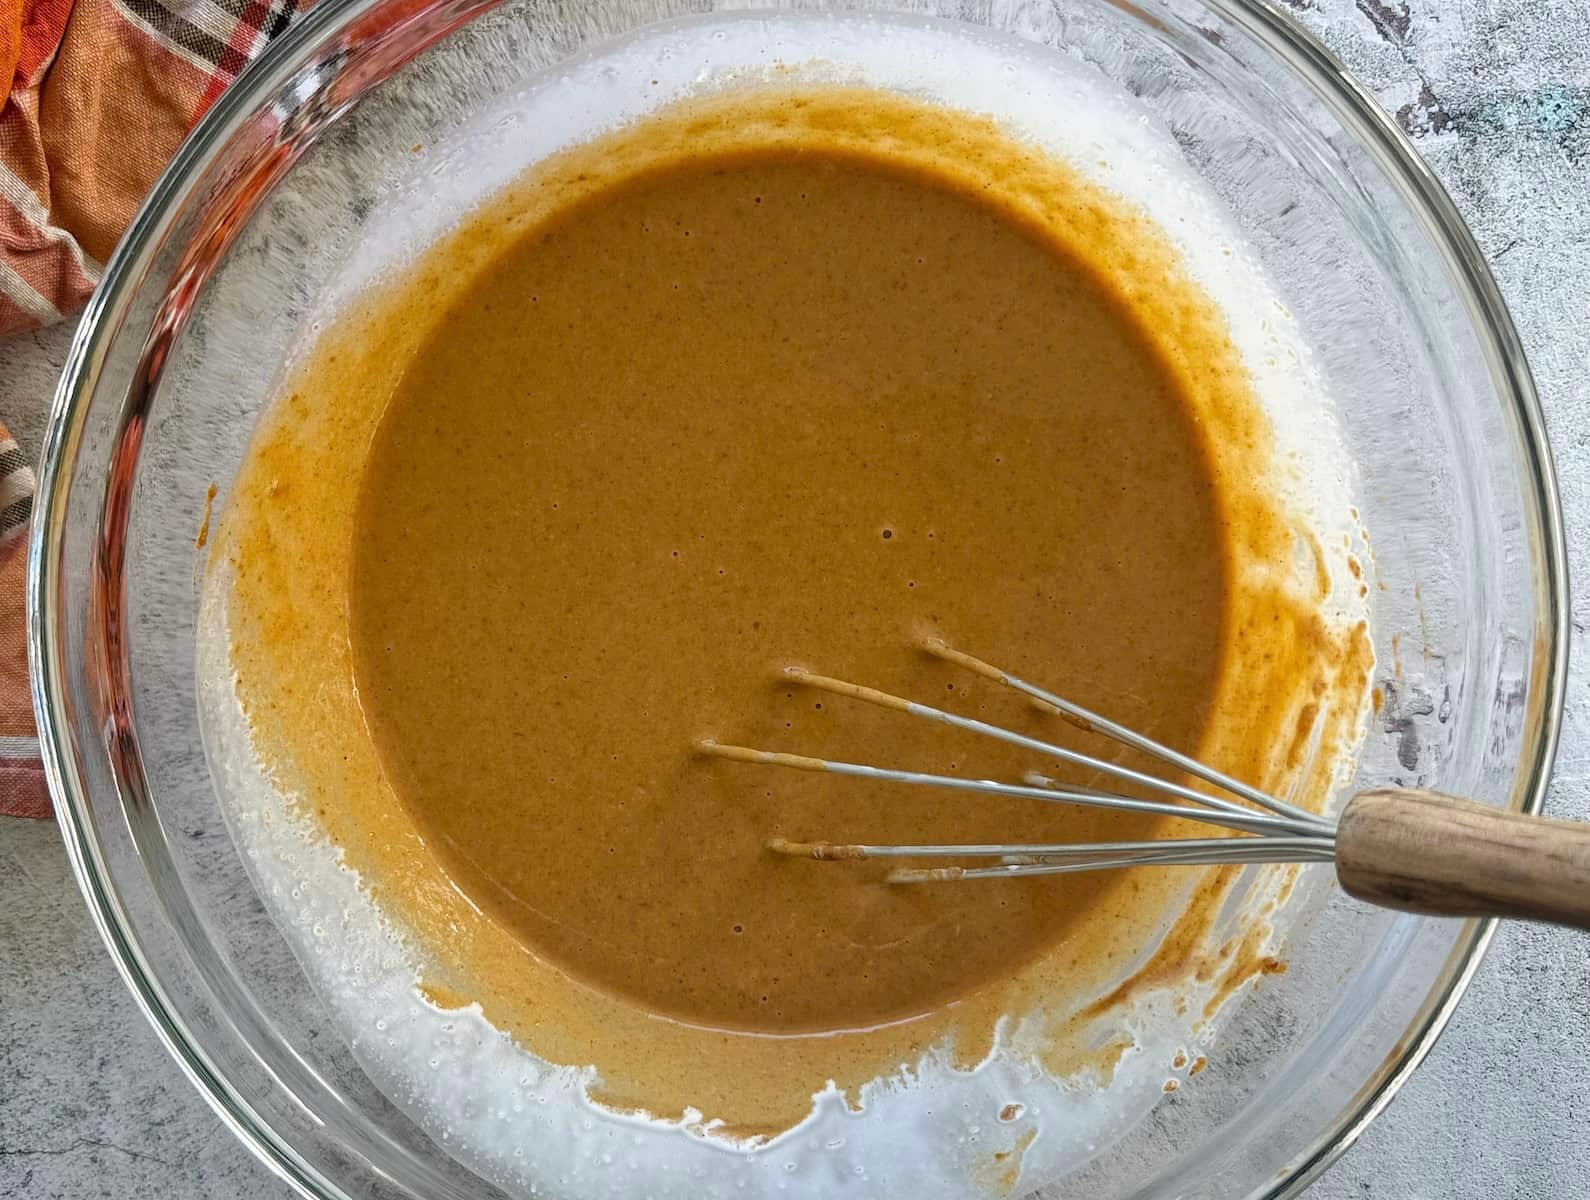
- Mix gently, not aggressively. Whisk the filling until everything is smooth and combined, but don’t go wild with it. Too much air can cause the custard to puff up in the oven and potentially crack as it cools.
- Watch the wobble, not just the clock. The edges should look set, but the centre should still have a gentle, Jell-O-like jiggle when you carefully nudge the pie. If it sloshes around like liquid, it needs more time. Mine took about 55 minutes, but ovens and pie shells vary.
- Let it cool and set. Pumpkin pie continues to firm up as it cools, so don’t rush to slice into it straight from the oven. Give it time to cool, then refrigerate until chilled for those nice, clean slices. Patience, my friends. I know.

Substitutions and Variations
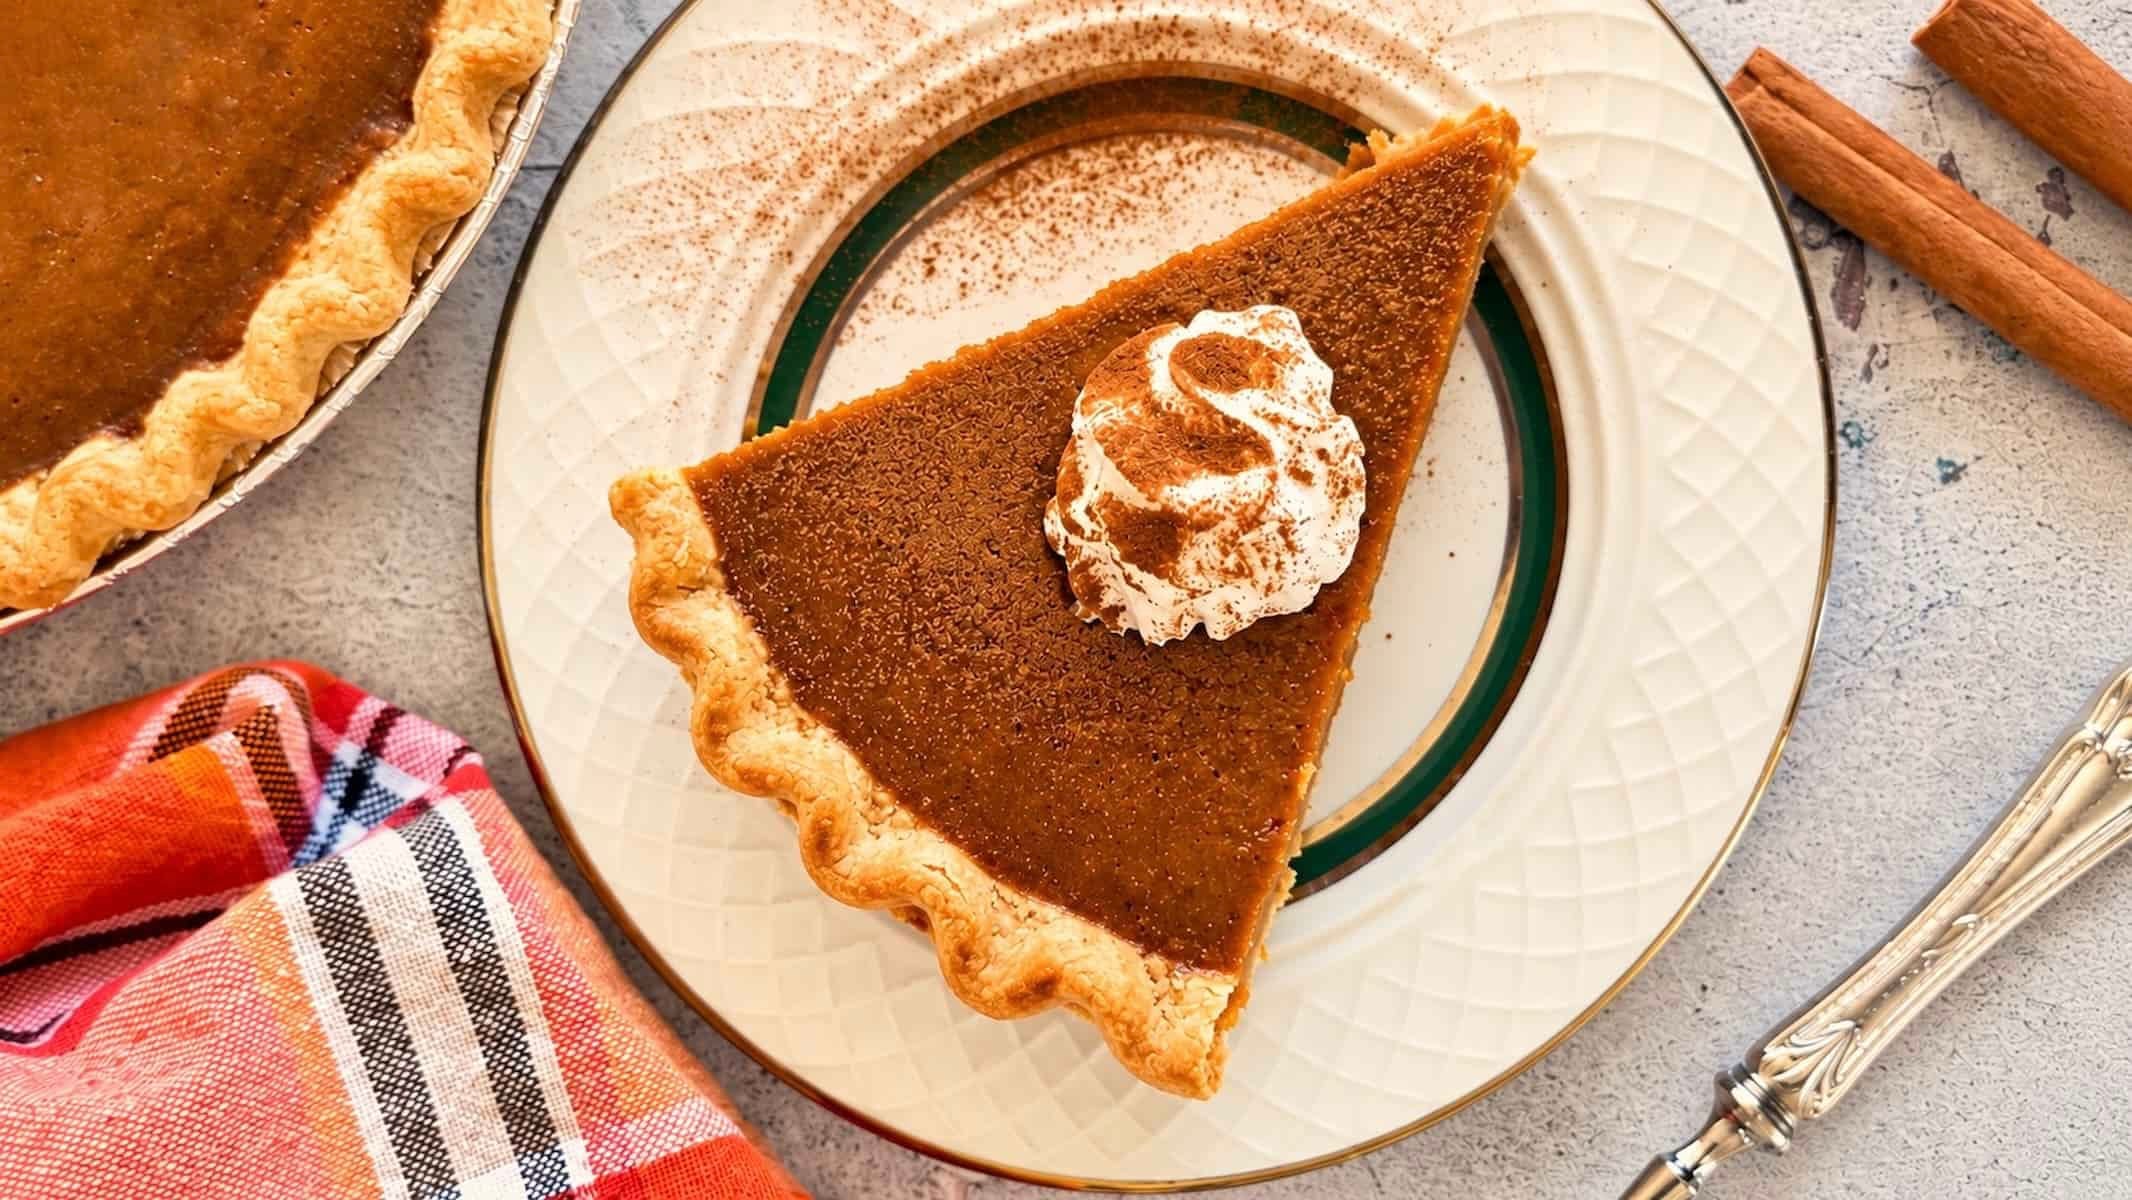
This pumpkin pie recipe keeps things pretty classic, but there’s still a little room to make it your own!
- Switch up the crust. Use your favourite homemade pie crust or stick with a store-bought deep-dish shell. A graham cracker crust is another option if you want something a little different, although the baking method may need adjusting.
- Play with the spices. Love a little extra cinnamon or ginger? Go for it! You can tweak the warm spices to suit your taste without changing the custard itself.
- Wondering about other milk options? Heavy whipping cream is what gives this particular filling its rich texture, so I wouldn’t swap it for regular milk without adjusting the recipe. If you’re out of cream too, check out my evaporated milk substitutes for pumpkin pie for more options and tips.
How to Store Pumpkin Pie
Good news! Pumpkin pie stores beautifully, so you can absolutely make it ahead of time. One less thing to worry about when the holiday cooking chaos kicks in!
- In the fridge: Let the pie cool after baking, then cover it loosely with plastic wrap or aluminum foil and refrigerate within 2 hours of taking it out of the oven. Since the filling contains eggs and dairy, it needs to be kept refrigerated. It’ll stay fresh for up to 3–4 days.
- In the freezer: Once completely cooled and chilled, wrap the pie tightly in plastic wrap followed by aluminum foil to protect it from freezer burn. Freeze for up to 1 month for the best texture. Thaw overnight in the fridge before serving.
- To serve: Enjoy it cold straight from the fridge or let it sit at room temperature for about 15–20 minutes to take the chill off. Add a generous dollop of whipped cream or even a drizzle of homemade caramel sauce, because why wouldn’t you?
Frequently Asked Questions
more cozy fall desserts to try
Still in the mood for something sweet? These fall favourites are worth adding to your baking list, especially if pumpkin spice and cozy desserts are your love language!
- Pumpkin Pie Tarts. All that pumpkin pie goodness, mini-sized!
- Pumpkin Spice Ice Cream. A cool, creamy pumpkin spice treat.
- Pumpkin Chocolate Chip Muffins. Chocolate chips make pumpkin even better.
- Pumpkin Spice Cookies. Soft, warmly spiced fall baking.
- Apple Cranberry Crisp. Sweet, tart, and wonderfully cozy.
- Puff Pastry Apple Roses. Flaky, buttery, and almost too pretty to eat!
Made this recipe? ⭐️ If you tried it, leave a star rating in the recipe card! It helps other home cooks know it’s worth making (and makes my day, too!).
Easy Pumpkin Pie Without Evaporated Milk
Video
Ingredients
- 1 9-inch deep-dish frozen pie shell
- 1¾ cups (approx. 400 g) pure pumpkin puree
- ⅔ cup packed light brown sugar
- 3 tbsp granulated sugar
- 2 large eggs
- 1 large egg yolk
- ¾ cup heavy whipping cream
- 1 tsp pure vanilla extract
- 1¾ tsp pumpkin pie spice
- ½ tsp ground cinnamon
- ½ tsp salt
Instructions
- Preheat your oven to 375°F (190°C). Place the frozen pie shell on a baking sheet for easier handling.
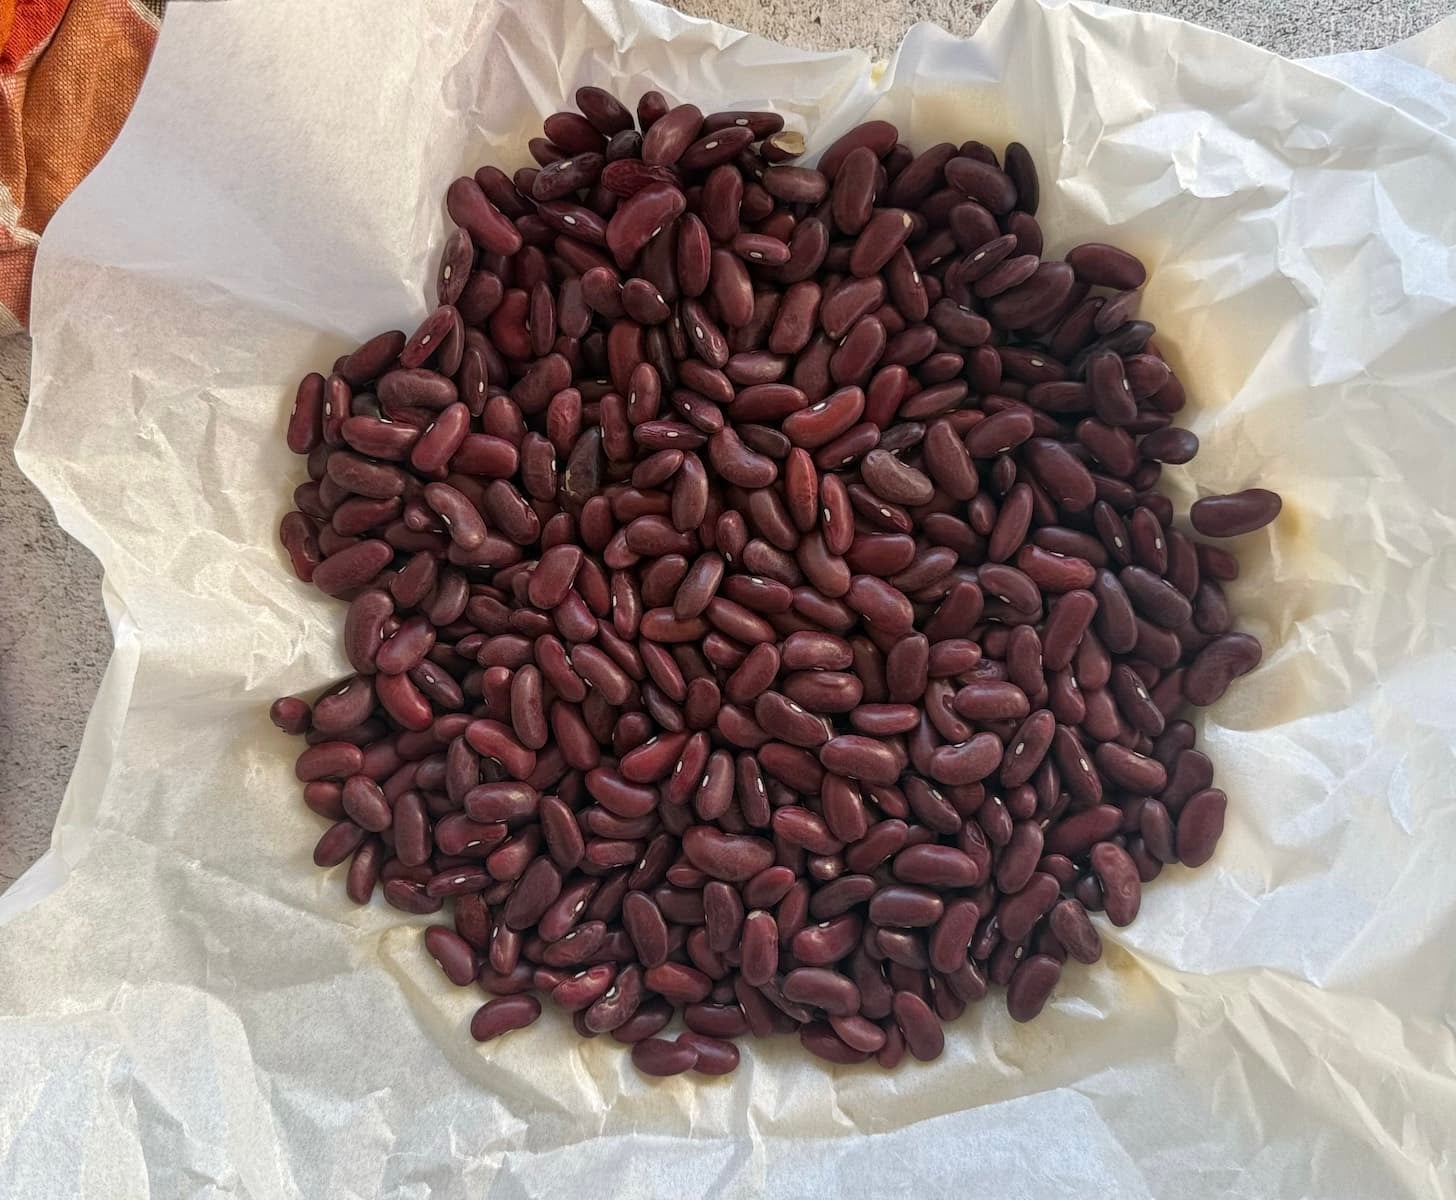
- Line the frozen pie shell with parchment paper and fill with pie weights or dried beans.
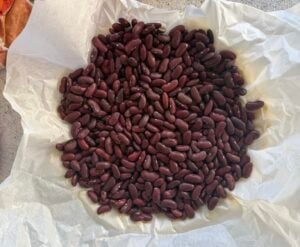
- Bake for 15 minutes, then carefully remove the parchment and weights. Return the crust to the oven for another 5 minutes.
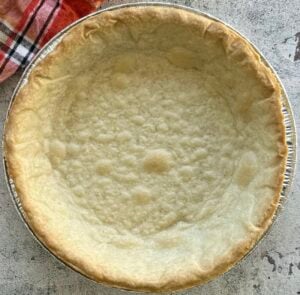
- Lower the oven temperature to 350°F (175°C).
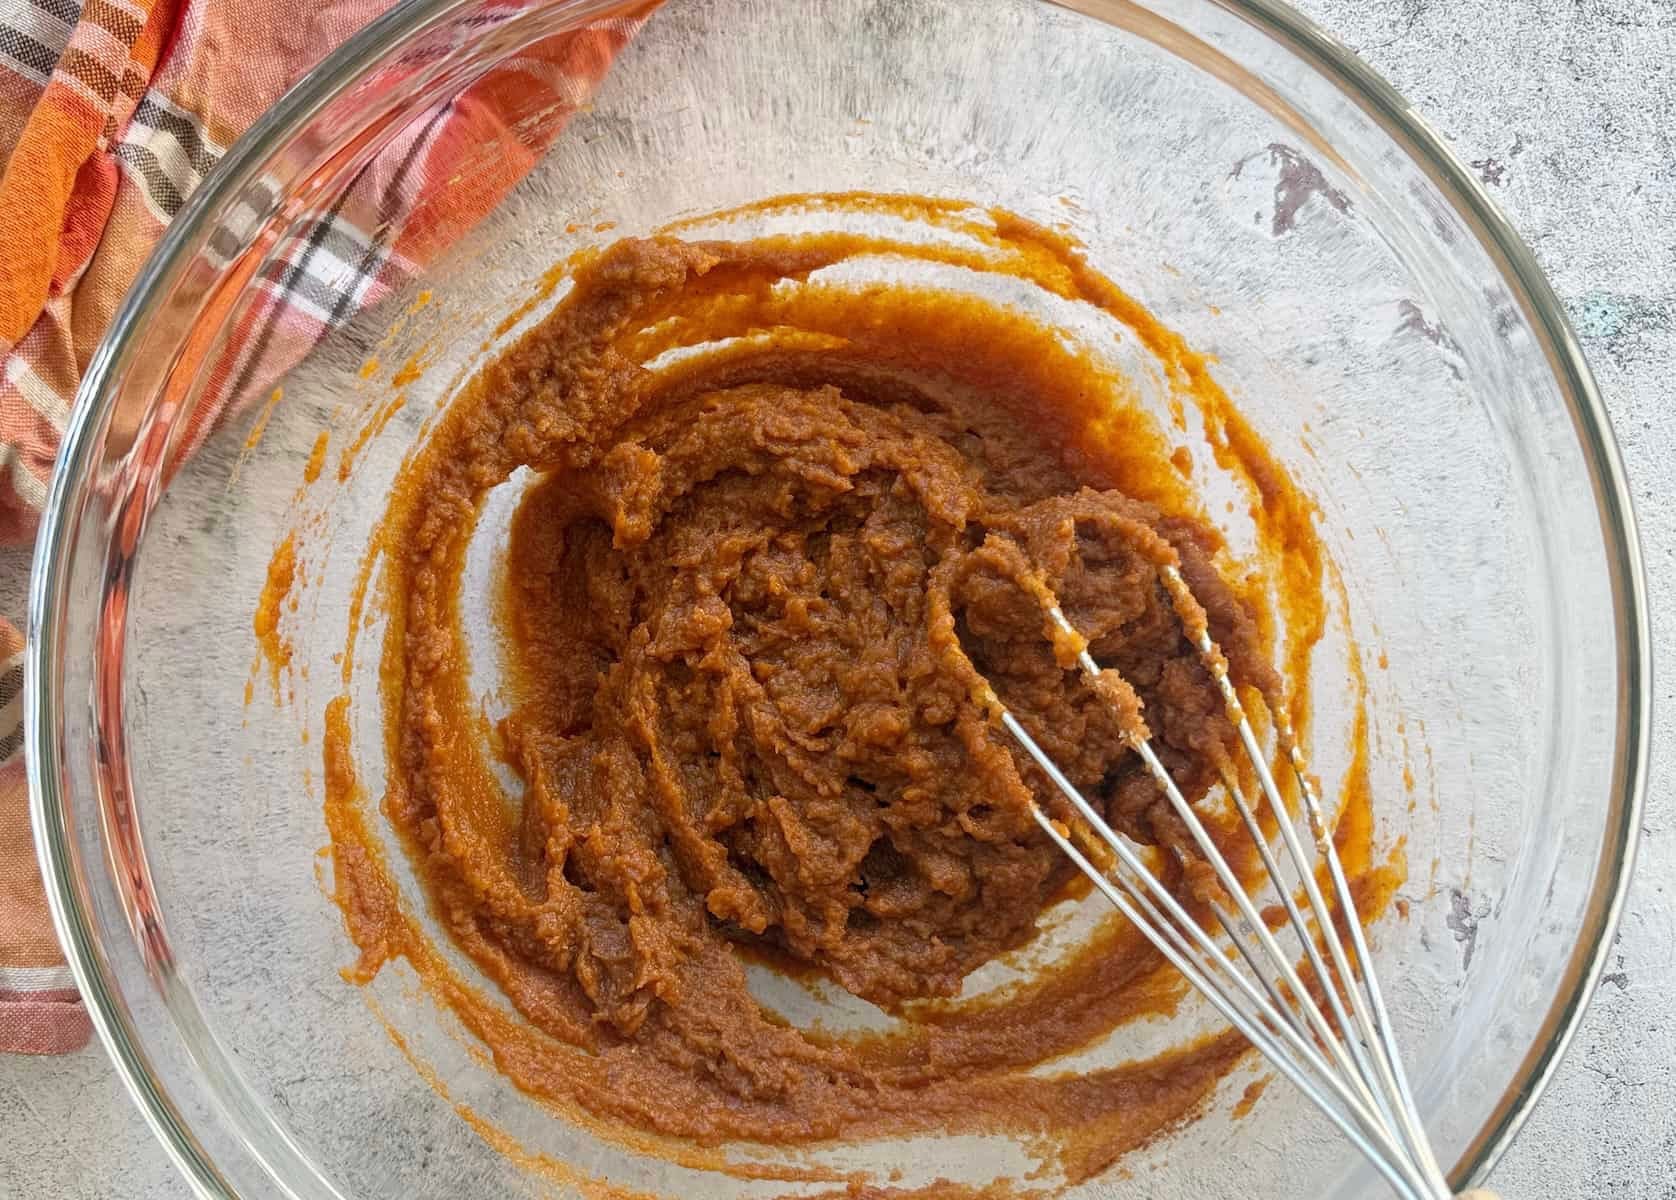
- In a large bowl, whisk together the pumpkin puree, brown sugar, granulated sugar, pumpkin pie spice, cinnamon, and salt until smooth.
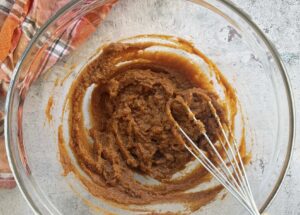
- Add the eggs and egg yolk and whisk just until incorporated. Pour in the heavy cream and vanilla and whisk gently until completely smooth. Do not aggressively beat the mixture or intentionally incorporate extra air.
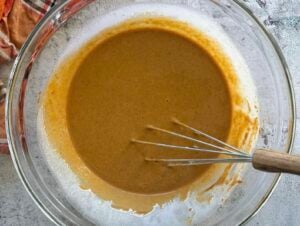
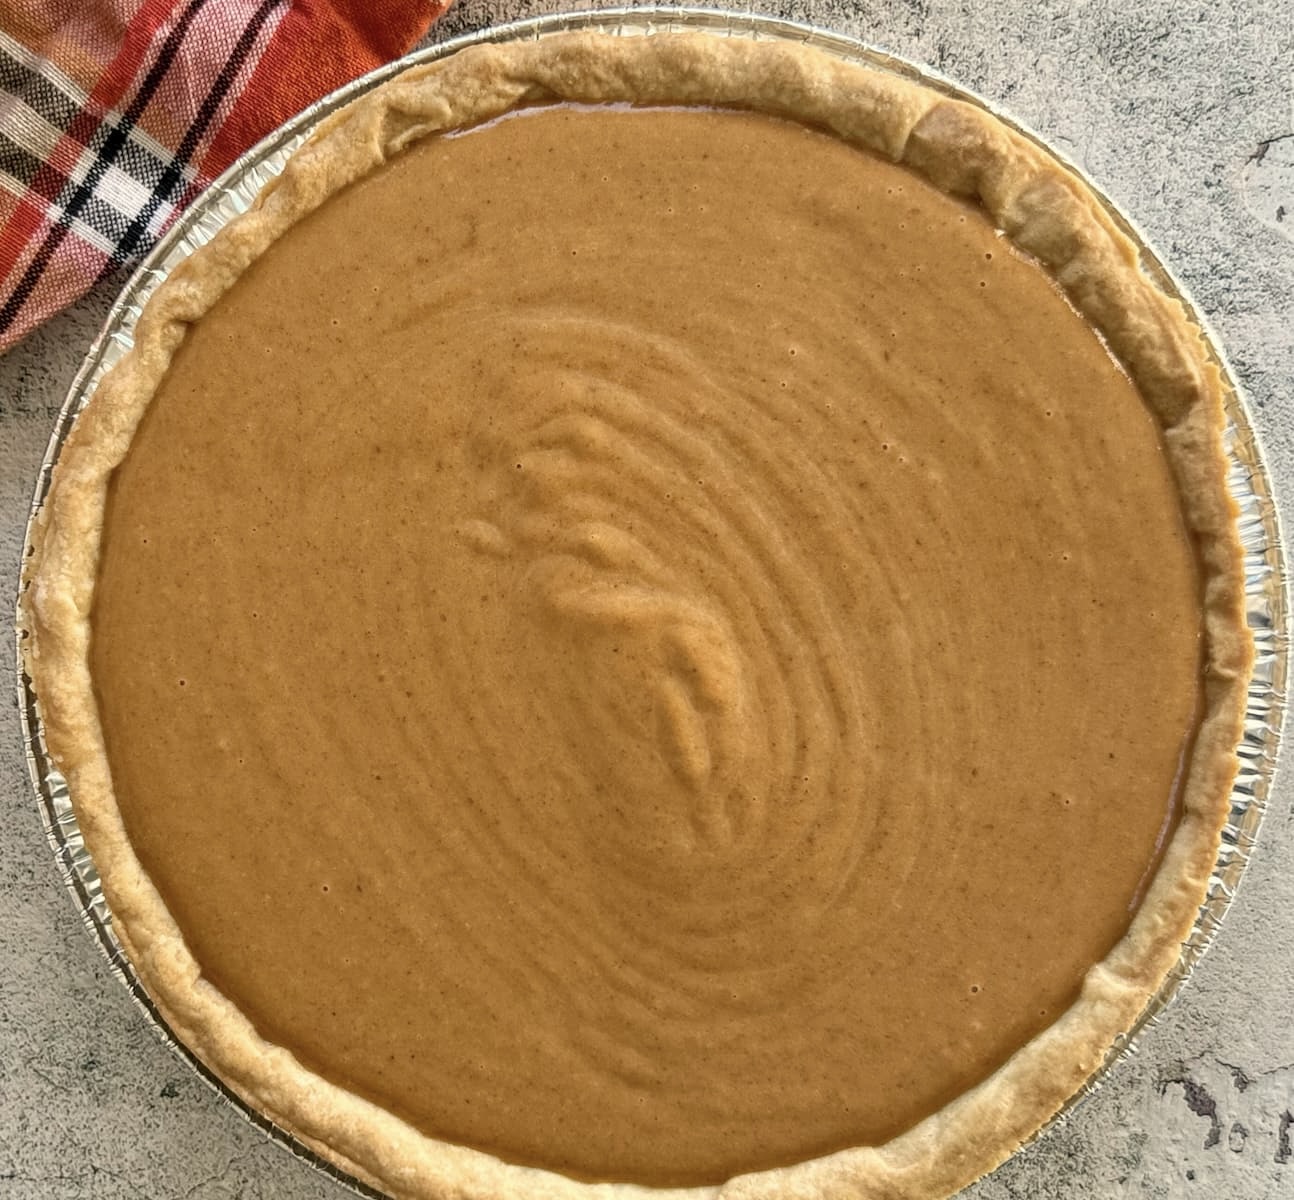
- Pour the pumpkin mixture into the warm, partially baked crust, stopping just below the rim. The amount the shell holds may vary slightly by brand.
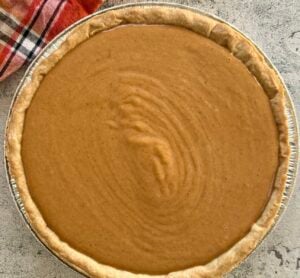
- Bake at 350°F (175°C) for approximately 45–55 minutes, or until the edges are set and the centre has a gentle, Jell-O-like wobble when lightly nudged. The centre should jiggle as one piece, not look wet or liquid. Start checking around 45 minutes to avoid overbaking.
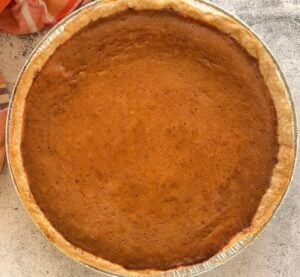
- Transfer the pie to a wire rack and let it cool. Refrigerate within 2 hours of removing it from the oven, then chill until fully set, preferably for at least 3 hours, before slicing.
- Cut into 8 slices and serve chilled or slightly closer to room temperature, with a dollop of whipped cream if desired.
Notes
Nutrition
Don’t skip the good stuff —
scroll up above the recipe card for ingredient notes, tips & tricks, and easy swaps/variations.Made it? Tell me everything.
I LOVE seeing what you made! Tag @hiphipgourmet on Instagram (or use #hiphipgourmet) so I can see it — then rate it + upload your photo below. 💖
Who knew making pumpkin pie with no evaporated milk could turn out so creamy and dreamy?! If you give this recipe a try, I’d love to see your masterpiece! Tag @HipHipGourmet on social media so I can check it out!
Save this one for later?