✨This post may contain affiliate links. As an Amazon Associate, I earn from qualifying purchases.
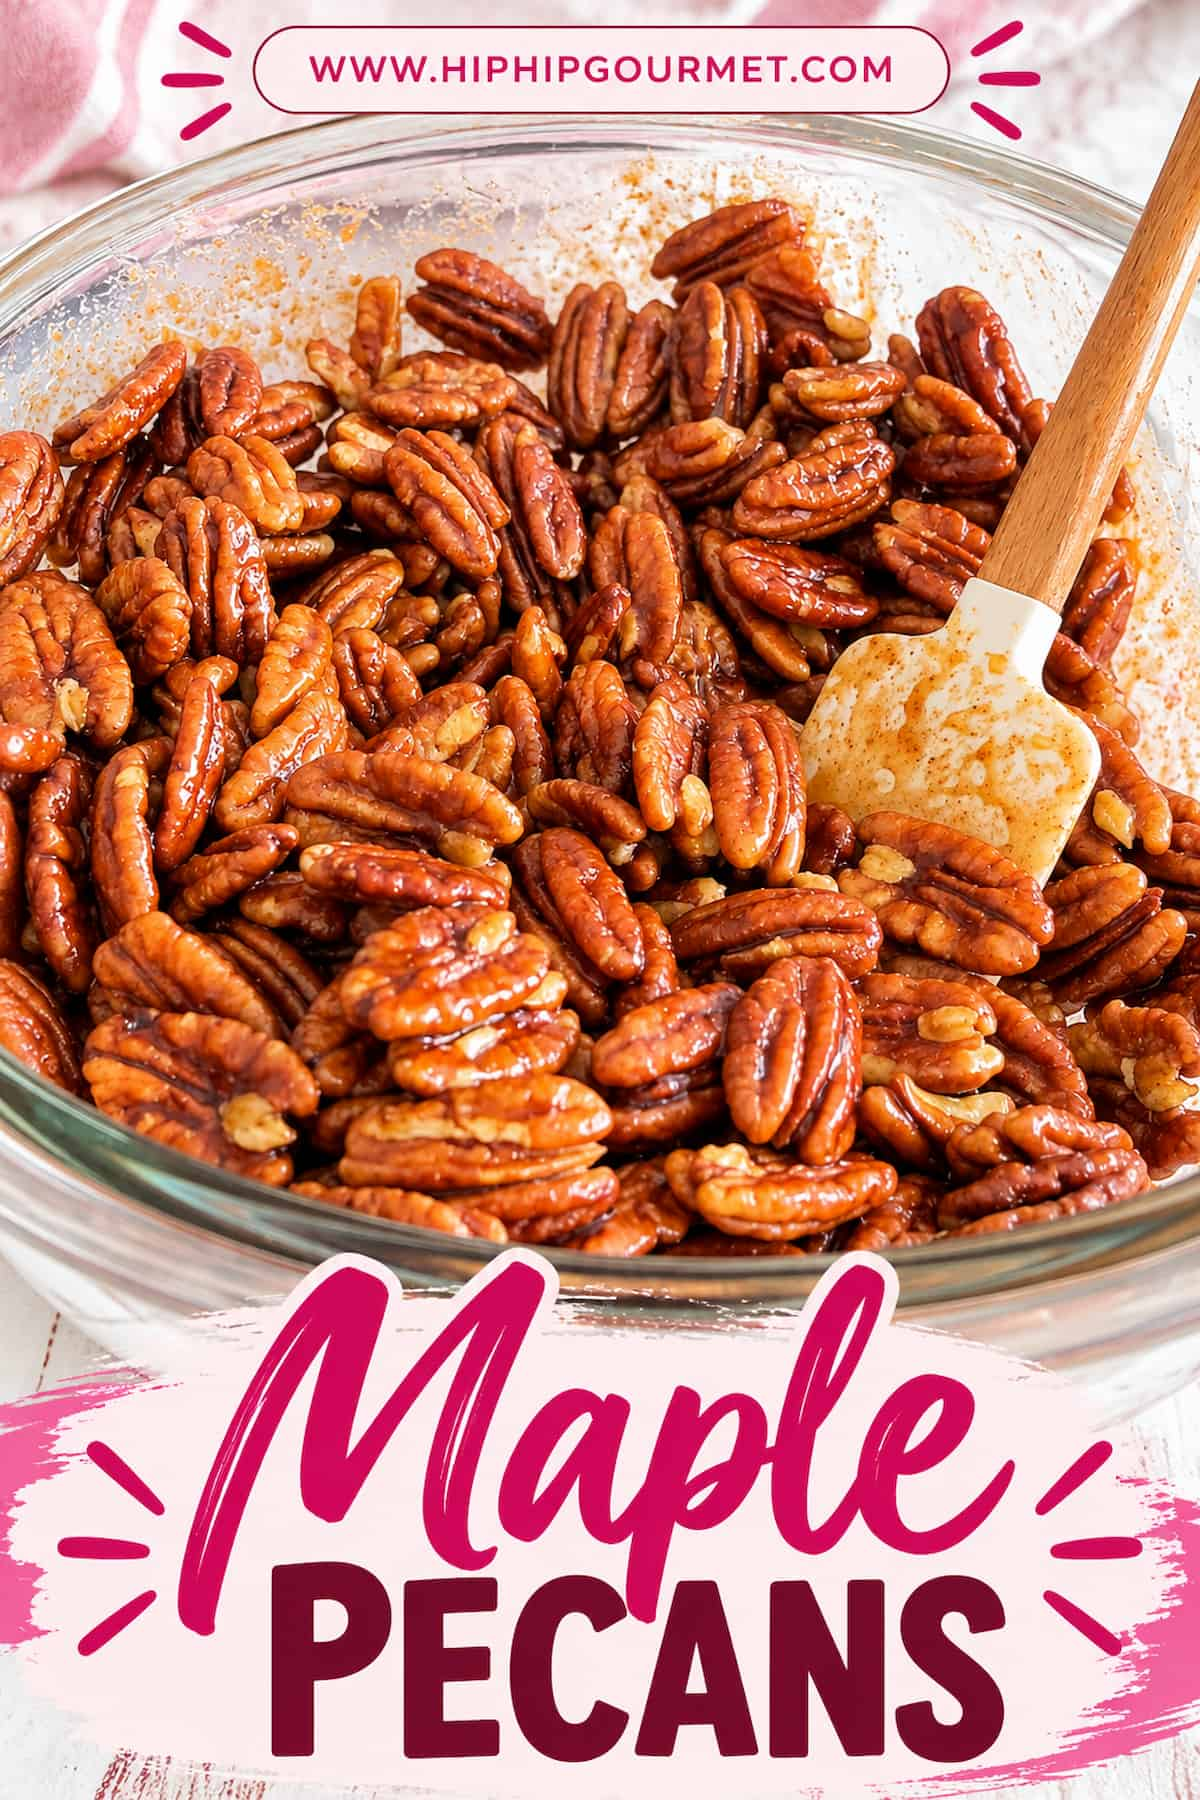
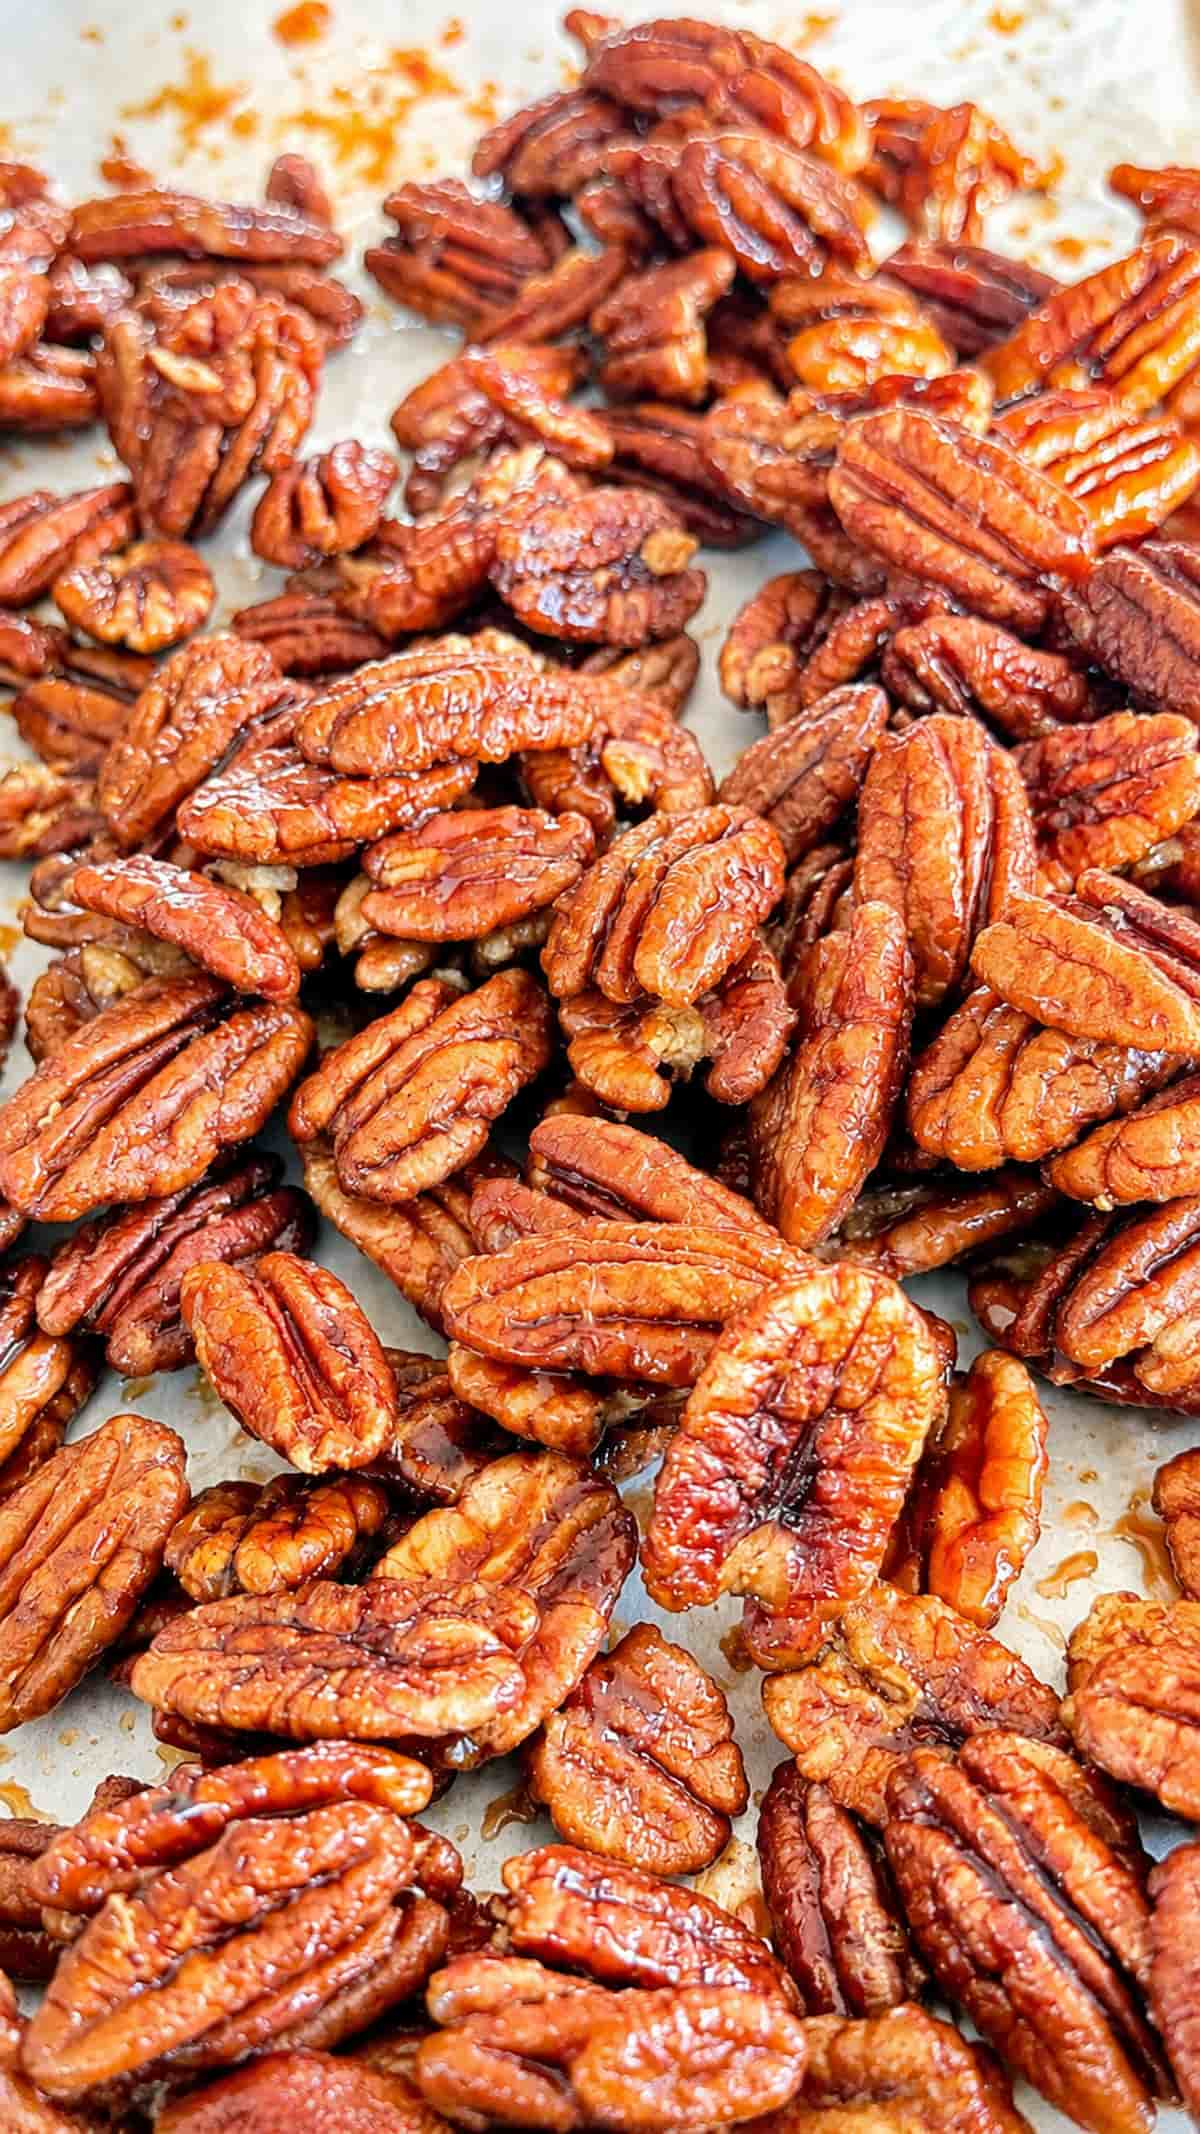
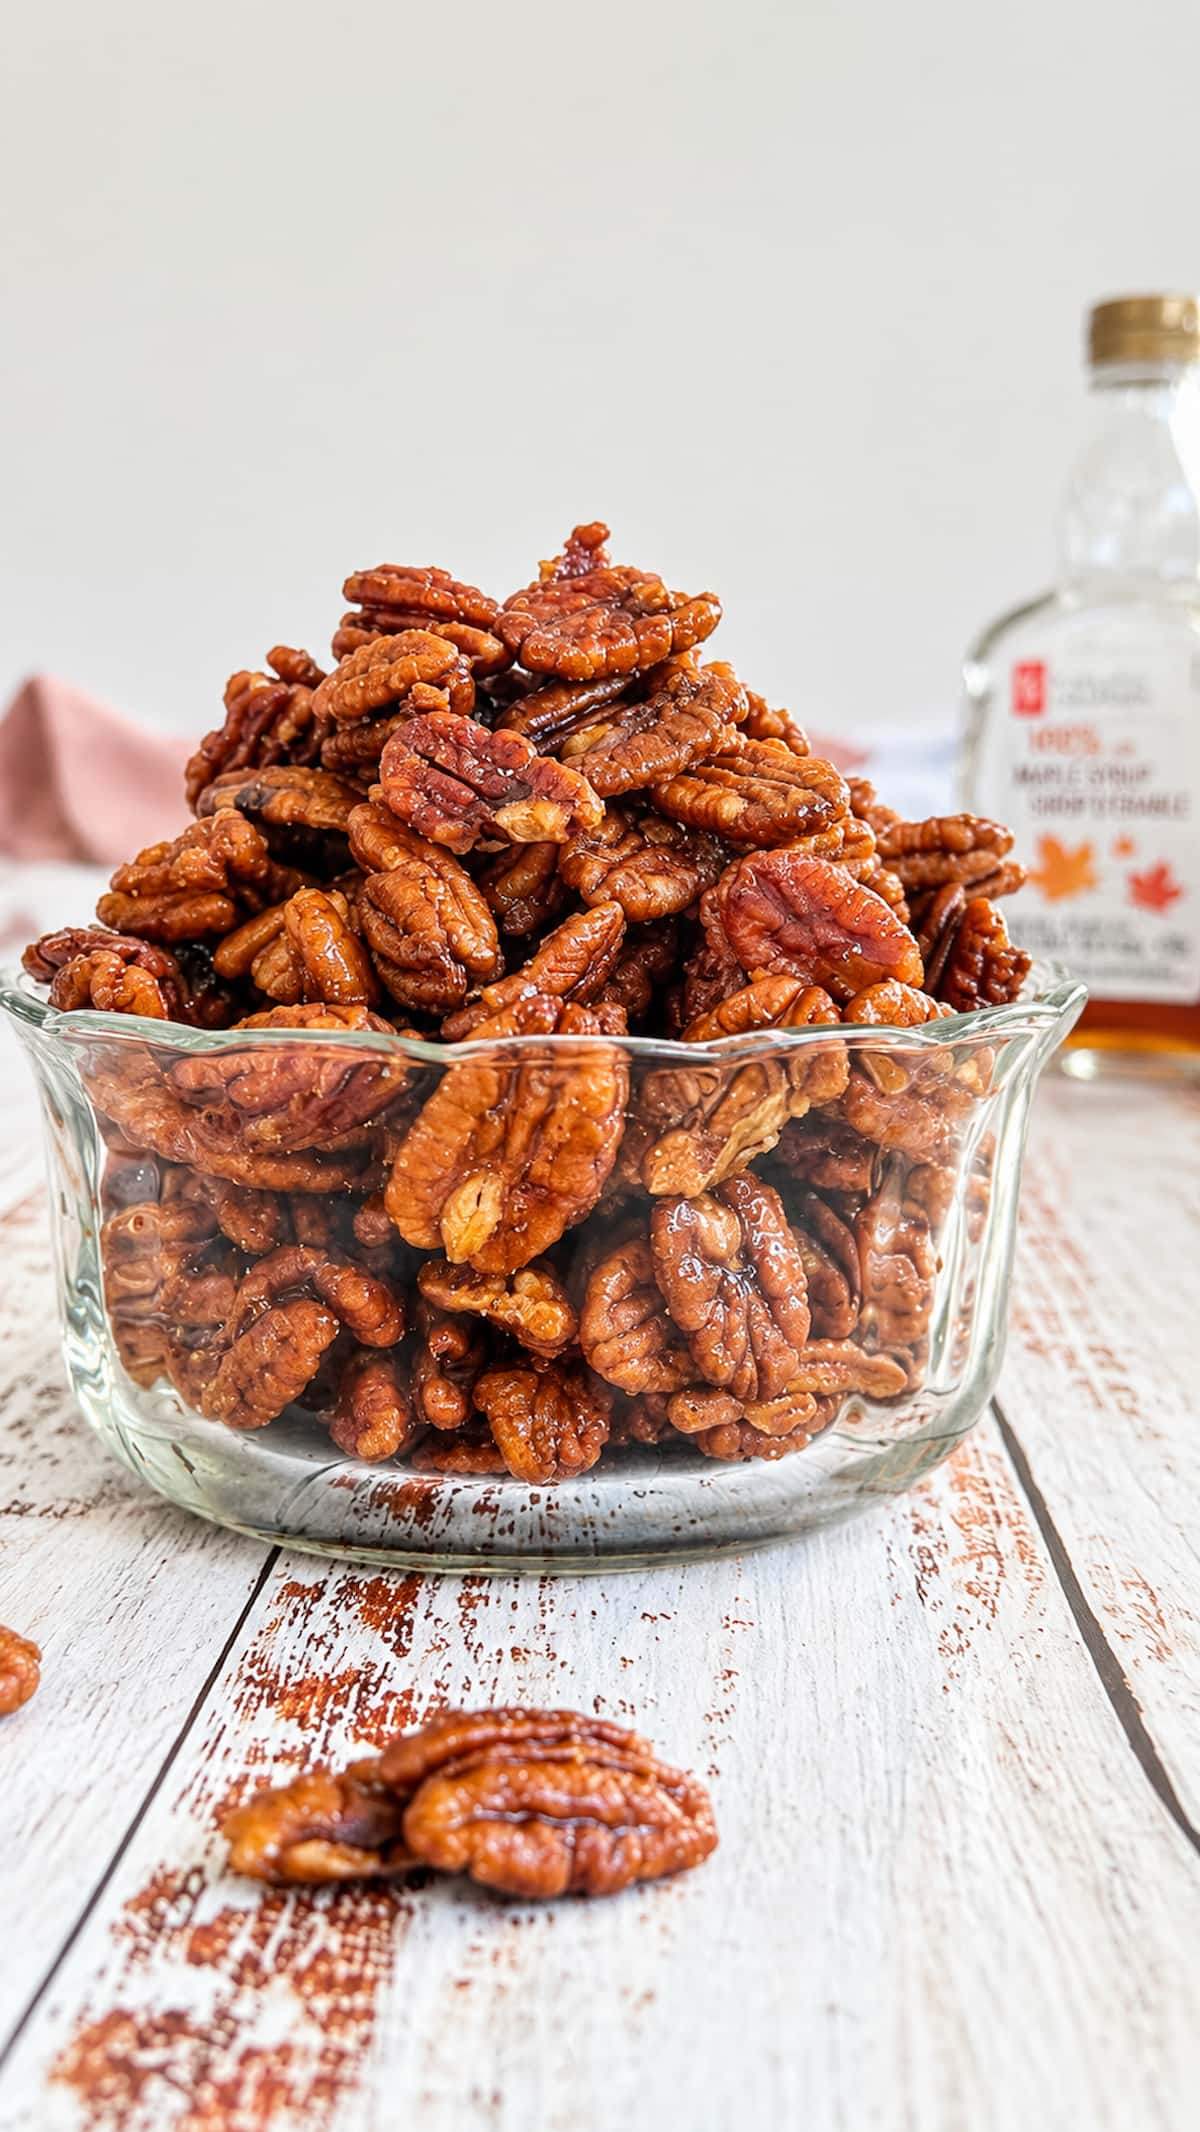
These maple pecans are crunchy, buttery, sweet, salty, and coated in a thin maple glaze that crisps up as they cool. Basically, they’re a very good reason to start eating nuts by the handful.
There’s something about pecans roasting in the oven with real maple syrup that makes the whole kitchen smell like you’ve got something seriously good going on. And, well, you do. The pecans get beautifully toasted while the maple syrup, butter, and a little brown sugar cook into a glossy coating with just enough cinnamon and salt to keep the sweetness in check. No thick candy shell here, just plenty of maple flavour and that glorious crunch.
I love keeping a batch around for snacking (although how long that batch actually lasts is another story). They’re also ridiculously good scattered over a salad, especially one with tangy cheese, or added to a holiday cheese board alongside my candied cashews and cinnamon roasted almonds. And for the days when a little heat sounds good, my spiced candied pecans have you covered.
These crunchy maple pecans are also recipe #5 in my Fall Recipe Series, where I’m sharing all sorts of cozy, seasonal recipes to keep your fall snacking (and everything in between!) interesting!
✳︎ Why You’ll Love These Maple Pecans
- Maple actually tastes like maple. We’re using the real stuff here, not maple-flavoured syrup pretending to be something it’s not.
- That crunch is worth waiting for. They come out of the oven glossy and a little sticky, then crisp up as they cool. Patience, my friend.
- Sweet, salty, and just a little buttery. A touch of cinnamon adds warmth without stealing the spotlight from the maple.
- A snack with range. Eat them by the handful, throw them on a salad, jazz up your morning oatmeal, or put them on a cheese board and watch them disappear.
Ingredients You’ll Need
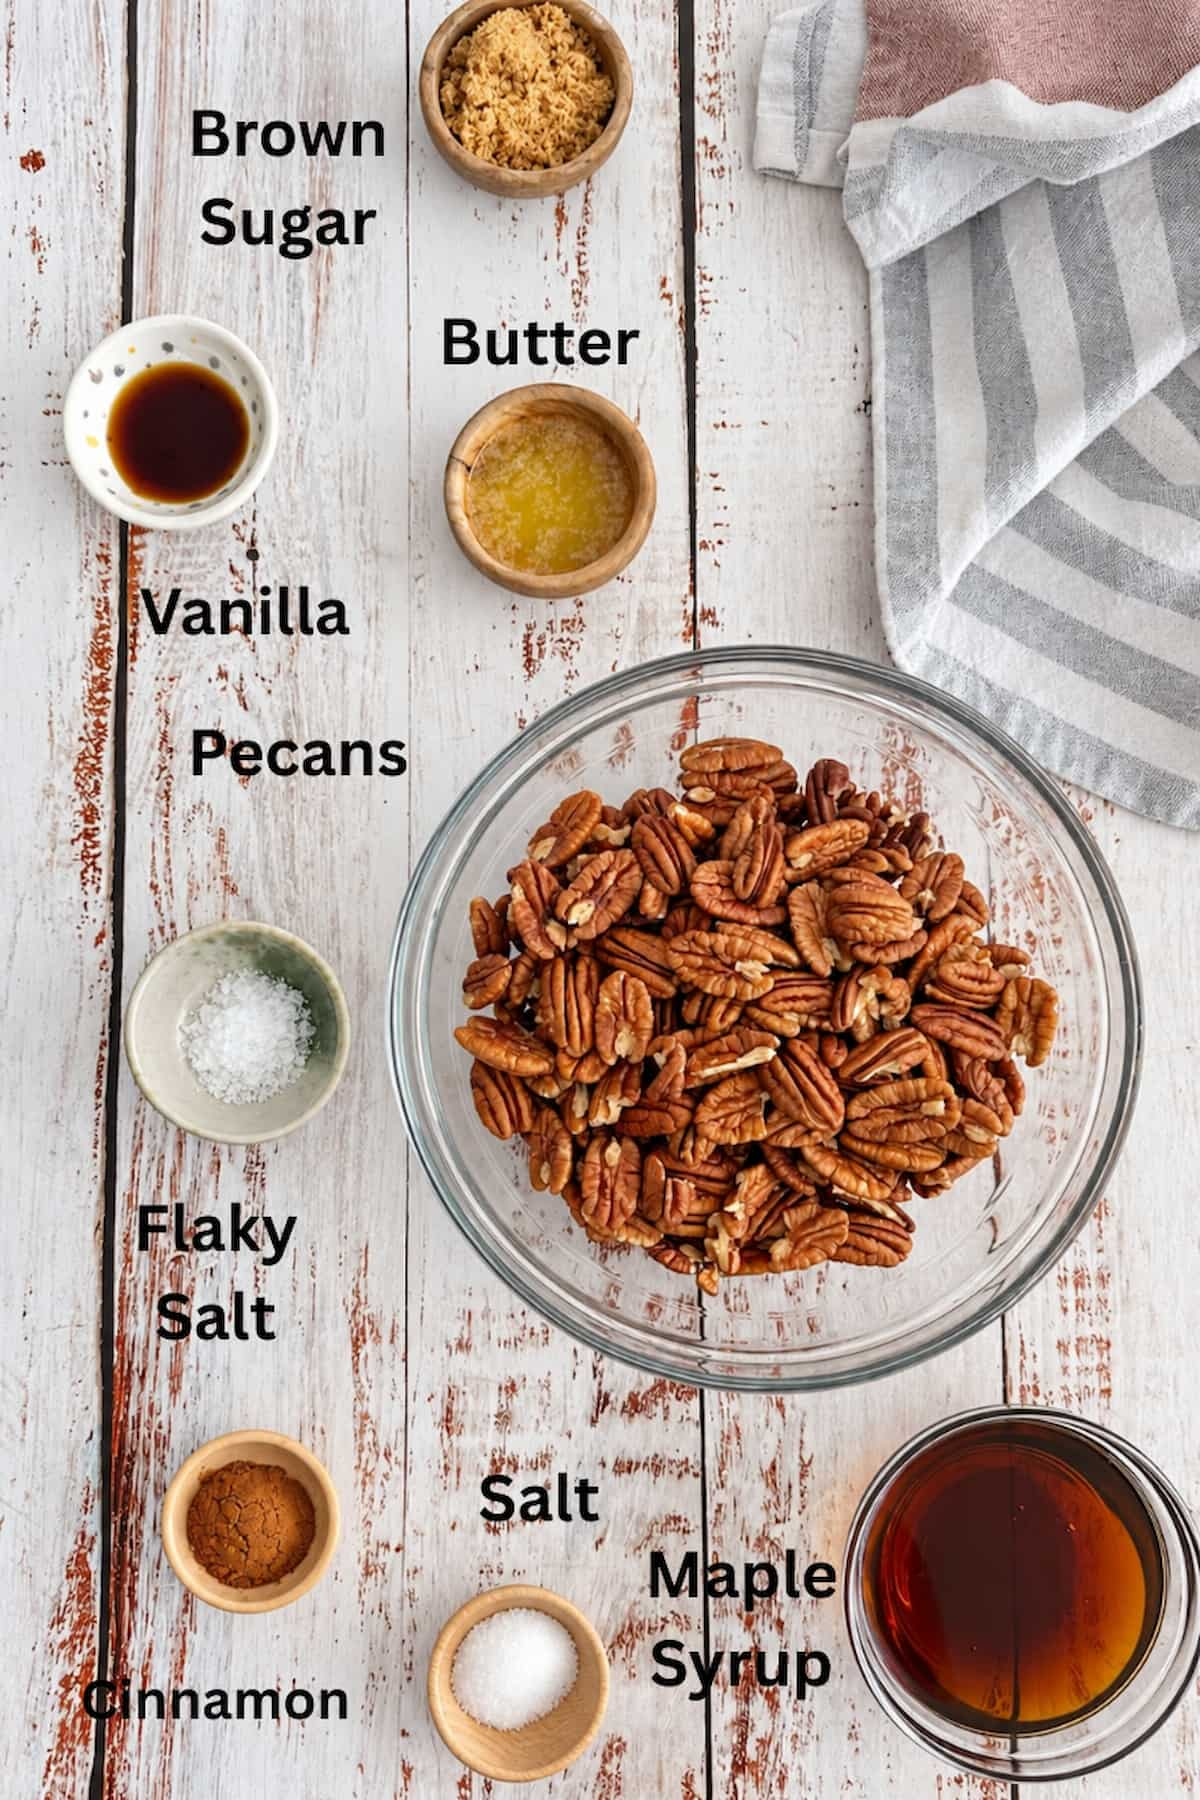
Pecans
You’ll need 3 cups of raw pecan halves for this recipe. I like using halves rather than pieces because they’re great for snacking, look pretty on a cheese board, and give that maple coating plenty of surface to cling to. And don’t worry about toasting them beforehand! They’ll get all nice and toasty in the oven while the maple glaze does its thing.
Pure Maple Syrup
1/3 cup of pure maple syrup is where all that rich maple flavour comes from, so make sure you’re using the real deal. Not pancake syrup, not maple-flavoured syrup, actual maple syrup. It’s doing double duty here, sweetening the pecans and creating that gorgeous glaze that crisps up as they cool.
The Sweet-Salty Finish
A few little extras turn these from plain maple syrup pecans into something you’ll keep sneaking back into the kitchen for. Melted butter adds richness, while a tablespoon of brown sugar helps the glaze set with a little extra crunch without making the pecans overly sweet. Vanilla and cinnamon bring some warmth to the party, but neither overpowers the maple. And don’t skip the salt! It’s what keeps everything from tasting too sugary.
Find the full ingredient list and exact measurements in the recipe card below.

Andrea Says
Feeling a little adventurous? Add a tiny pinch of cayenne pepper for some background warmth, or finish with flaky sea salt for an extra sweet-salty bite.
Andrea’s Tips for Perfect Maple Pecans
- Give those pecans some breathing room. Spread them out in a single layer on your baking sheet instead of piling them on top of each other. You want them roasting evenly, not hanging out in a sticky maple puddle.
- Trust your nose, but keep an eye on the oven! When the pecans smell wonderfully toasted and the maple coating is bubbling, slightly darker, and looking more tacky than watery, you’re getting close. Keep a close watch during those last few minutes because maple syrup and nuts can go from beautifully roasted to burnt before you know it. Rude, but true.
- Don’t panic if they’re still sticky. These roasted maple pecans won’t necessarily come out of the oven crunchy, and that’s totally normal! The coating will still be a little soft and sticky while hot. Resist the urge to keep baking them just because they haven’t crisped up yet.
- Cooling is where the magic happens. Give the pecans time to cool completely on the baking sheet. As the maple coating sets, they’ll develop that satisfying crunch you’re after. A little patience now means much better snacking later.
- Break up the party before it gets out of hand. Separate the pecans with a spatula or fork while they’re still warm, before the glaze hardens. Otherwise, you might end up with one giant maple pecan cluster. Not necessarily a tragedy, but probably not what we’re going for.
Ways to Use Maple Pecans
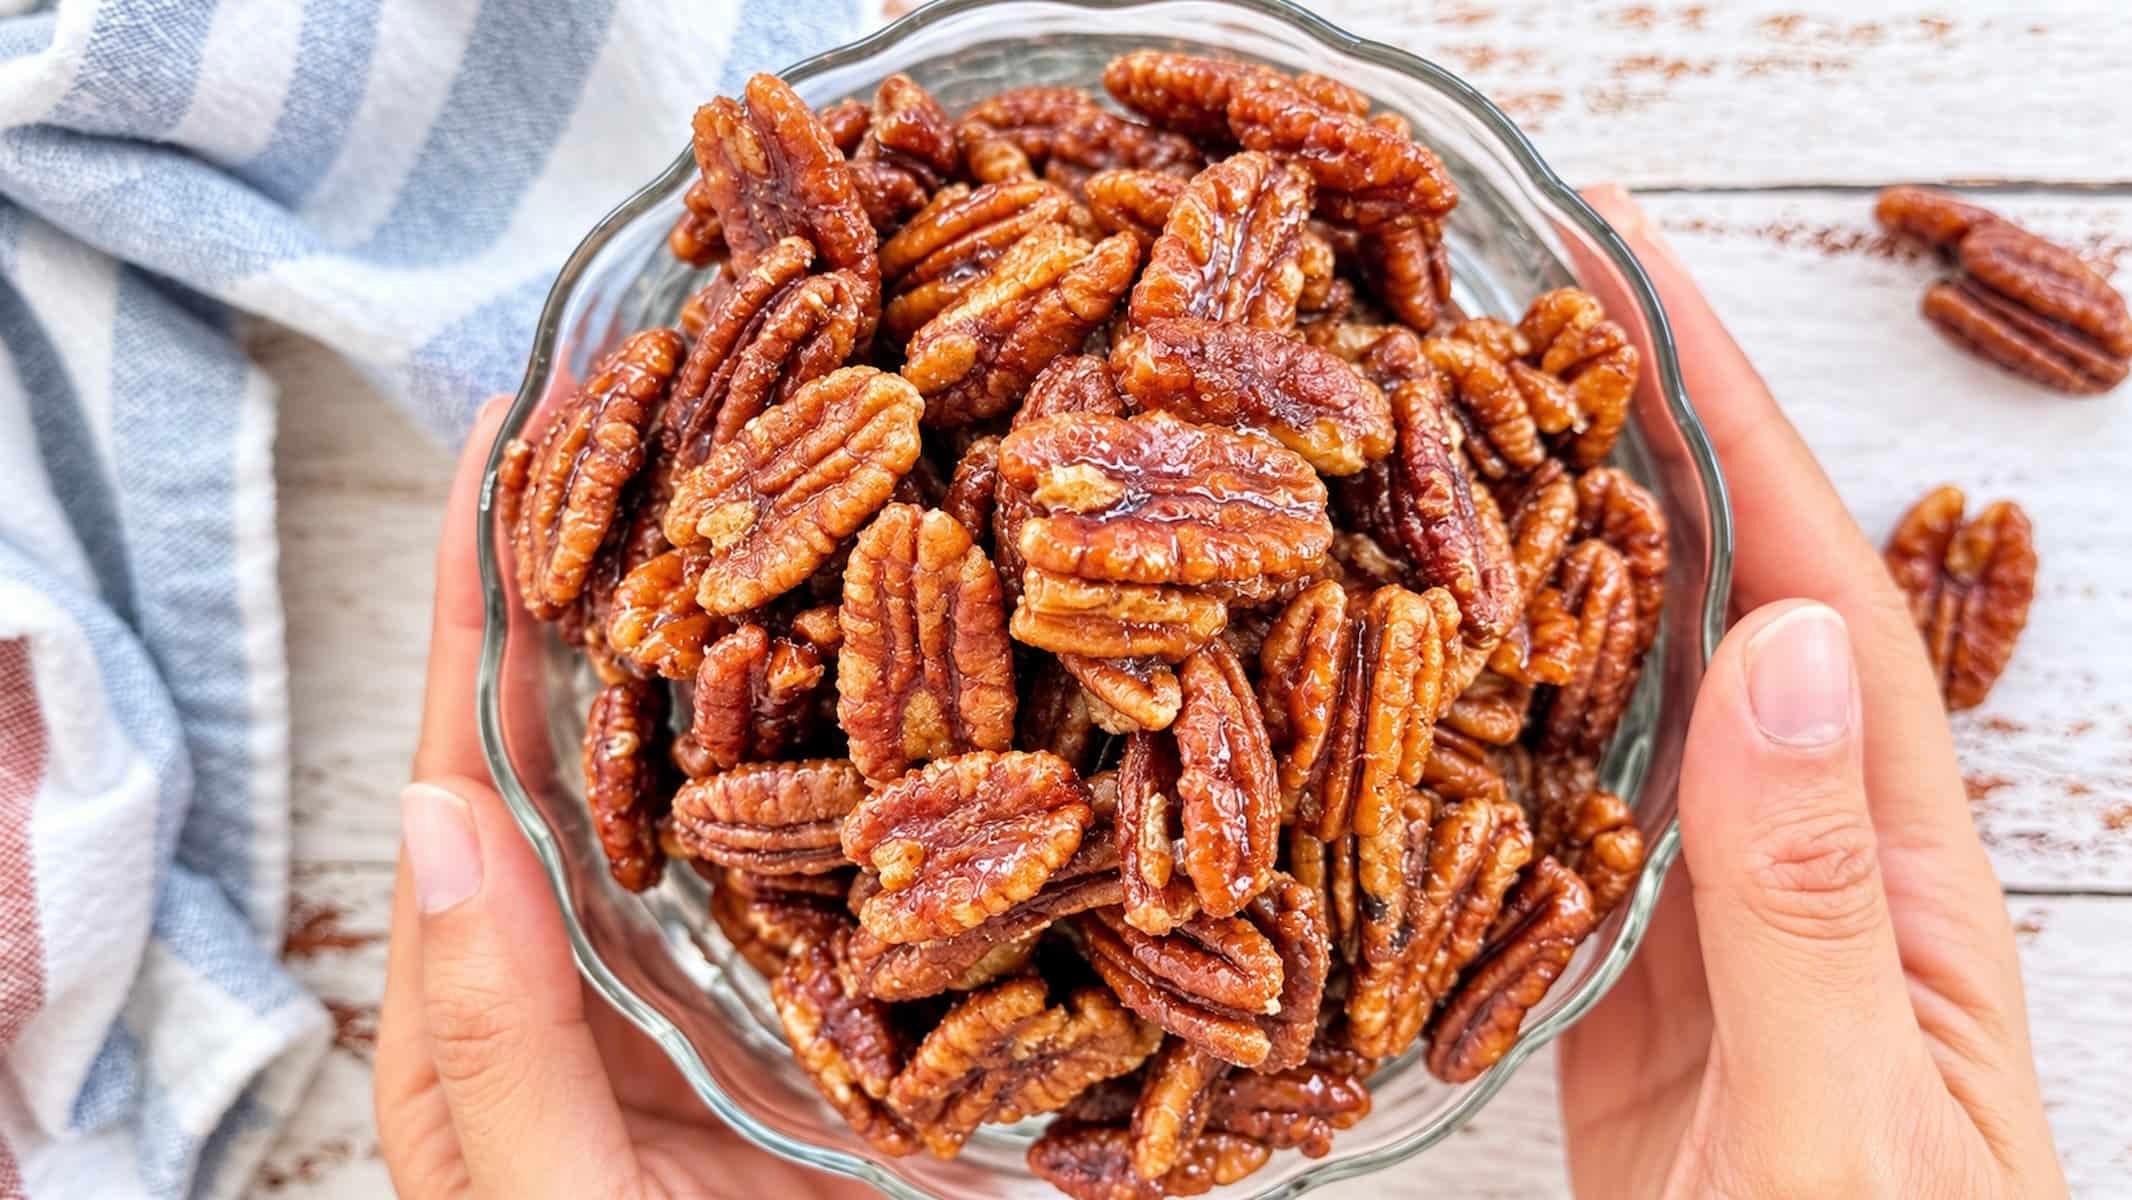
Sure, you could just eat these straight out of the container every time you walk through the kitchen. No judgment here. But these crunchy little maple-coated beauties have plenty more going for them than being dangerously snackable.
- Jazz up your salads. That sweet-salty crunch is SO good with peppery greens, tangy cheese, and a punchy vinaigrette. Try tossing a handful into my simple arugula salad or roasted butternut squash salad.
- Give breakfast a little upgrade. Chop a few over oatmeal, Greek yogurt, or a stack of pumpkin pancakes. Because a little maple crunch first thing in the morning never hurt anybody.
- Make dessert even better. Sprinkle them over pumpkin spice ice cream, apple crisp, or a warm brownie. That buttery crunch against something cold and creamy? YES PLEASE.
- Dress up a cheese board. Pair them with sharp cheddar, creamy brie, fresh fruit, and crackers. They also make a cute little homemade food gift tucked into a jar, assuming you don’t eat them all before giving them away.
NEW! NEW! NEW!
Fall Recipe Series
Check out my new series featuring easy and delicious fall recipes! You’ll find everything from cozy comfort food to seasonal favourites made for soaking up every last bit of fall.
Storage
The secret to keeping these maple pecans nice and crunchy? Let them cool completely before storing! Seriously, don’t rush this part. Sealing them up while they’re still warm traps moisture, and nobody wants to reach for a handful of crunchy pecans only to find they’ve gone soft.
Once cooled, store them in an airtight container at room temperature for up to 1 week, preferably somewhere cool and dry. Keep them away from heat and humidity to help that maple coating stay crisp.
Maple Pecans FAQs
more cozy recipes from my fall recipe series
Who says fall recipes have to be all soups and pumpkin spice? These maple pecans are bringing the crunch to my Fall Recipe Series, and they’re in pretty good company! Here’s what else has been cooking in my kitchen this season.
- Butternut Squash and Mushroom Risotto. Creamy, comforting, and full of fall flavour.
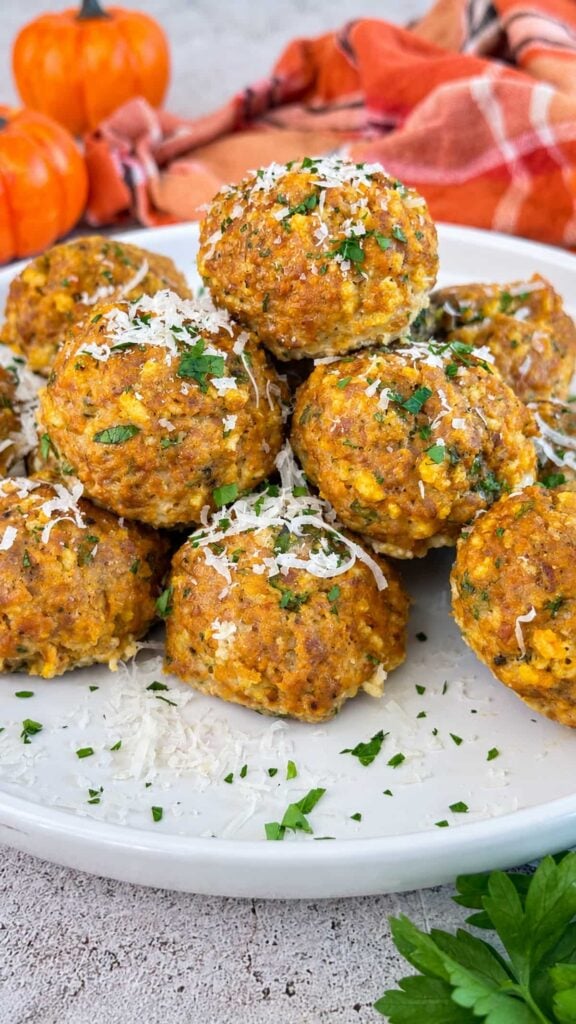
- Pumpkin Turkey Meatballs. A cozy little twist on meatball night.
- Pumpkin and Sweet Potato Soup. Velvety, warming, and made for chilly days.
- Gnocchi with Pumpkin Sauce. Pillowy gnocchi in a rich, creamy pumpkin sauce.
Made this recipe? ⭐️ If you tried it, leave a star rating in the recipe card! It helps other home cooks know it’s worth making (and makes my day, too!).
Crunchy Oven-Roasted Maple Pecans
Video
Equipment
Ingredients
- 3 cups raw pecan halves
- ⅓ cup pure maple syrup
- 1 tbsp unsalted butter (melted)
- 1 tbsp light brown sugar
- 1 tsp pure vanilla extract
- ½ tsp ground cinnamon
- ½ tsp kosher salt
- ⅛ tsp cayenne pepper (optional, for a little warmth)
- flaky sea salt (optional, for finishing)
Instructions
- Preheat your oven to 325°F (165°C). Line a rimmed baking sheet with parchment paper.
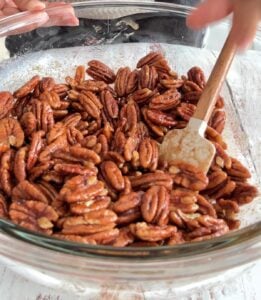
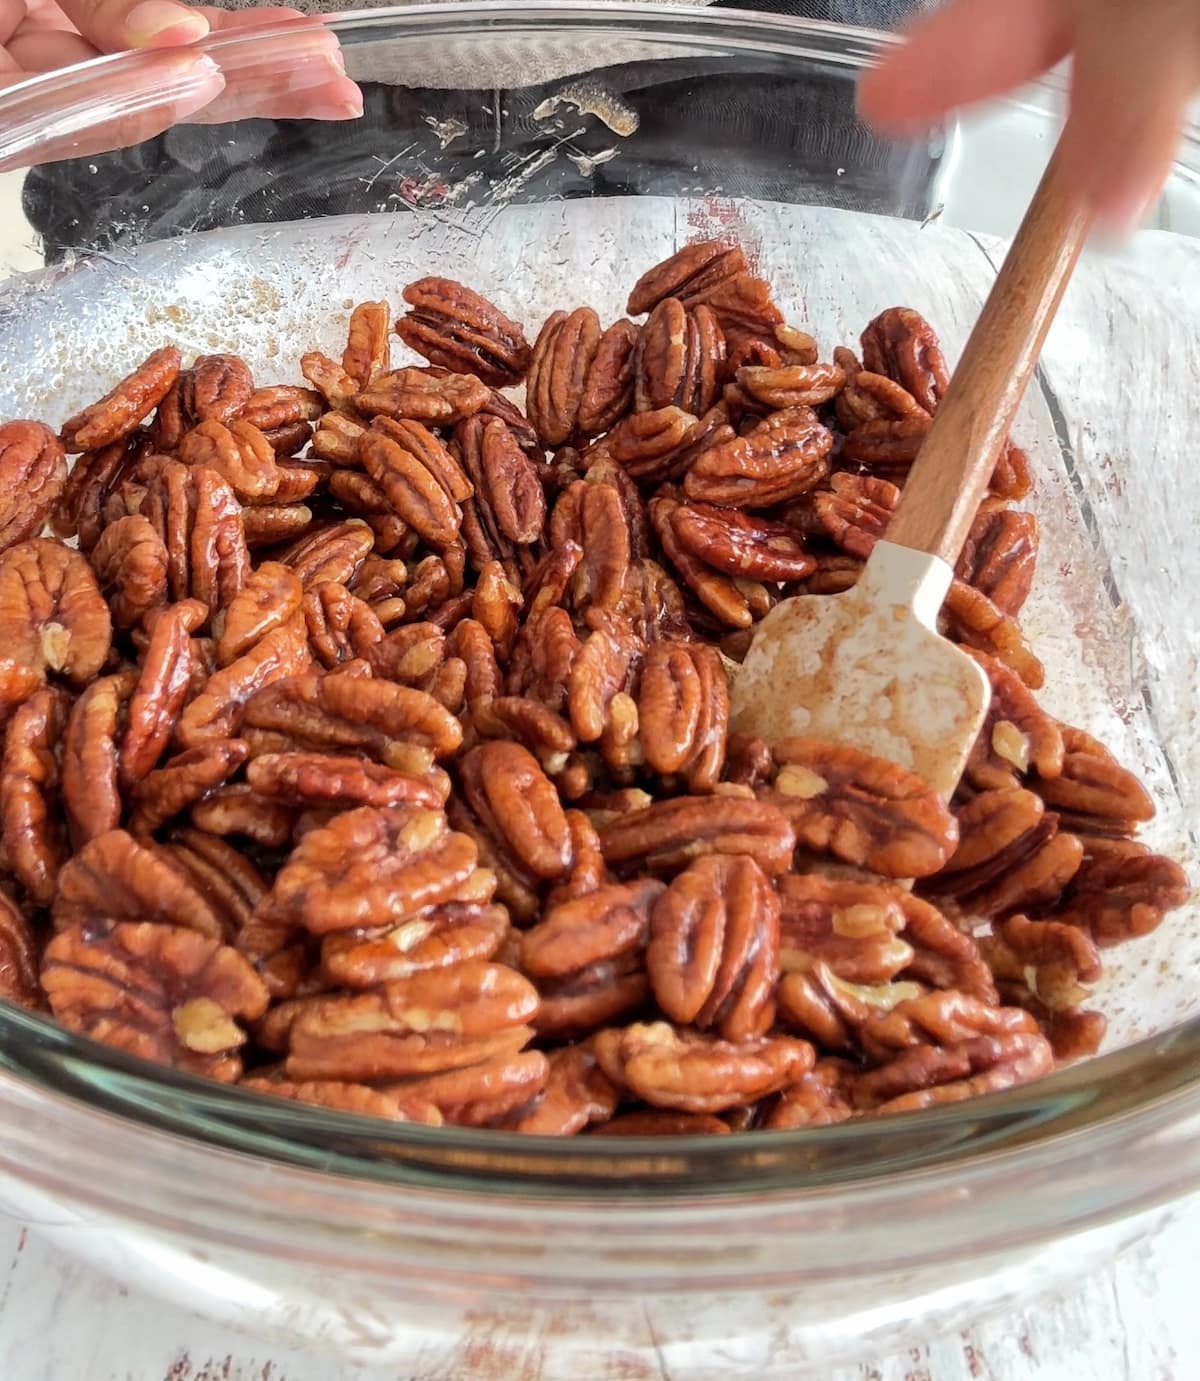
- Add the pecans, maple syrup, melted butter, brown sugar, vanilla, cinnamon, and kosher salt to a large mixing bowl. Add the cayenne, if using. Toss until the pecans are evenly coated.
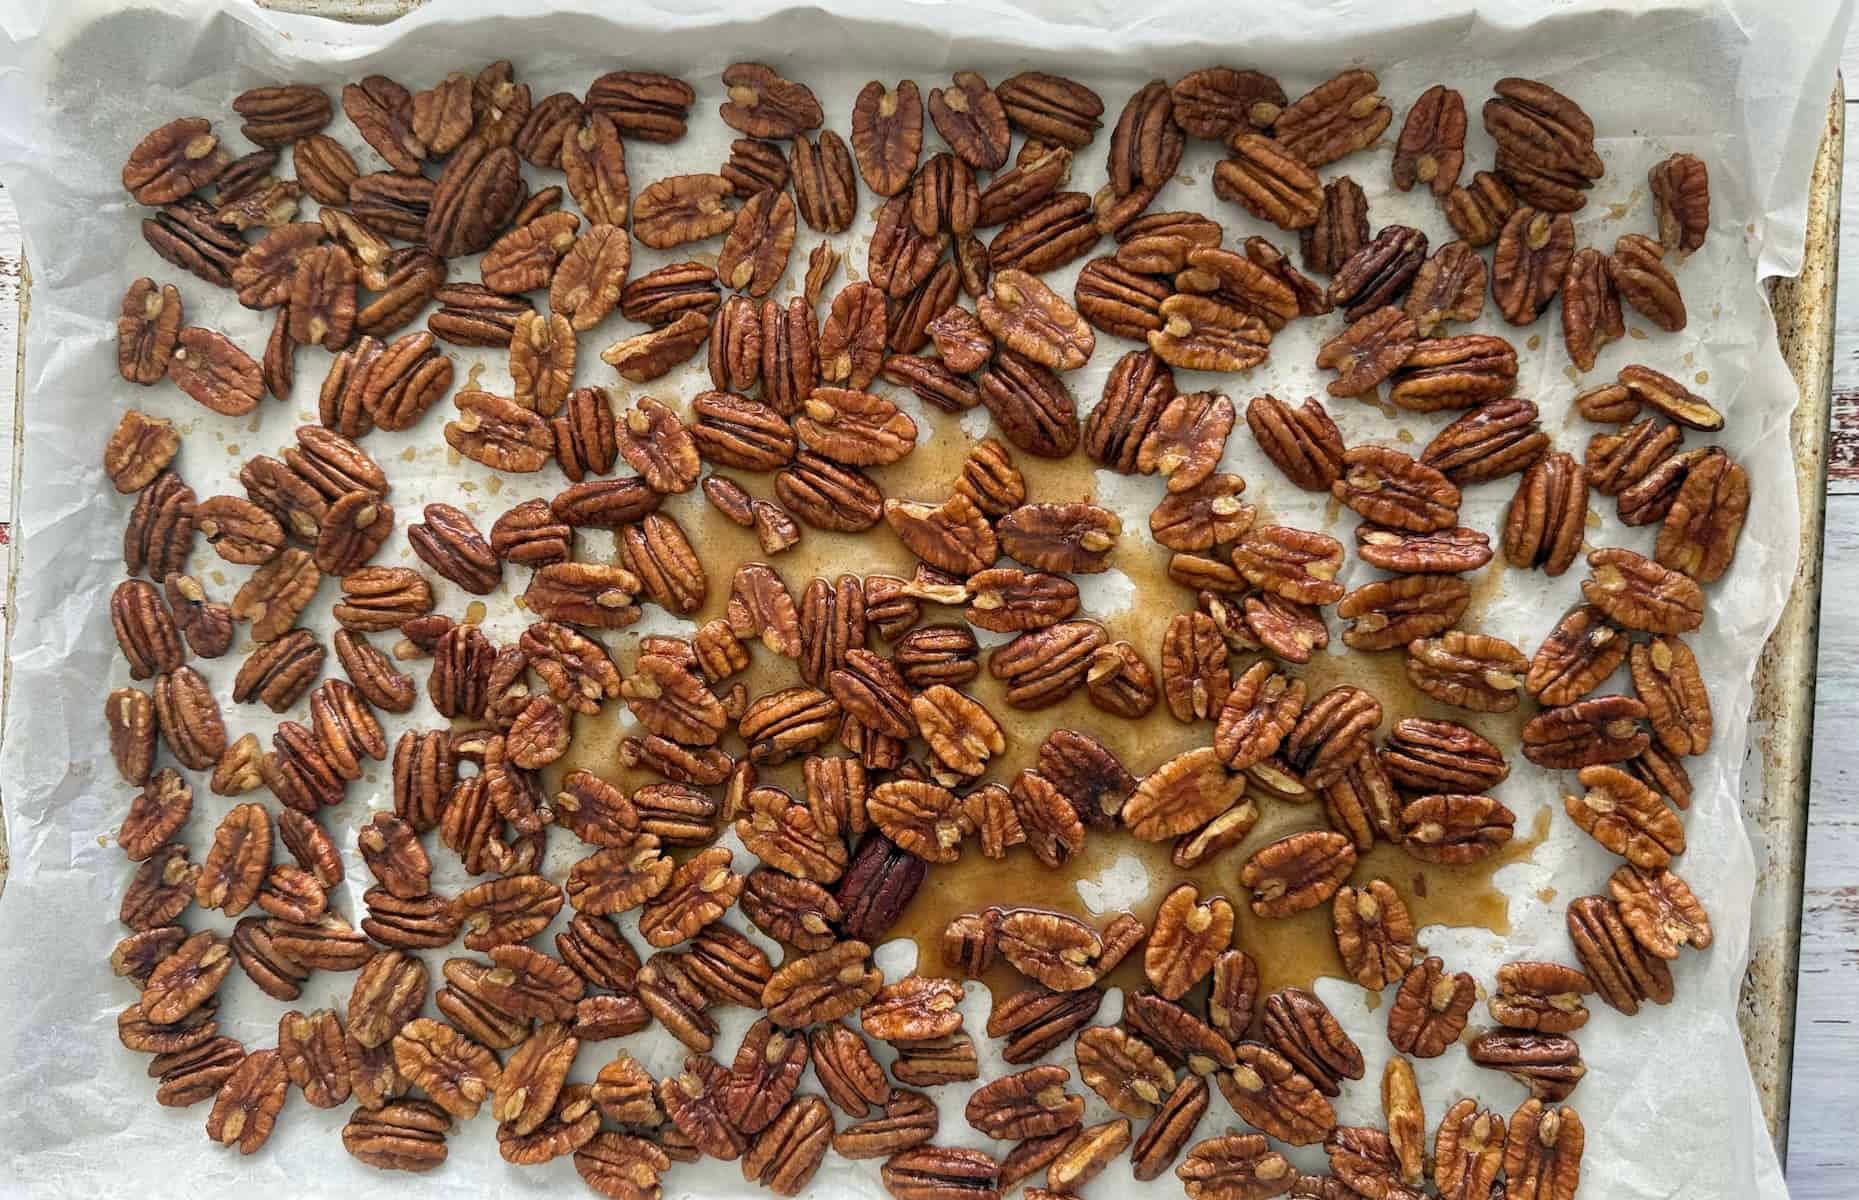
- Transfer the pecans to the prepared baking sheet, scraping any remaining maple mixture over top. Spread into a single, even layer.
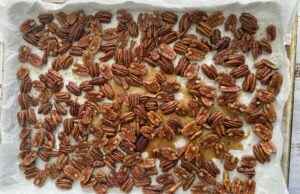
- Bake for 15–20 minutes, stirring halfway through, until the pecans smell toasted and the maple coating is bubbling, slightly darker, and tacky rather than watery. Watch closely toward the end to prevent burning.
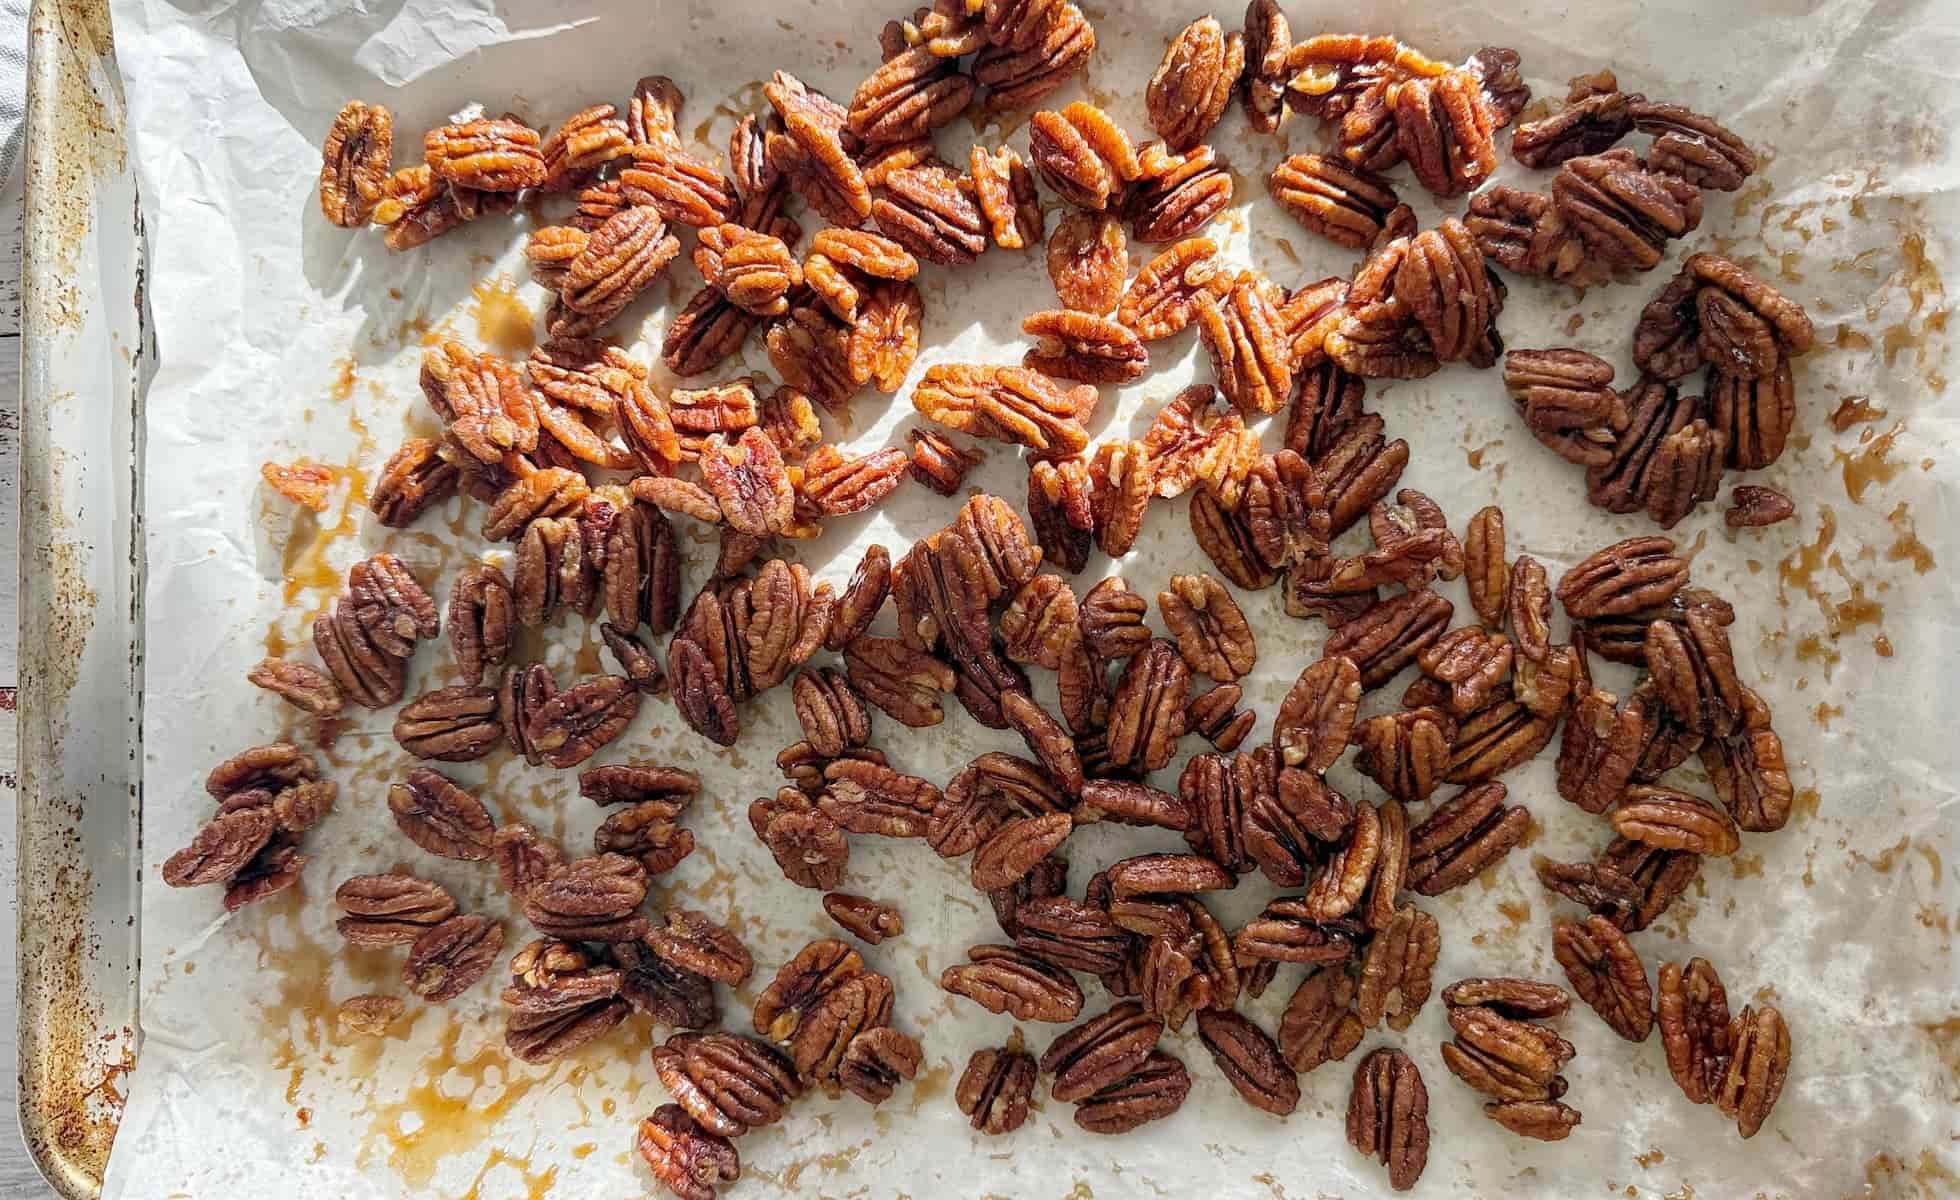
- Remove from the oven and immediately separate the pecans with a spatula or fork. Sprinkle with flaky sea salt, if desired. Let cool completely on the baking sheet for 20–30 minutes. They'll still be a little sticky while hot but will crisp up as they cool.
- Break apart any remaining clusters and enjoy! Once completely cooled, store in an airtight container at room temperature for up to 1 week.
Notes
Nutrition
Don’t skip the good stuff —
scroll up above the recipe card for ingredient notes, tips & tricks, and easy swaps/variations.Made it? Tell me everything.
I LOVE seeing what you made! Tag @hiphipgourmet on Instagram (or use #hiphipgourmet) so I can see it — then rate it + upload your photo below. 💖
If you make these sweet and salty pecans, I’d love to see how long they last in YOUR kitchen (no judgment if it’s five minutes!). Snap a pic and tag @HipHipGourmet on social media so I can see your crunchy creations!
Save this one for later?