Learning how to make Homemade Dough for Pizza has never been easier! This simple to follow recipe is quick to make, great for beginners, and comes out perfect every single time. It really is the only pizza dough recipe you will ever need!
Pizza night just got better with this quick and easy homemade pizza dough recipe. No waiting around for hours for it to rise. No wondering if the dough will ever unstick to your fingers. And no forcing it to stretch into your desired shape while ripping holes into it in the process. This homemade pizza dough is my go-to recipe and has been for many years.
I love it for it’s simplicity and the fact that anyone can do it, even first timers. And that it’s actually an almost pretty hands-off process entirely, thanks to the Kitchenaid stand mixer (but of course, you can do it by hand if you don’t have one of those!)
But mostly, I love this easy pizza dough recipe because it only needs 10-20 minutes to rise instead of the standard hour or more that most recipes call for. And with that, there’s so much more time for activities (if you get the reference)!!!
I know, I know. Pizza dough can be one of *those* things. The it-looks-too-intimidating-to-try-making-it-from-scratch-at-home things. Or the it’s-way-easier-to-just-buy-it-from-the-store things. Trust me. I’ve been there.
But honestly, since I started making my own at home with this quick and easy recipe, I’ve never bought premade pizza dough from the store again. And I’m not even lying when I say that I’ve personally made this recipe for homemade pizza dough at least 100 times myself. And yes, every single one of those times, I can confidently say that it came out absolutely perfect.
This quick pizza dough recipe has flat out saved my ass on many occasions. Why? Cause you can whip it up in a pinch when 4 o’clock hits and you still haven’t thought about what to make for dinner. You can feed large hungry crowds with minimal effort. And it freezes ahhhh-mazingly well so you can make a big batch and say goodbye to the frozen pizza section at the grocery store.
Whether you decide to make ’em in advance and freeze them or whip ’em up fresh and on the spot, something tells me that my go-to quick and easy homemade pizza dough recipe will soon become your go-to, too.
INGREDIENTS FOR HOMEMADE PIZZA DOUGH
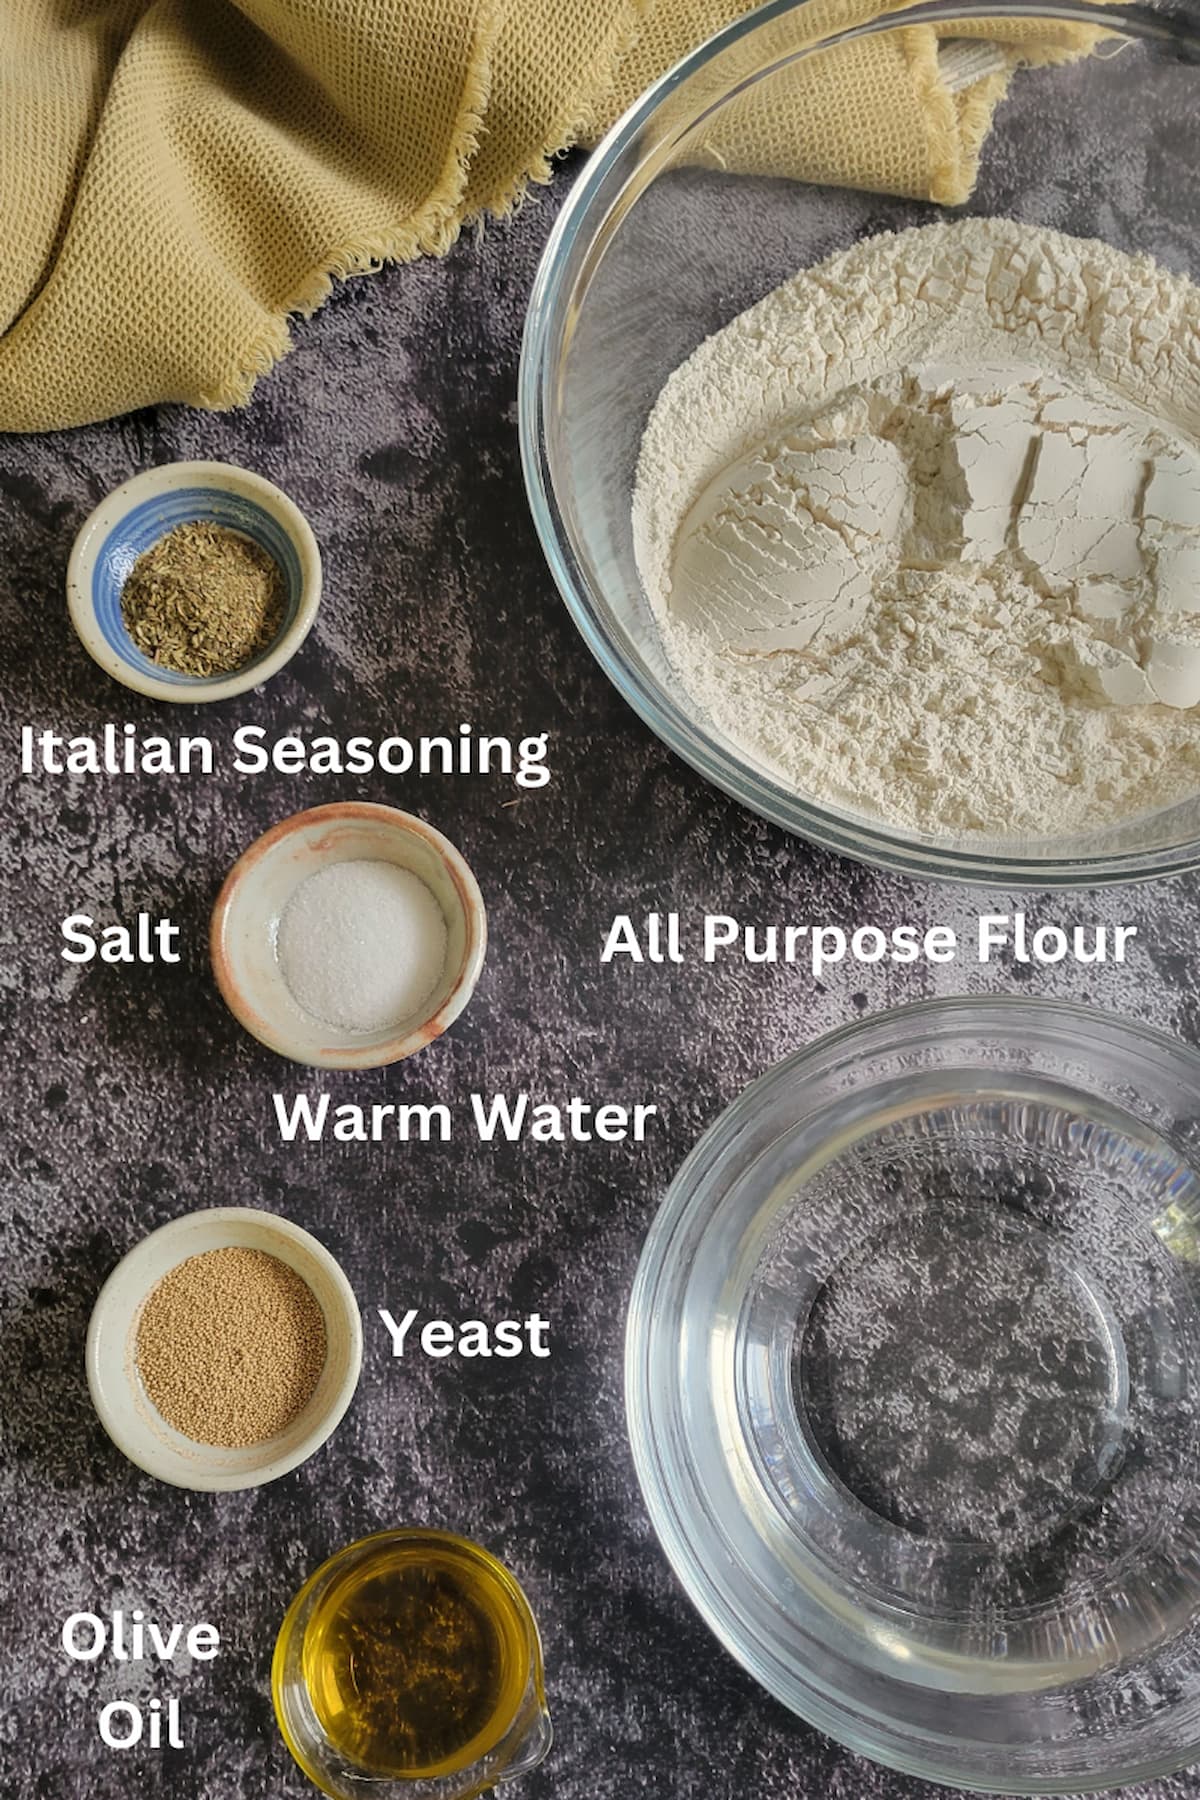
Always keeping these simple ingredients on hand, like I do, means pizza any time, any day. Let’s discuss them in a little bit more detail down below:
- All Purpose Flour: The base and bulk of our pizza crust recipe. All purpose flour holds up well when mixed with the other ingredients, has a neutral taste that is easy to flavour and is super simple to work with. I must admit that out of the 100 times I’ve personally made this pizza dough recipe, I’ve used all purpose flour 100 of those times. Therefore, I wouldn’t be able to confidently tell you whether or not this recipe would work with other flours. Please let me know in the comments down below if you try it with a flour other than all purpose!
- Yeast: Helps the dough rise and bake up puffy and fluffy. Active dry yeast is what you want to use for this recipe.
- Warm Water: Helps activate the yeast and form the pizza dough. It’s important to make sure your water is at the right temperature, and not too cold or hot, for best results.
- Salt: Adds flavour to the crust and balances out the flavours of the rest of the ingredients. Use either 1 tsp or 1 tbsp depending on how salty you normally like things (I generally use 1 tbsp because there’s nothing my boyfriend loves more than salt).
- Italian Seasoning: Adds flavour to this homemade pizza crust and gives it a delicious Italian flair. If you don’t have Italian seasoning on hand, omit completely or try using other dried herbs such as thyme or oregano instead. If you’re feeling adventurous, try making your own homemade Italian seasoning from scratch.
- Olive Oil: Keeps the pizza dough from sticking to the bottom of the pan. You can use a different oil, such as avocado, instead if you prefer.

HOW TO MAKE PIZZA DOUGH FROM SCRATCH (KEY TIPS)
You can find full instructions for how to make this quick and easy pizza dough in the recipe card down below, but here are a few quick tips to keep in mind:
- Use warm water. Making sure your water is the right temperature, and not too cold or hot, will give you the best results when making this homemade Pizza Dough. The yeast won’t proof properly and therefore, the dough won’t rise properly if the water is not at the right temperature. If it’s too cold, the yeast won’t wake up like we need it to. And if it’s too hot, it’ll kill the yeast. I normally use my finger to check for warmness. But if you’re uncertain, use a thermometer. In order for the yeast to proof properly, the water has to be between 110-115°F.
- Allow the yeast to proof for 5 minutes before mixing it with the flour to make the dough. This quick test will ensure that the yeast you’re using is alive, well and viable to be doing it’s job. It should look a bit bubbly, cloudy and active. If it’s not, discard it and start over.
- Use a kitchenaid or stand mixer to mix the dough, if you have one. Of course, if you don’t, you can always resort to the old fashioned way of mixing the dough using your hands. However, a kitchenaid or stand mixer with the dough hook attachment will make this homemade dough recipe quick, easy, fool-proof and almost hands off. EXTRA TIP: Use a rubber spatula to scrape down the sides of the bowl at least 1-2 times while mixing.
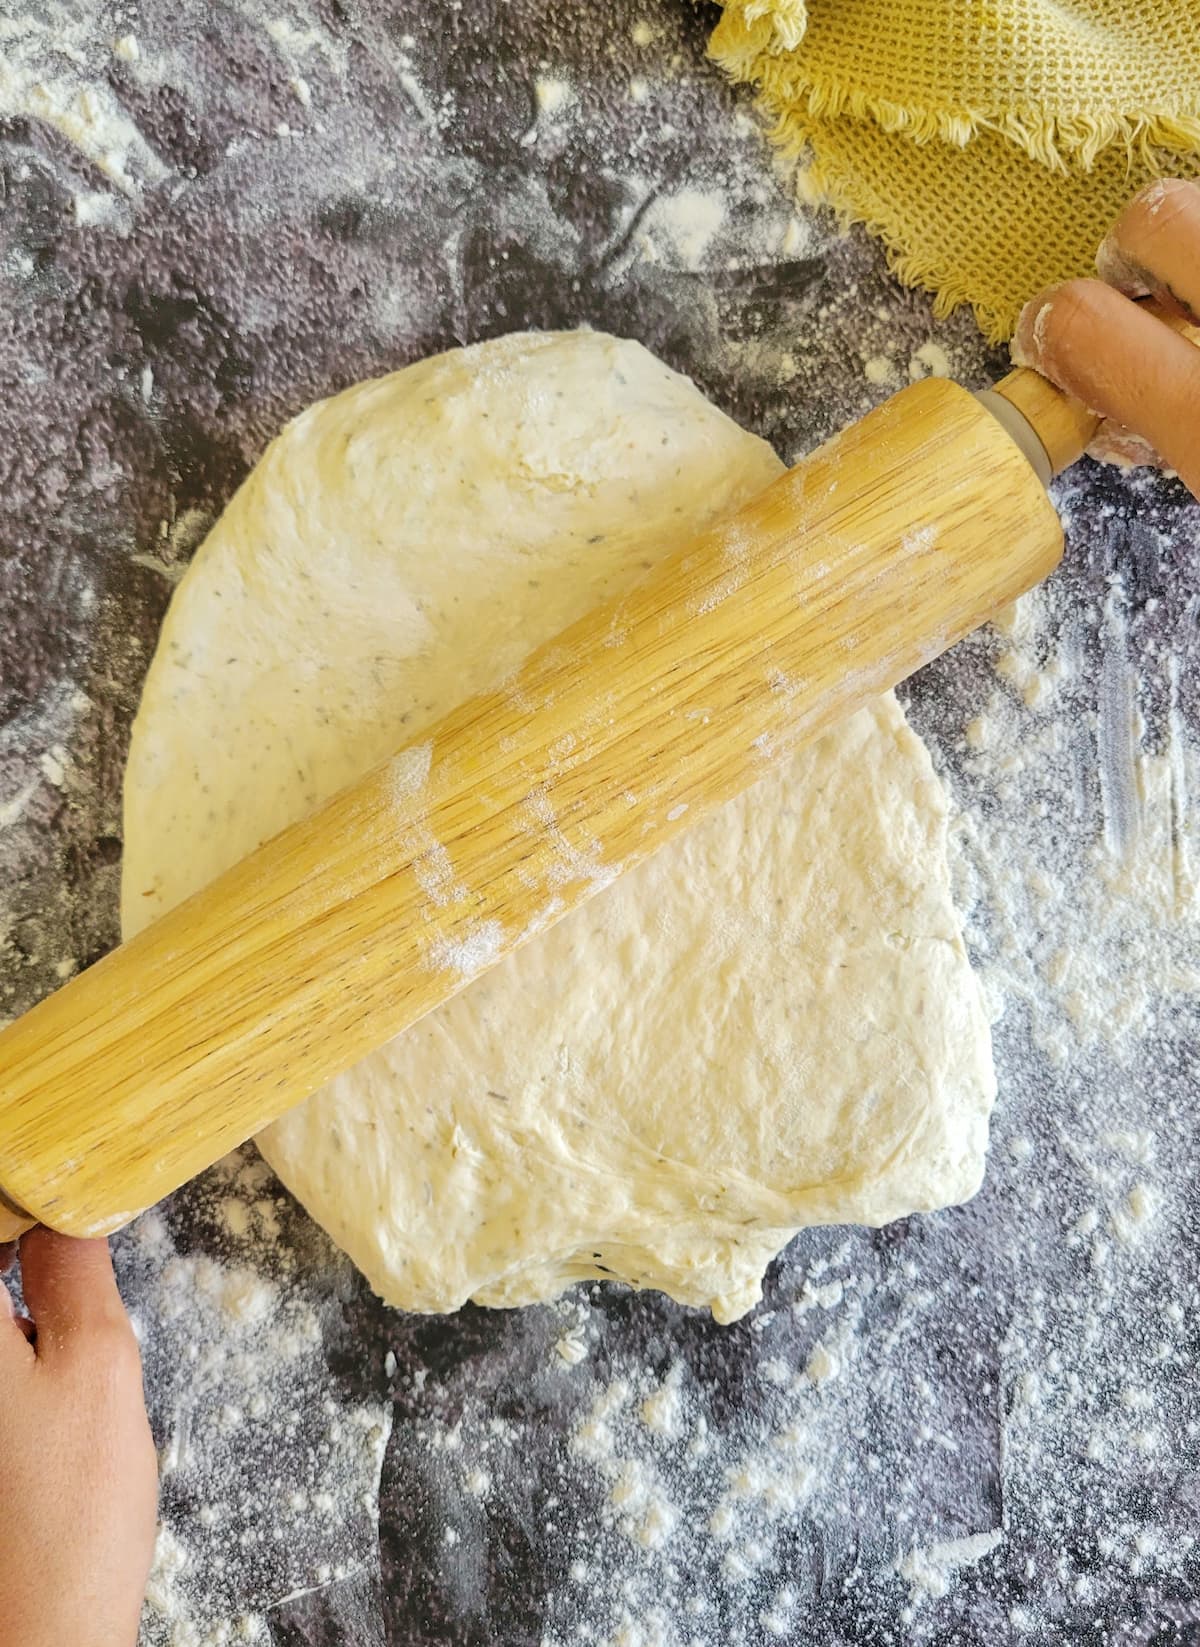
- Use flour to alleviate stickiness. On your hands, your work surface, the rolling pin and the dough itself. More flour is a sticky dough’s best friend!
- Don’t overproof the dough. In the 10-20 minutes the dough rests, it should no more than double in size. The puffier/bigger it gets, the more difficult and sticky it’ll be to work with.
- If you find your dough hard to stretch or if it bounces back: give it a few more minutes of rest time and then try rolling it out again. The dough should be easy to work with and stretch out into your desired shape and thickness. The same thing works for if you find it tough to stretch the dough into the corners of the pan after rolling it out. Let it rest for a few minutes after transferring it to the pan and then use your fingers and hands to pull, pinch or stretch it out to the shape of the pan.
- For thicker crust: After rolling the dough out into your desired shape and thickness and transferring it to the pan, let it rest for a few minutes before topping. It’ll rise again slightly creating a thicker and puffier crust.
- For thinner crust: Roll the dough into 3 pizzas instead of 2. Then top and bake right away.

FREQUENTLY ASKED QUESTIONS
The secret to great homemade Pizza Dough lies in the proofing of the yeast as well as not over proofing the dough. Remember, water temperature is extremely important in this step. Your water has to be WARM. If it’s too hot, it’ll kill the yeast. And if it’s too cold, the yeast won’t wake up like we need it to. And therefore, your pizza dough will never rise properly.
I normally use my finger to check for warmness. But if you’re uncertain, use a thermometer. In order for the yeast to proof properly, the water has to be between 110-115°F.
Over Proofing the dough will make it become too puffy, big and difficult to work with. The size of the dough after the 10-20 minute rest should be no more than double.
Although I’ll be the first to admit that a stand mixer with the dough hook attachment will 100% make your life easier and this process faster, you can definitely do things the old fashioned way if you don’t have one. Mixing this homemade Pizza Dough with your hands is as good as anything. However, it’ll take a bit longer and be a bit more tedious but you’ll still end up with delicious results.
Yes! You can mix the dough, portion it, and shape it into balls in advance. Cover it with siran wrap then stick it in the refrigerator which will slow down the yeast activity and rising of the dough. It should stay good for about 3 days. Remove it from the fridge and allow it to come to room temperature about an hour or so before you’re planning to stretch, top, and bake it. Cold dough is much harder to work with, roll out, stretch, and shape.
YES! This is the perfect Pizza Dough recipe even just for the simple fact that you can easily freeze it. You can do this one of two ways.
Way Number One: Make the pizza dough until step #5 as directed in the recipe card down below. Flour the surface of each ball or spray lightly with olive oil then individually wrap tightly in siran wrap. When ready to use, thaw in the fridge before rolling out, assembling and baking.
Way Number Two: Roll out the dough and make and assemble your pizzas with or without toppings. Wrap tightly in siran wrap and foil and now you always have frozen pizzas on hand for days when you’re in a pinch.
**I normally like to top each pizza with marinara sauce and grated mozzarella cheese before freezing. Then sometimes I’ll add other toppings as well (i.e. pepperoni, mushrooms, olives, etc.). But other times, I’ll just leave them with the cheese and sauce so I can decide on the remaining toppings the day I want to bake them. No need to thaw the pizzas before baking although you may have to adjust the cooking time by adding a few additional minutes.
The homemade pizzas and/or individually wrapped dough will last up to 3 months in the freezer. Do you hear that? It’s meal prep calling!
Aside from pizza, this Pizza Dough is great for homemade pizza pockets, panzerottis, or calzones. It’s also great for rolls such as classic cinnamon rolls (omit the Italian seasoning), my family famous swiss chard roll or garlic butter herb rolls. Simply flatten the dough out with a rolling pin, lay out your desired toppings, roll it up from end to end then slice and bake the individual pieces. You can also make breadsticks, cinnamon sticks, or dessert pizza using this homemade pizza dough. Omit the Italian seasoning and use less salt if using it for sweet dishes.

MORE CROWD PLEASING FAVOURITES
THE BEST LAYERED NACHO DIP RECIPE
CHEESY BACON WRAPPED JALAPEÑO POPPERS
SPICY VEGAN BUFFALO CAULIFLOWER
LOVE THIS RECIPE? PIN IT FOR LATER!

HOMEMADE DOUGH FOR PIZZA
Video
Ingredients
- 5 cups All Purpose Flour (divided)
- 2 cups WARM Water*
- 1 tbsp Active Dry Yeast
- 1 tbsp Italian Seasoning
- 1 tsp – 1 tbsp Salt*
- Extra Virgin Olive Oil (for greasing)
Instructions
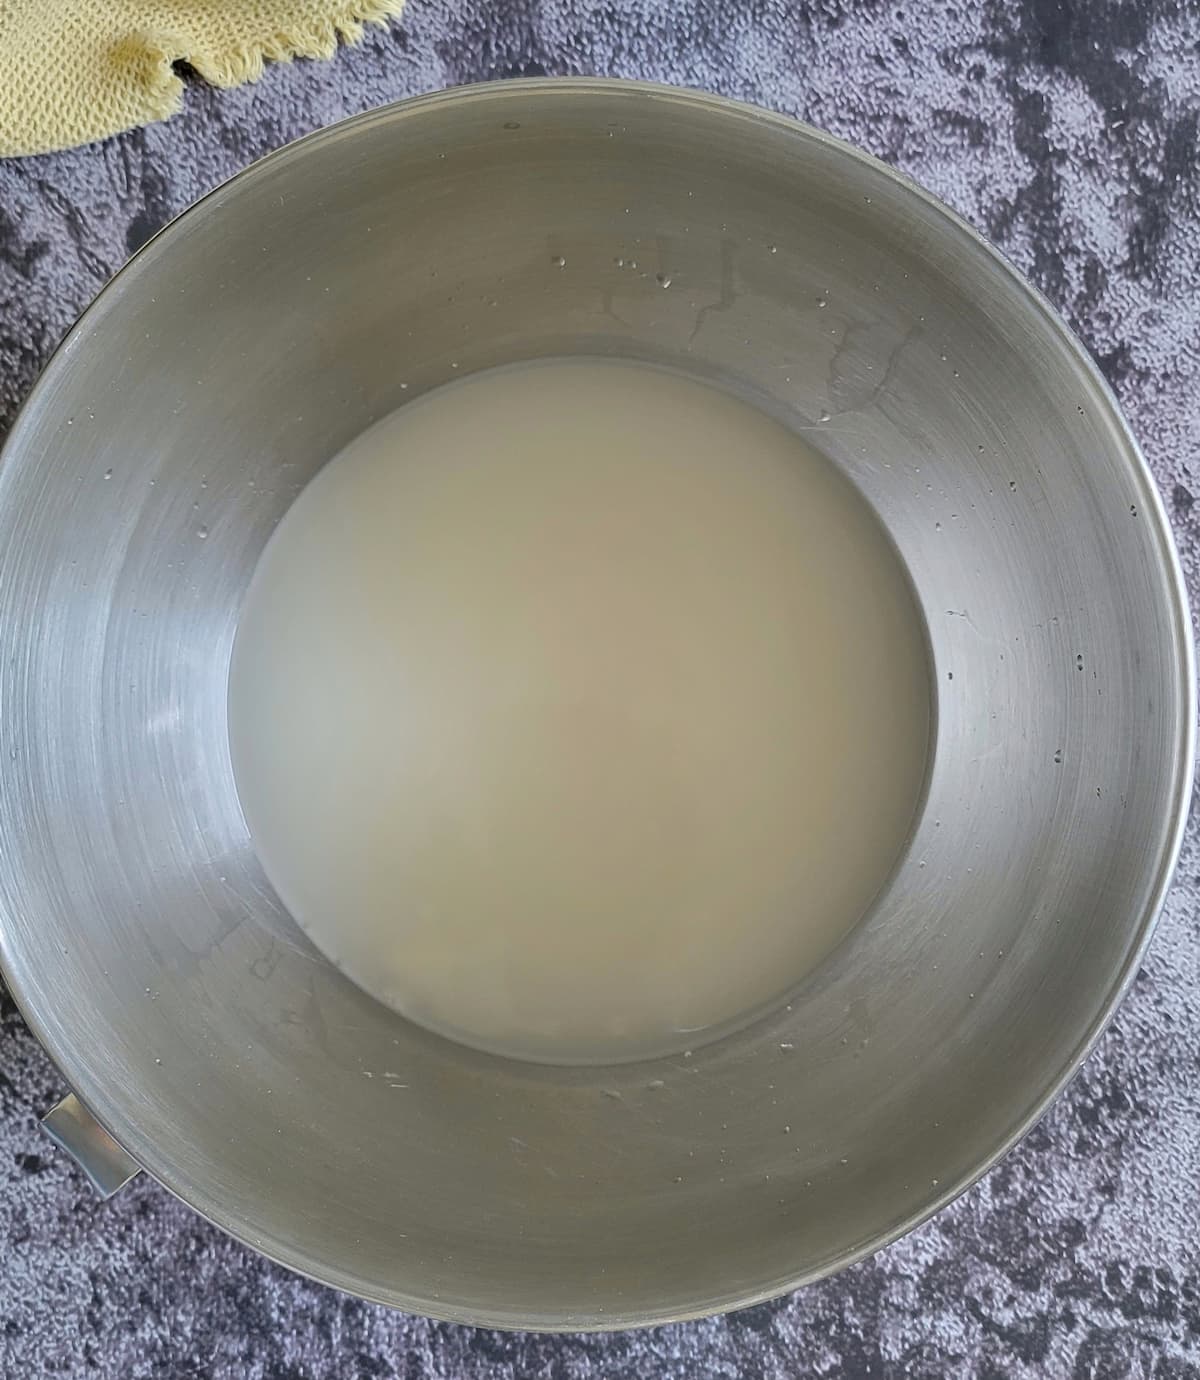
- Mix warm water and yeast in the bowl of a stand mixer* Let sit 5 minutes until yeast proofs (it should look bubbly, slightly cloudy and active).

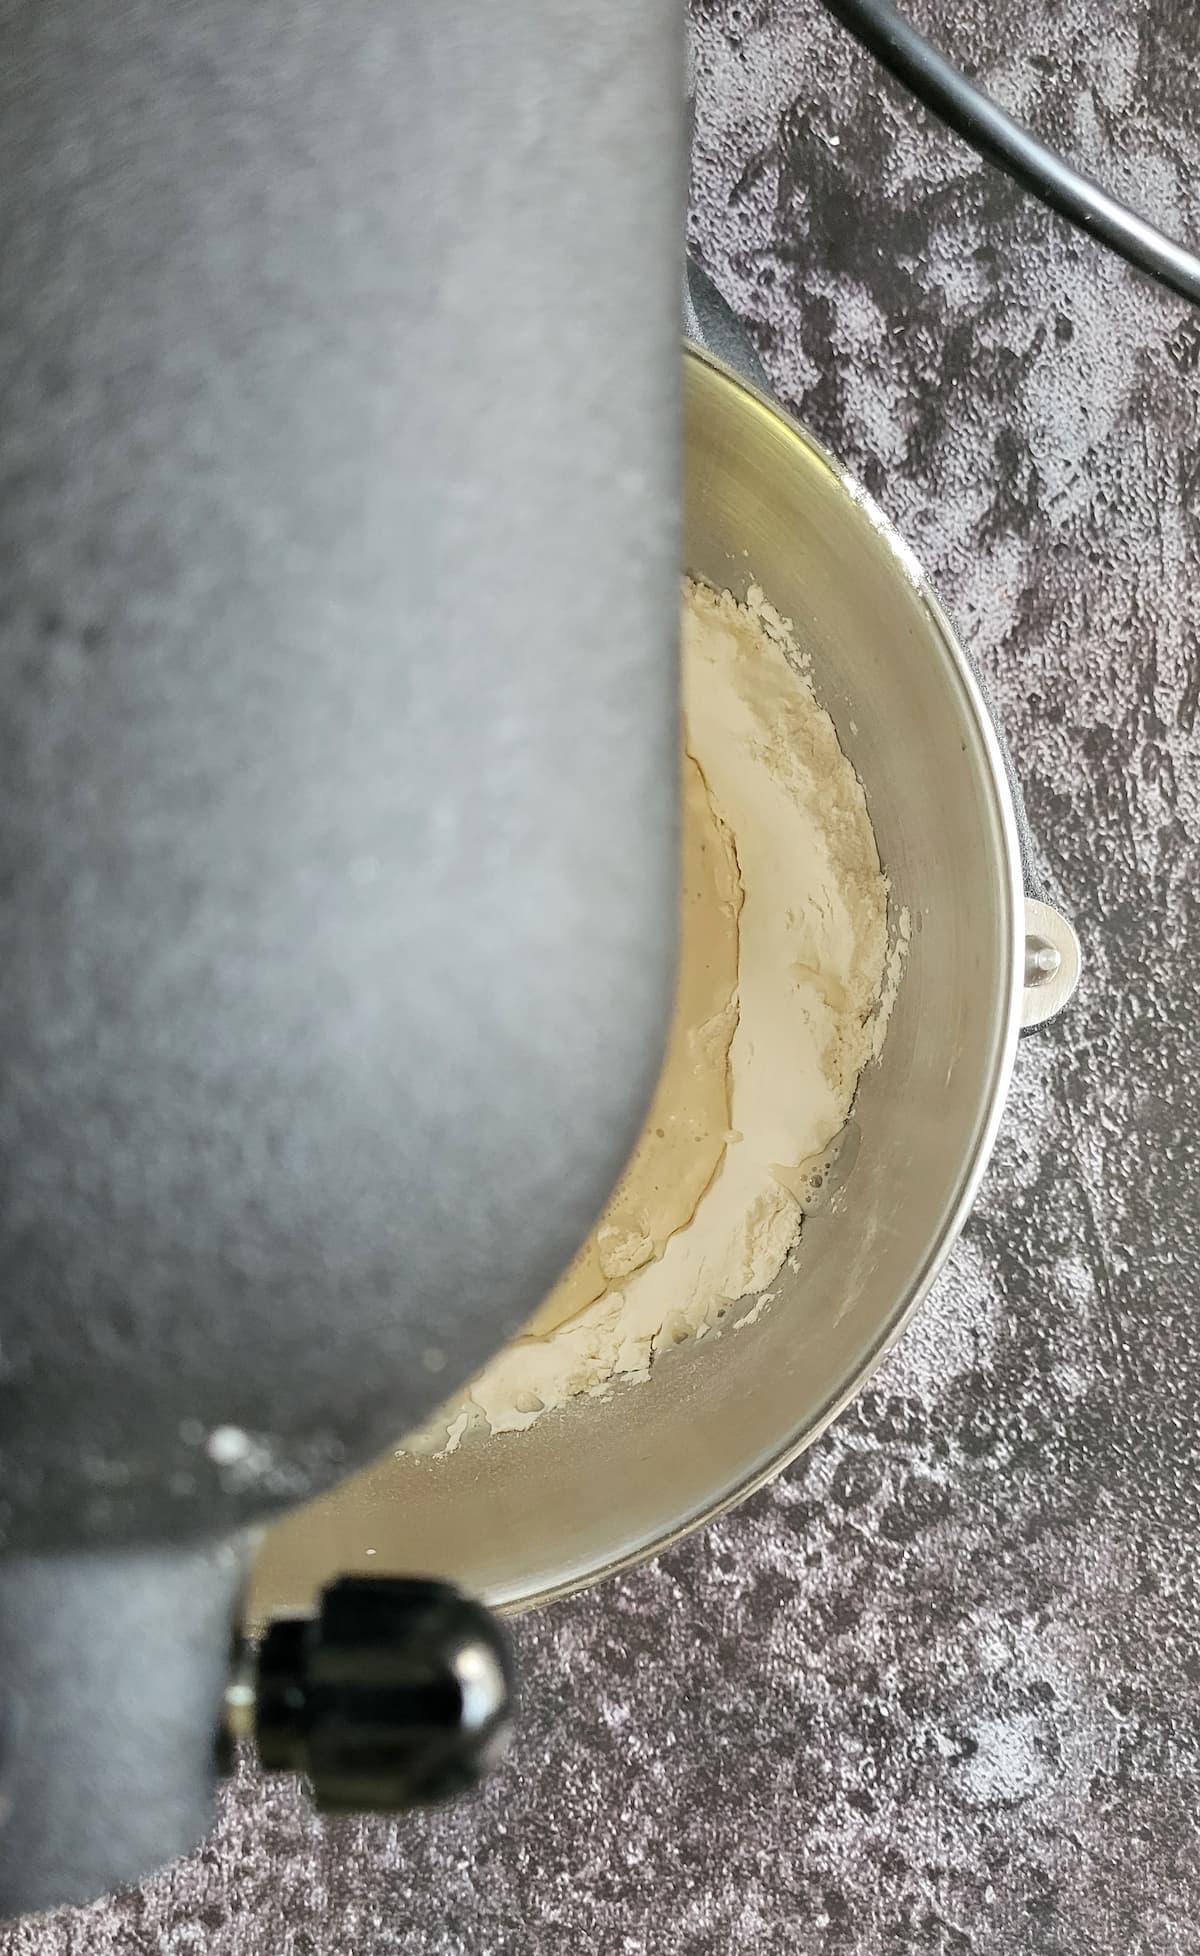
- Add 2.5 cups of the flour and mix well, using the dough hook attachment. Scrape down the sides of the bowl if needed.

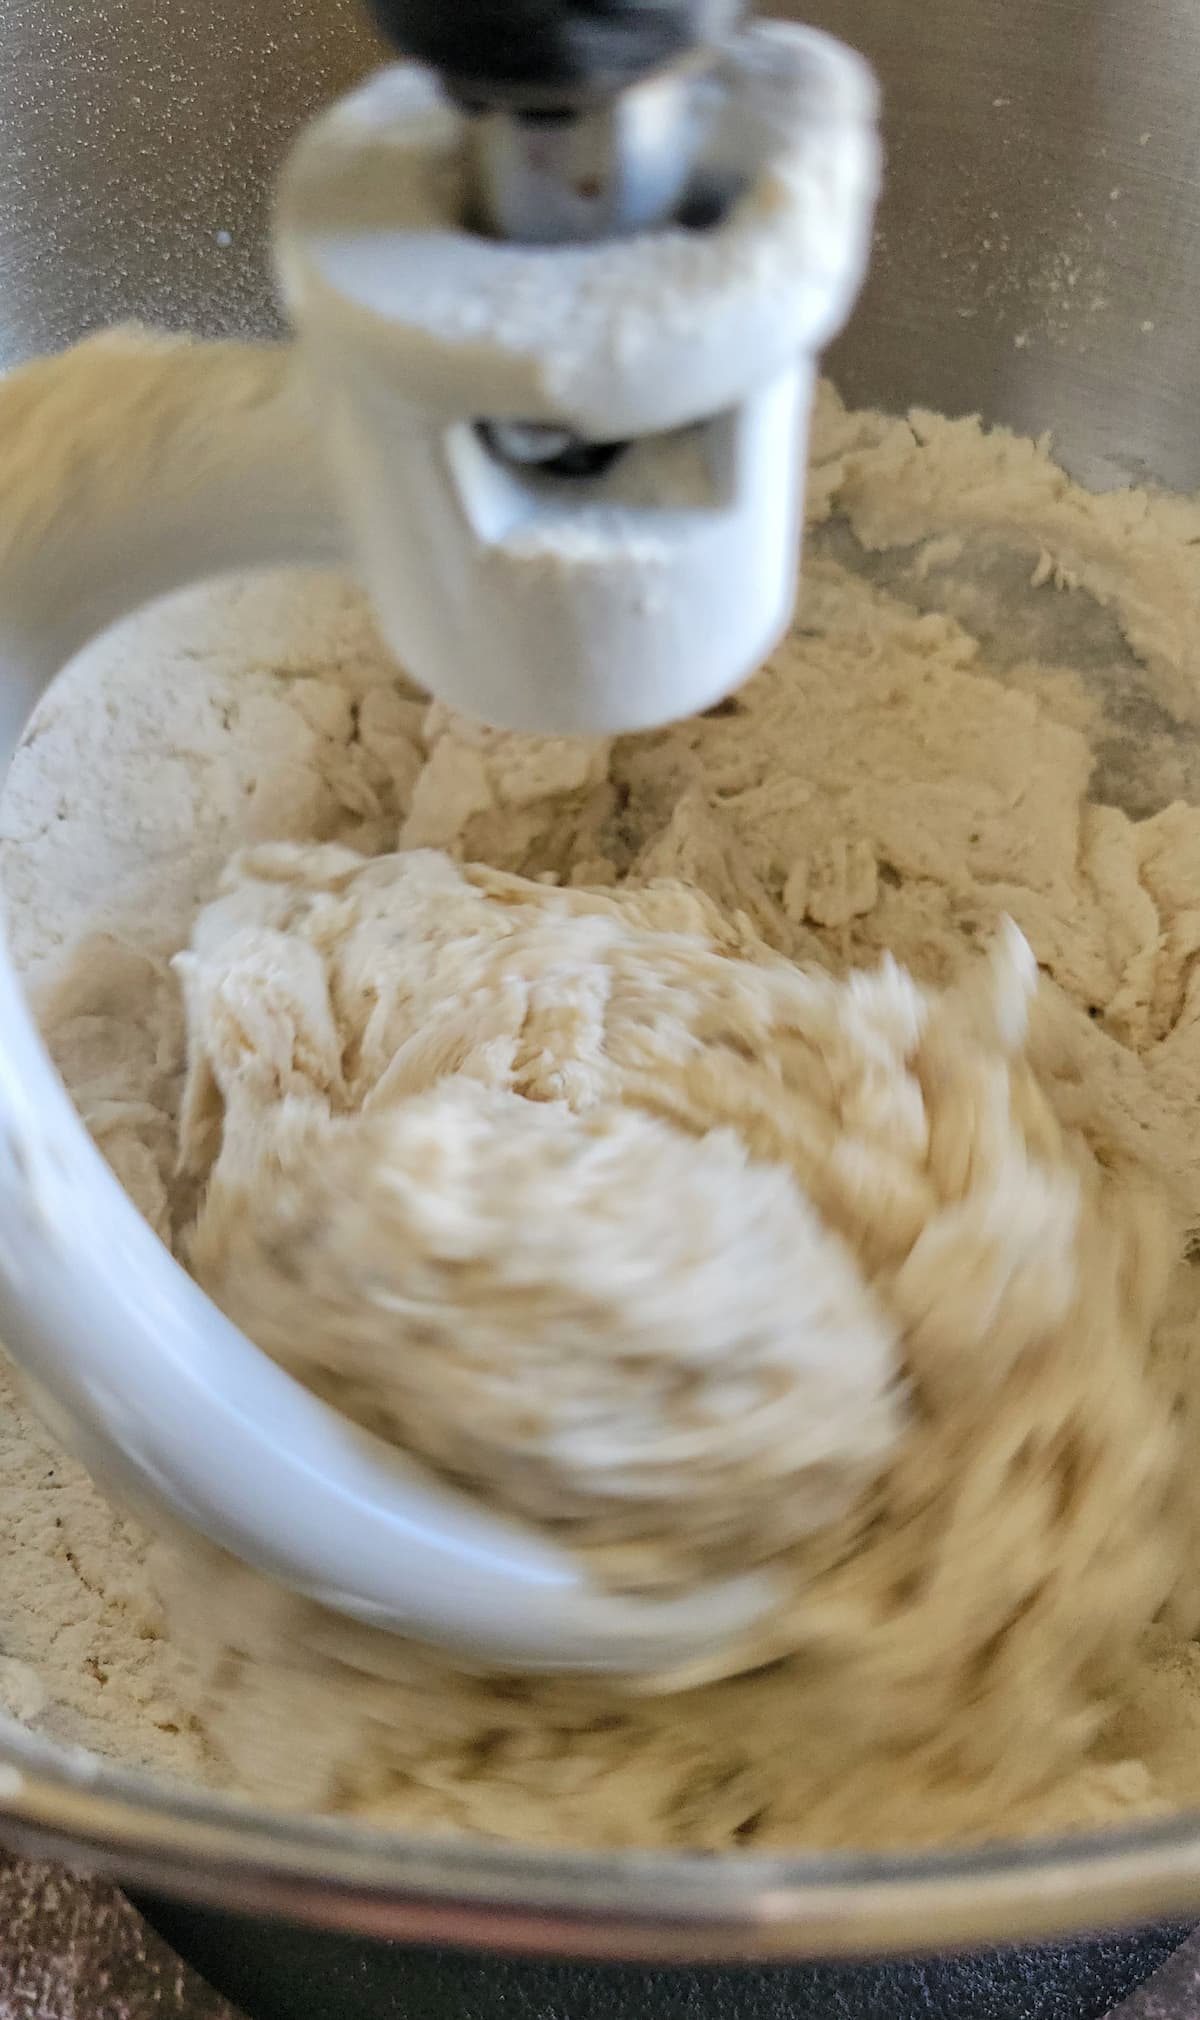
- Add the remaining flour, salt and Italian seasoning.

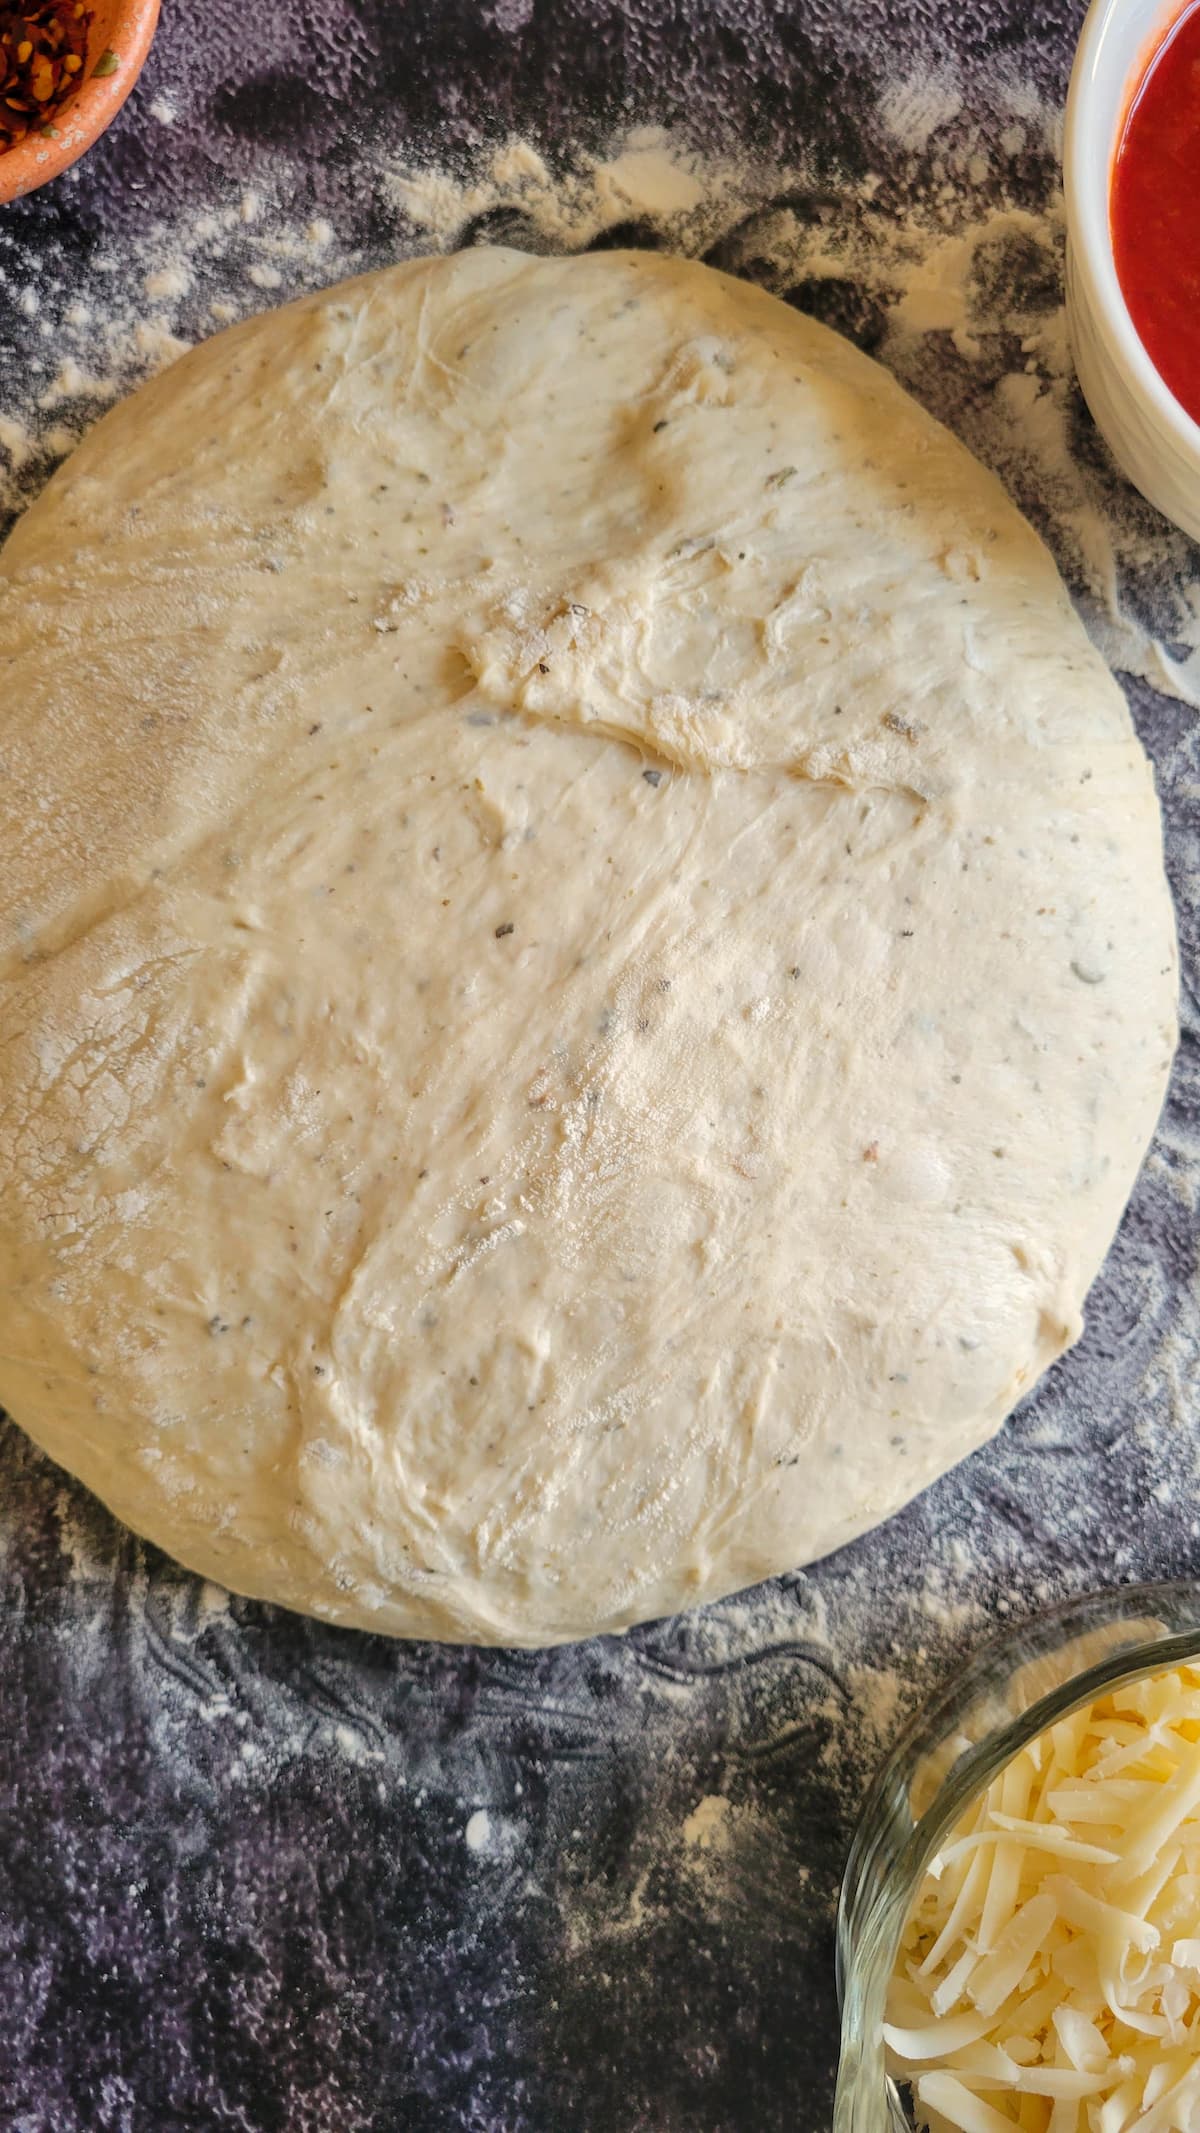
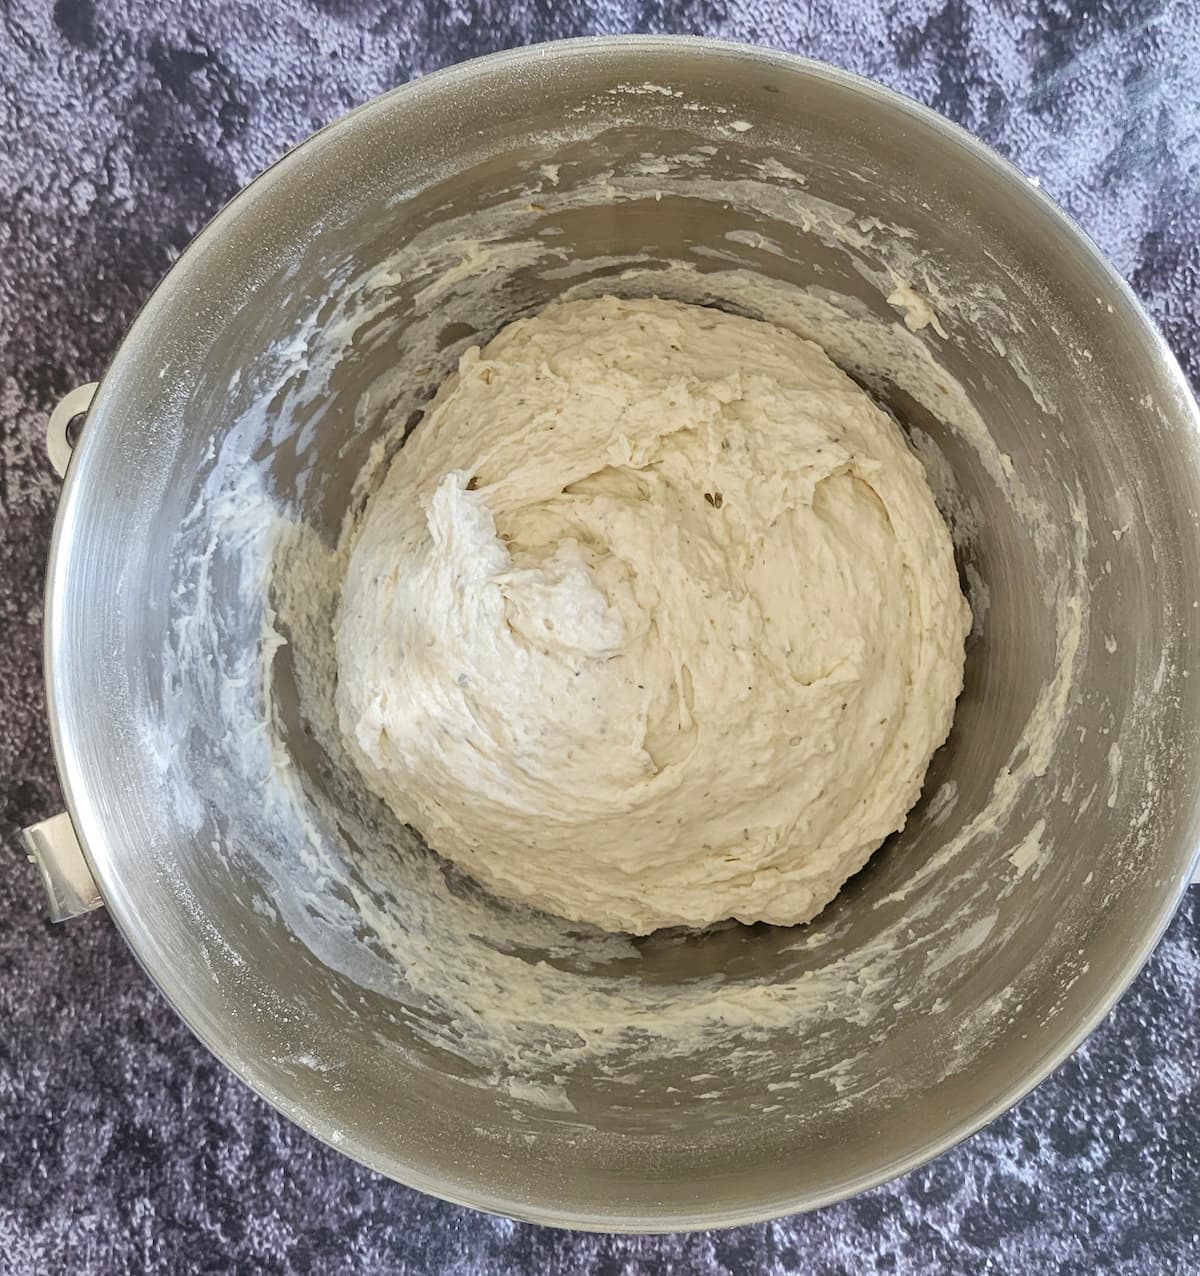
- Knead until smooth, scraping down the sides of the bowl as needed. The dough should form a nice ball and no longer cling to the bowl.

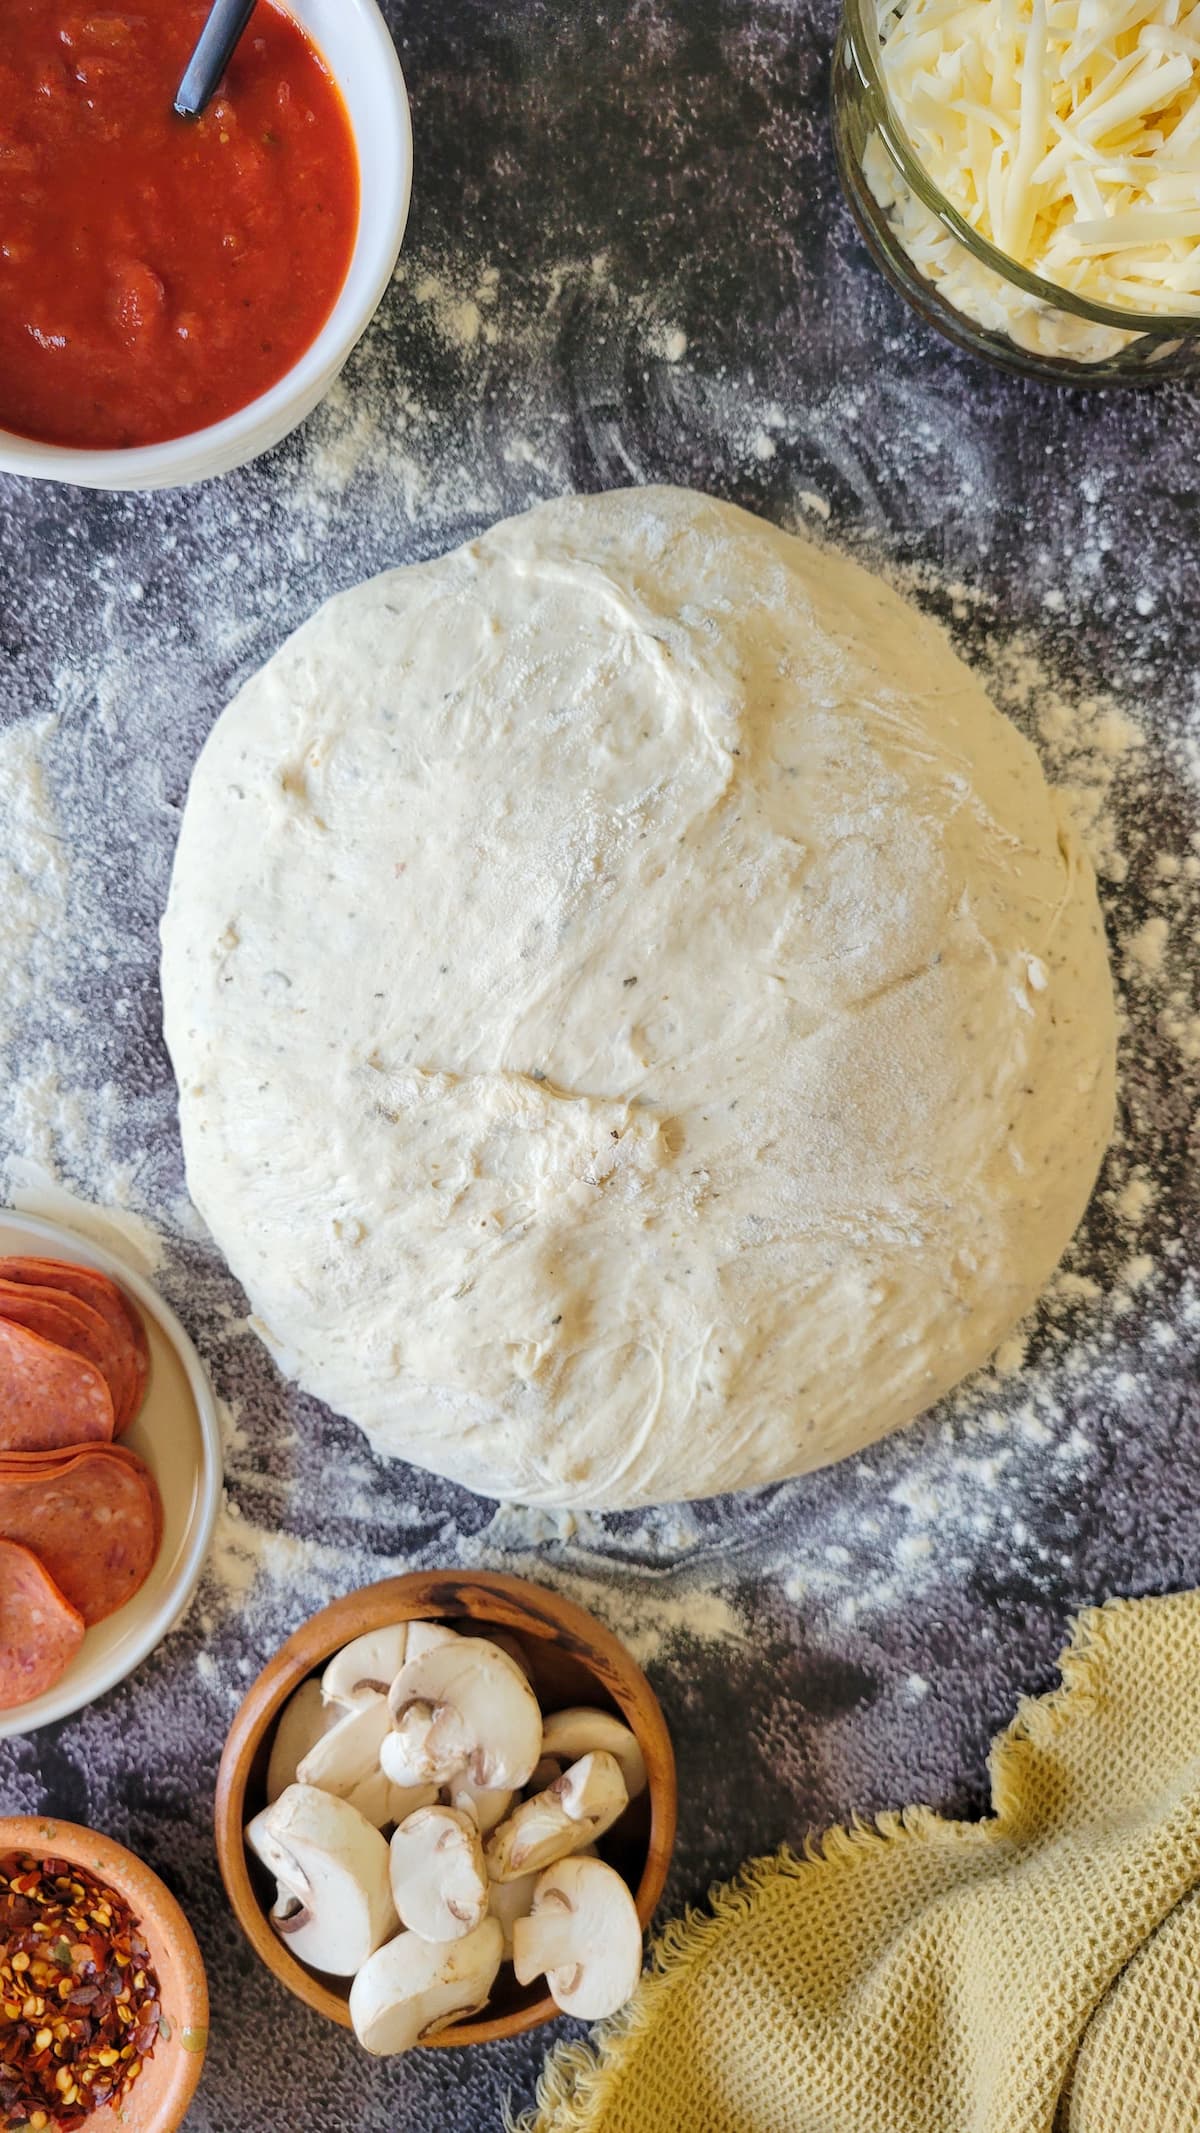
- Cover with siran wrap and allow it to rest for 10-20 minutes or until it has risen nicely and just about doubled in size.

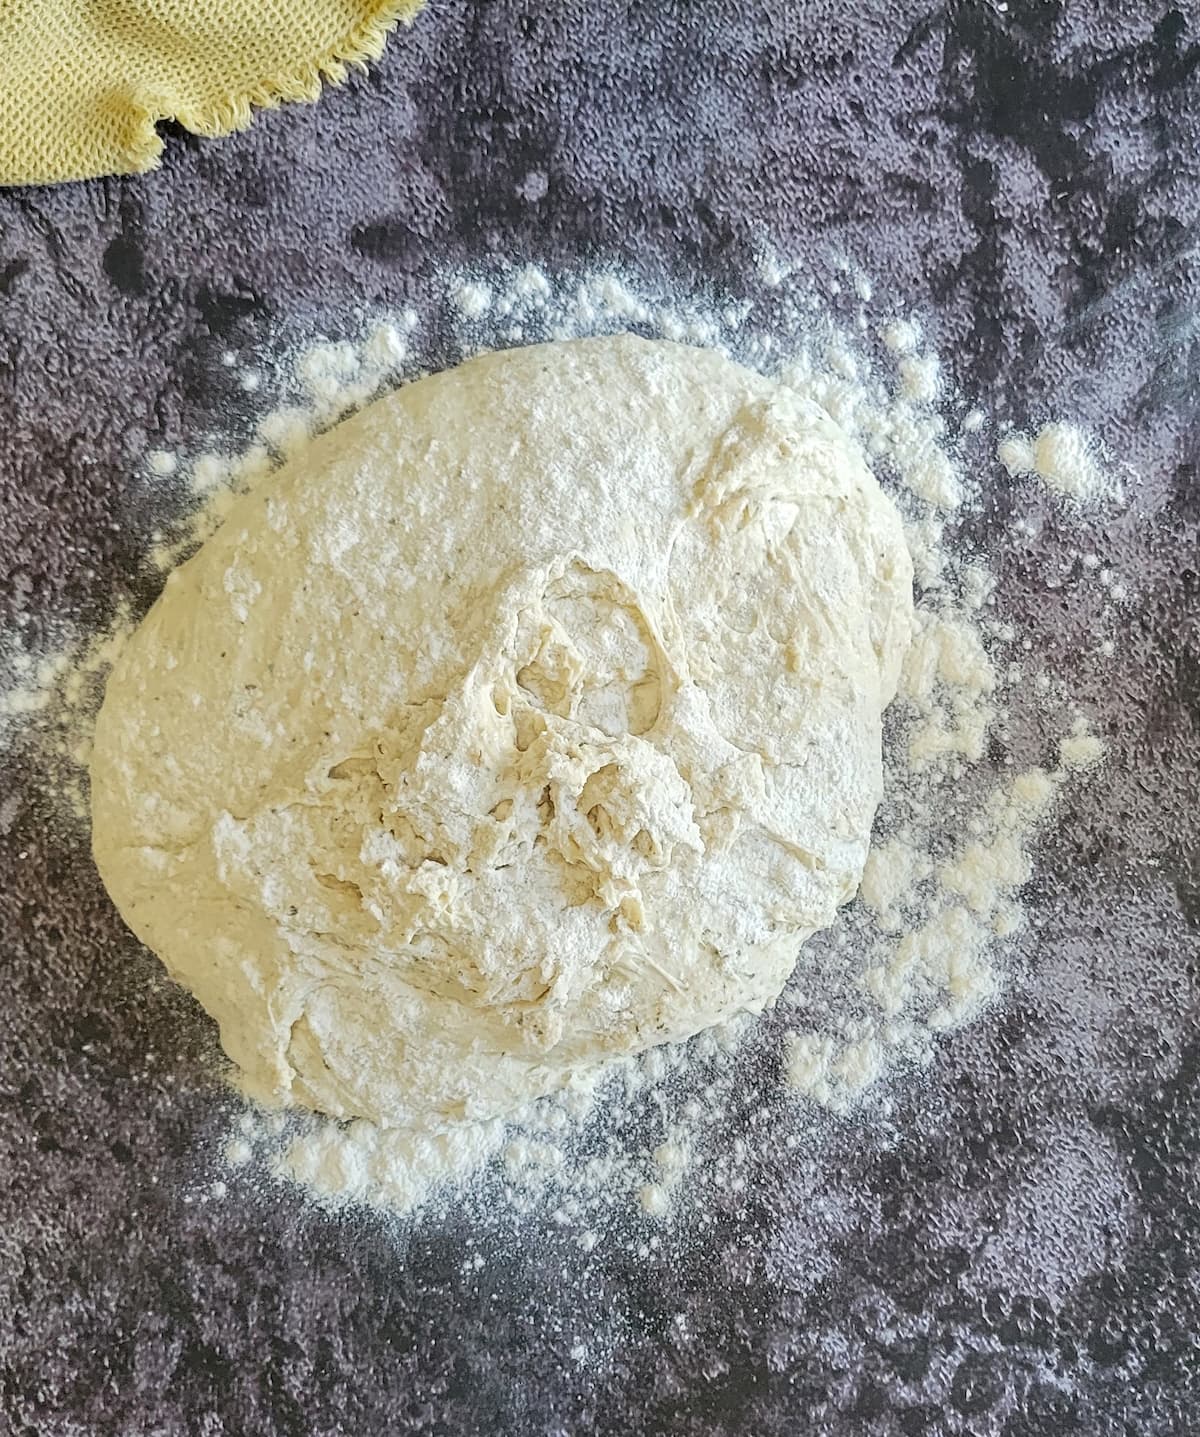
- Remove the dough from the bowl and transfer to a floured surface, using more flour to alleviate the stickiness if necessary.

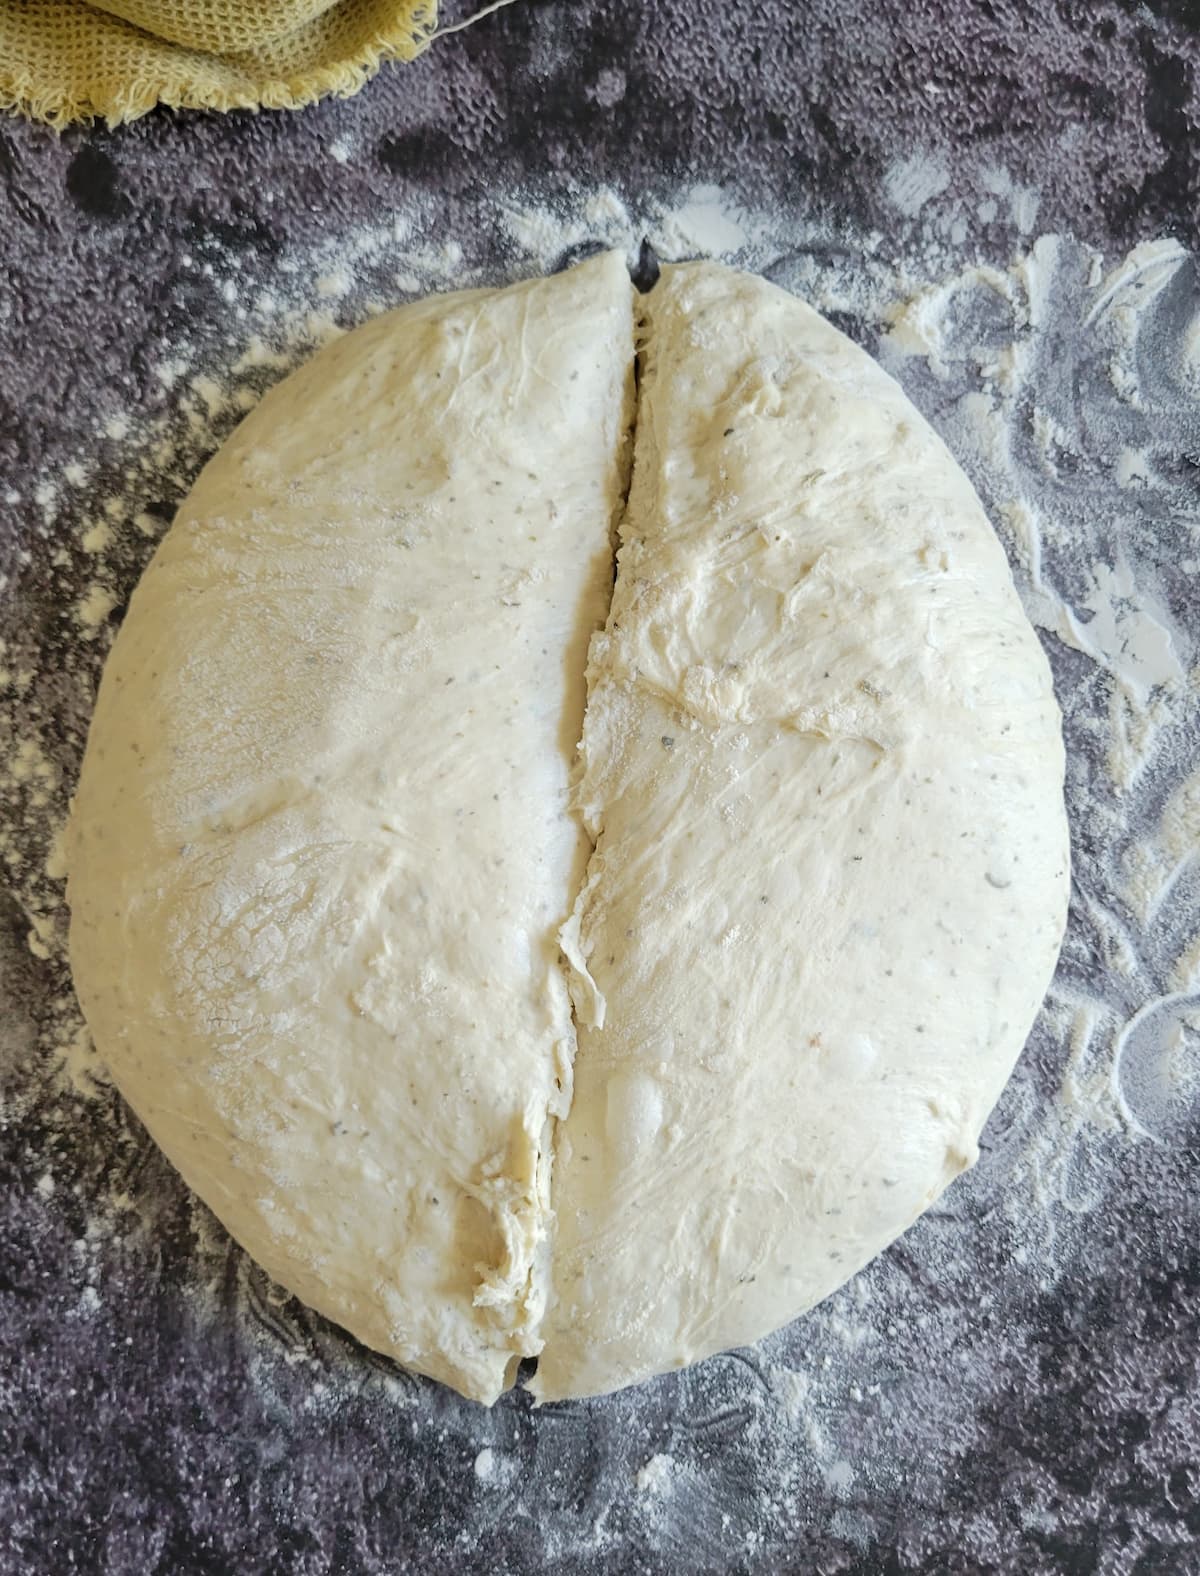
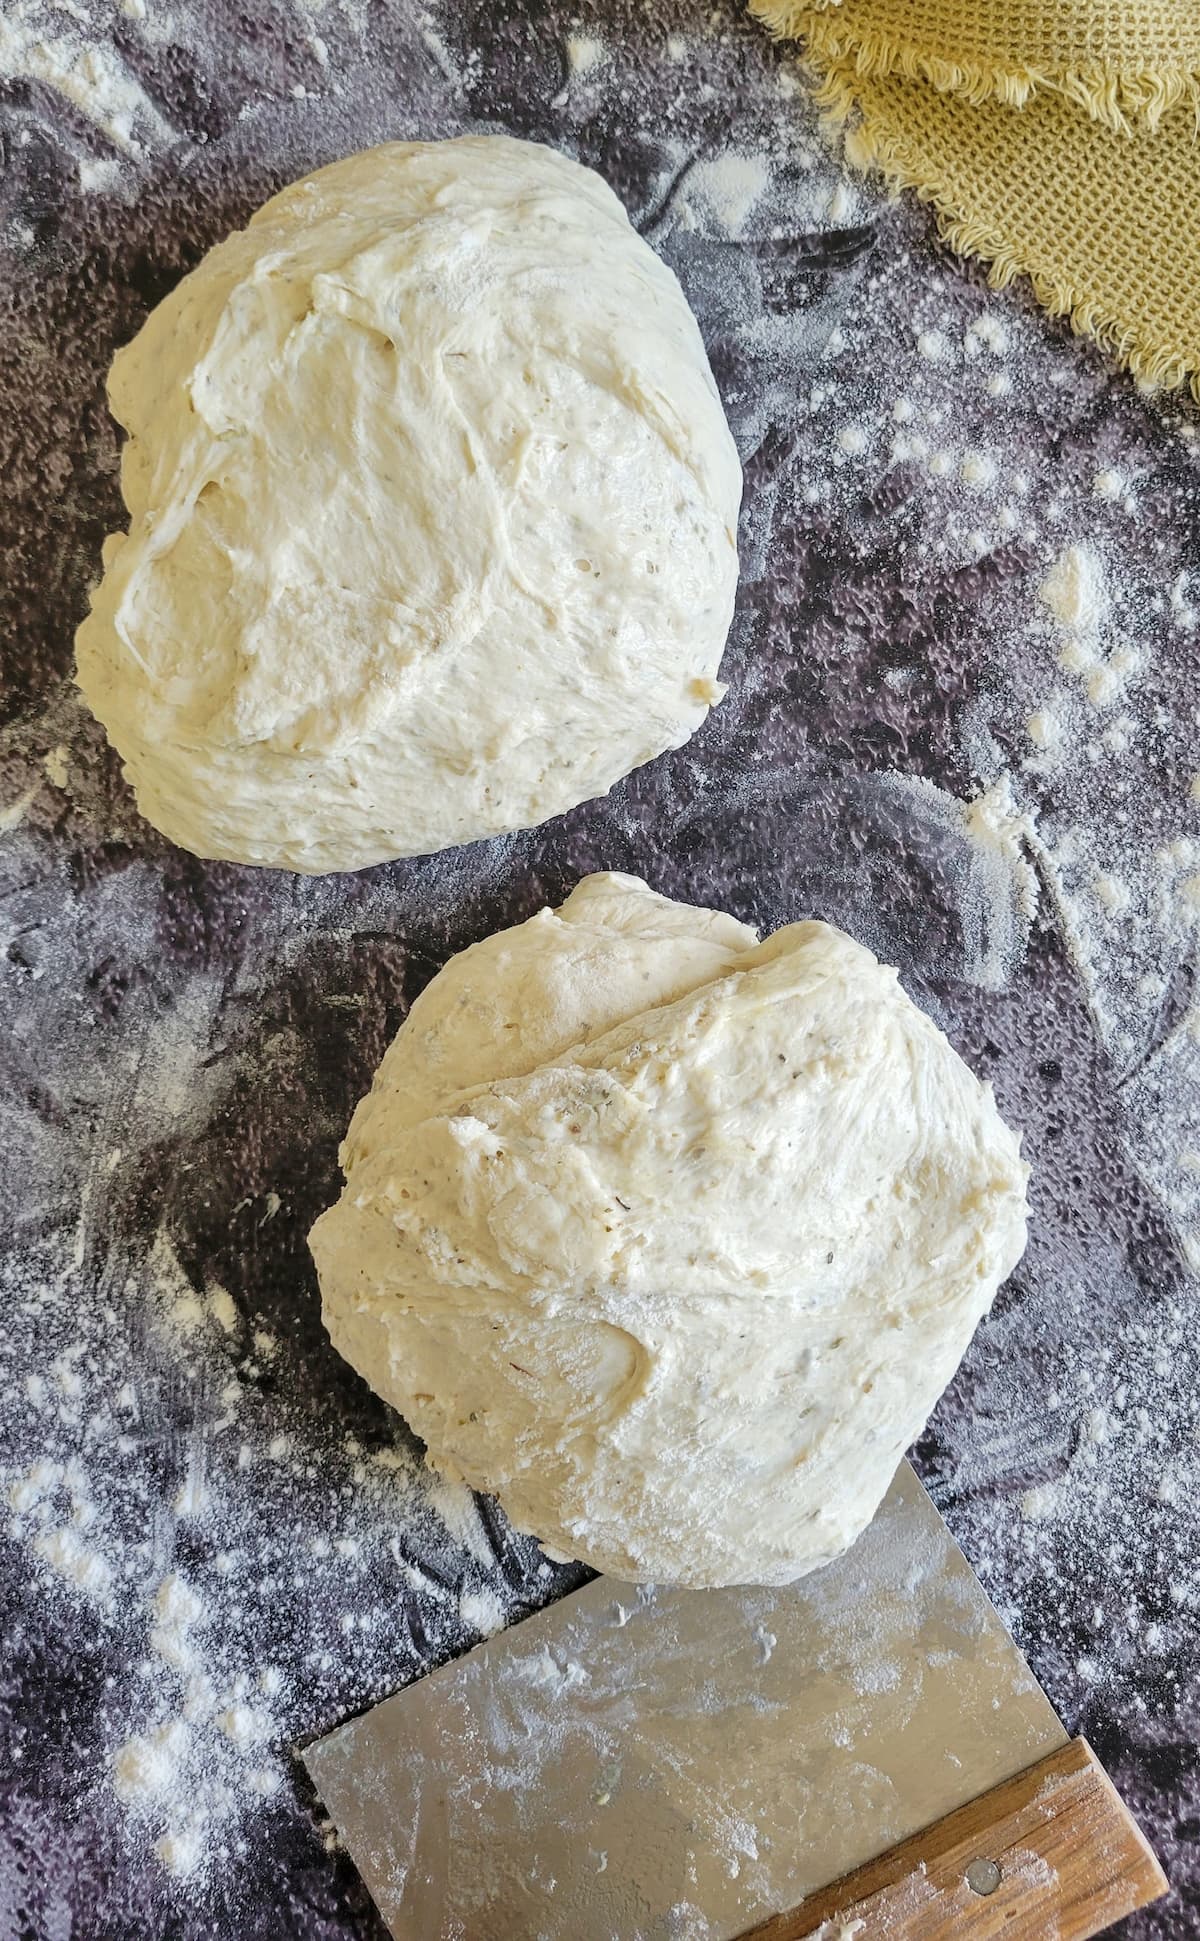
- Cut the dough into 2 equal portions.

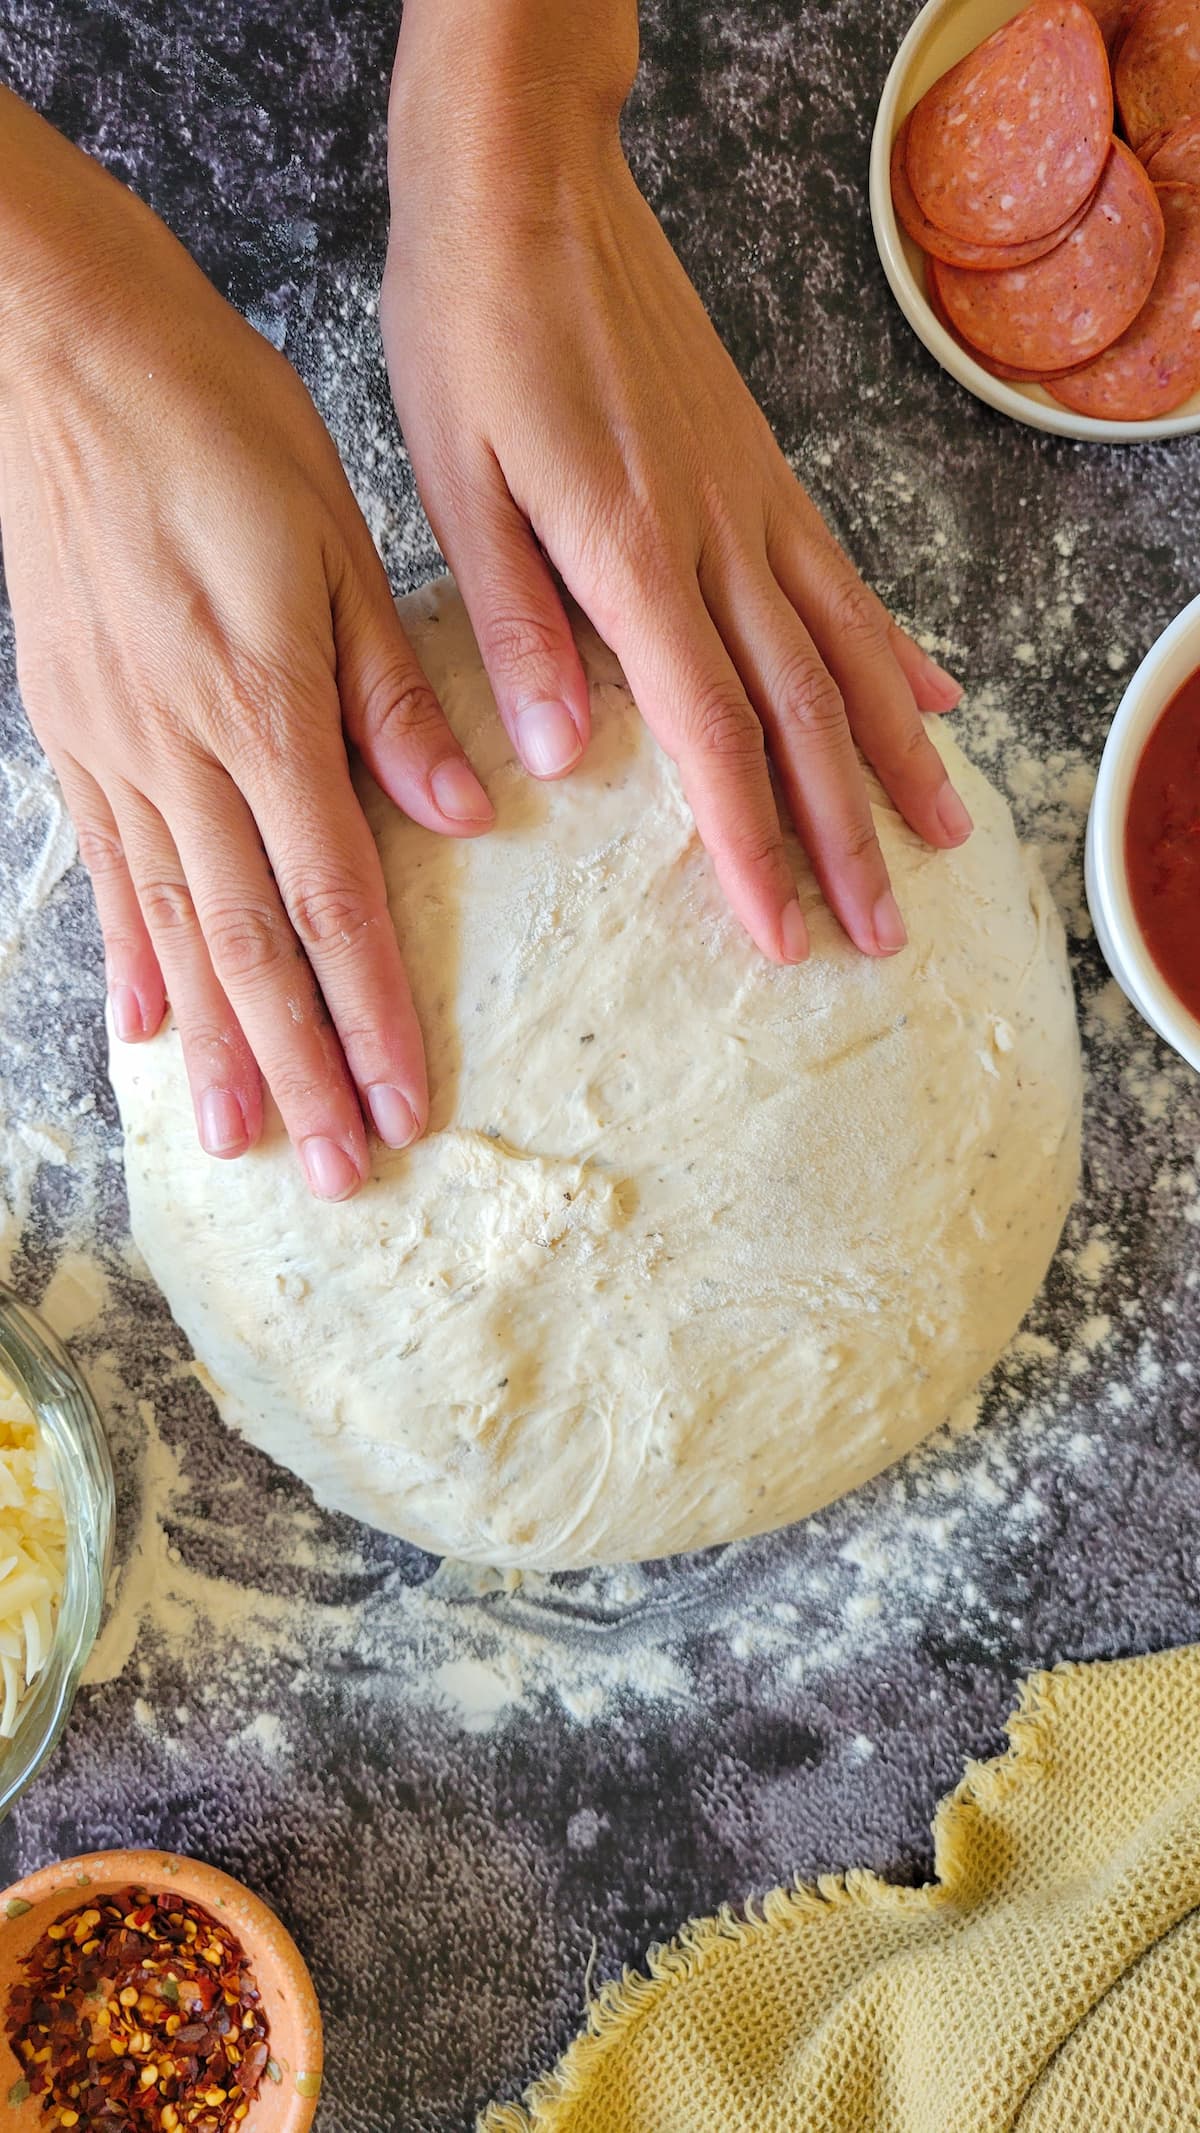
- Shape into individual balls.

- Use a floured rolling pin to thinly roll each one out.

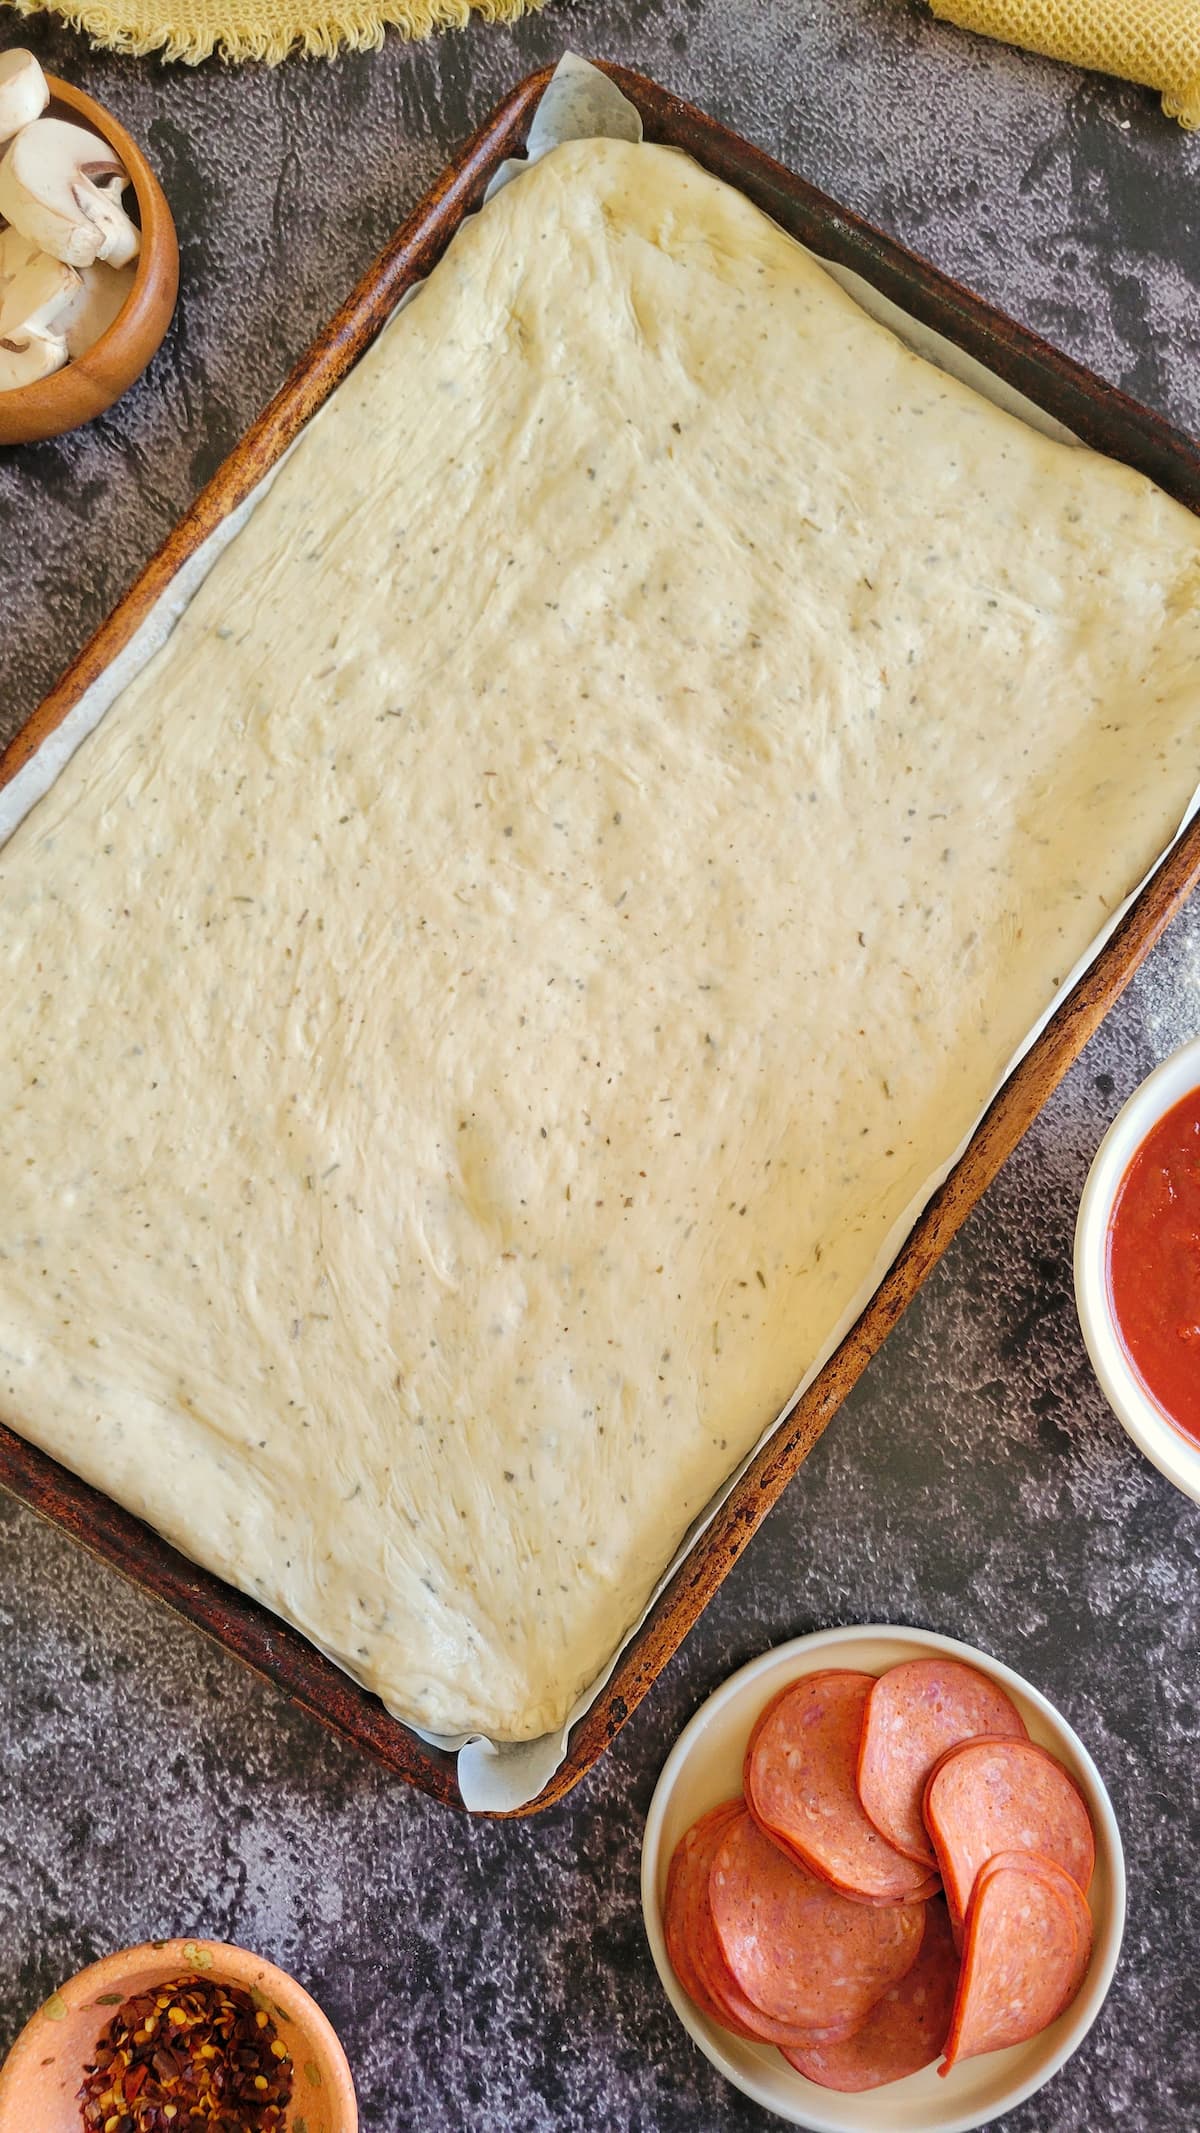
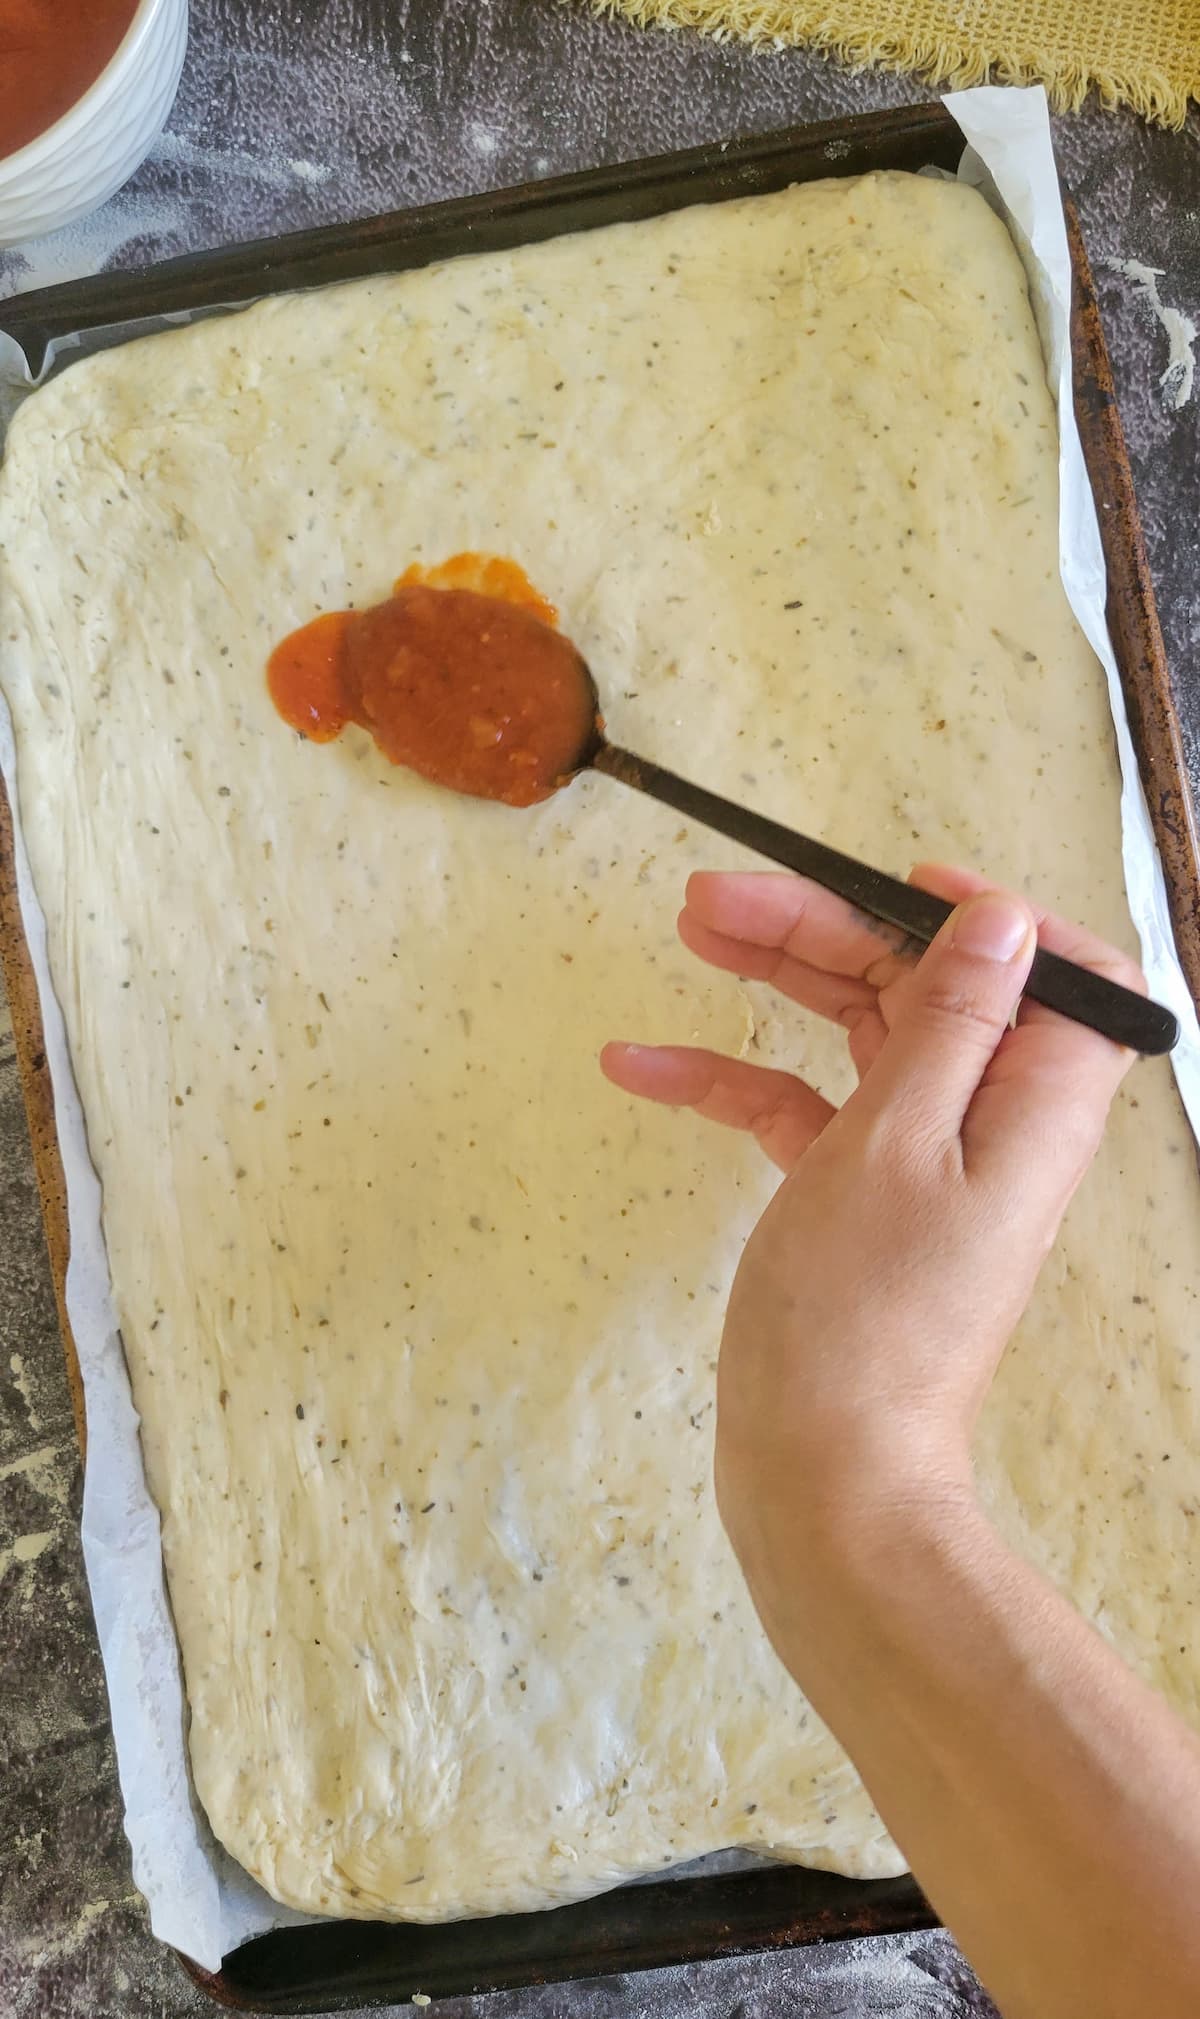
- Line two 9×13 baking trays with parchment paper and generously grease with olive oil. Carefully transfer each pizza dough onto the pans, using your hands to stretch them out into the shape of the pan. If you're having difficulty, allow the dough to sit in the pan for a few additional minutes before trying again.

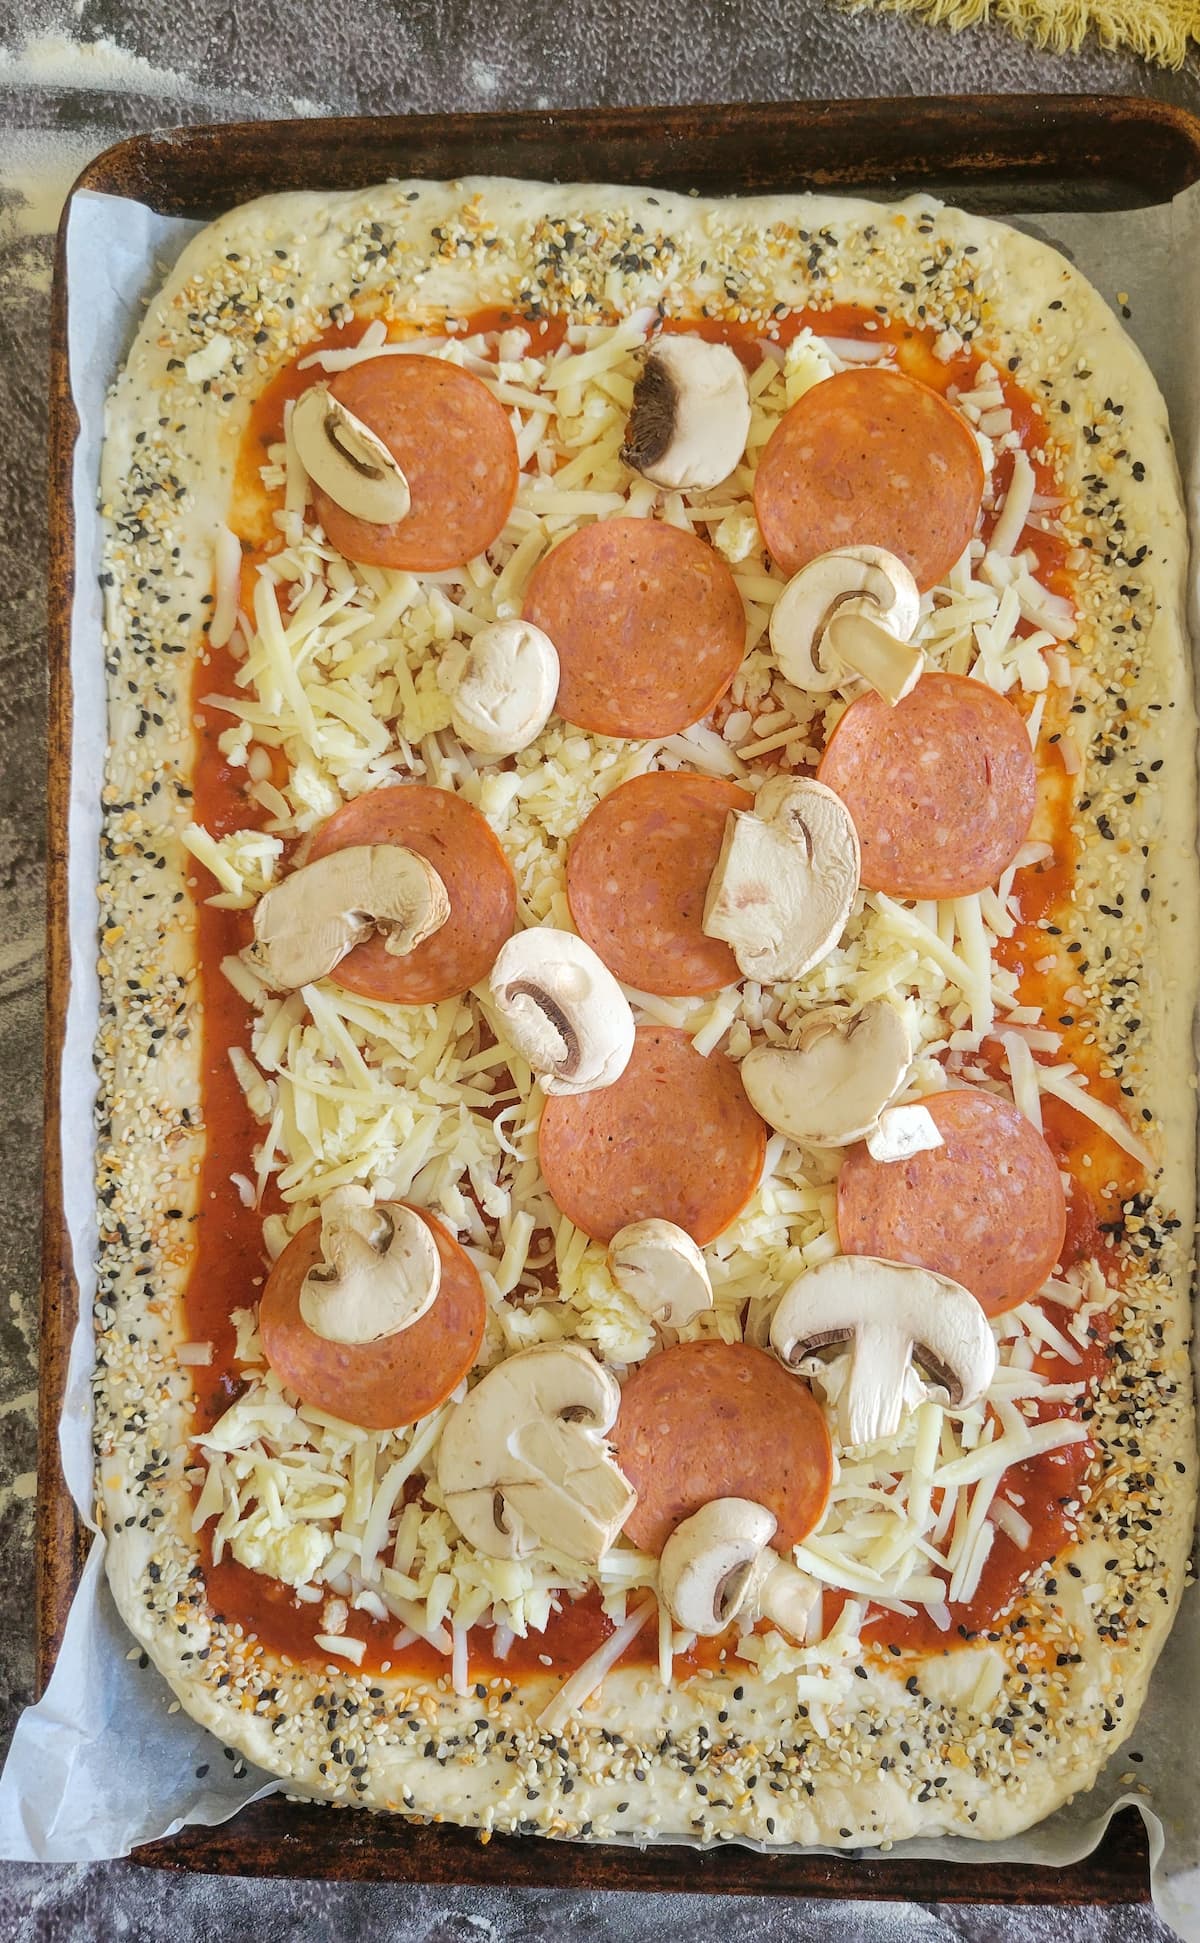
- Top with desired pizza toppings, making sure to leave a 3/4-inch space around the edges for the crust (I love topping mine with everything but the bagel seasoning).

- Bake in a 400°F oven for 18-20 minutes or until the pizza and toppings are fully cooked through.


Notes
Nutrition
Don’t skip the good stuff —
scroll up above the recipe card for ingredient notes, tips & tricks, and easy swaps/variations.Made it? Tell me everything.
I LOVE seeing what you made! Tag @hiphipgourmet on Instagram (or use #hiphipgourmet) so I can see it — then rate it + upload your photo below. 💖
The links in this post are affiliate links. Thanks for supporting HipHipGourmet!