If you were ever wondering How To Caramelise An Onion, then you’ve come to the right place! This easy method might take a bit of time but the results are perfectly caramelised onions (without adding any sugar!) to use in a variety of tasty dishes. You’re welcome.
What comes to mind when you hear the words ‘flavour bomb’? Is it something like adding chipotle mayo to a burger? Or maybe it’s throwing some sun-dried tomato pesto a-top some fried eggs (I can confirm that this combination is THE BOMB). Maybe you love adding cheese rinds to soups and stews. Or you just can’t get enough of putting these hot peppers in oil in just about every dish you’ve been making lately. What can you say? You can’t help it. You just love adding little boosts of flavour to your food and are always looking for new ways to do so. Ok, now you’re just starting to sound like me.
Caramelized onions is one of the easiest ways to do exactly that. Sure, it might take a bit of time to get them into the perfect caramelised state. But, it’s pretty amazing how much you can change the flavour of a plain ol’ onion just by letting it cook for more time you ever thought an onion could without burning. Although caramelised onions may not be the fastest thing you’ve ever cooked up, they’re easy to make and take no time at all to perfect.

WHAT ARE CARAMELISED ONIONS?
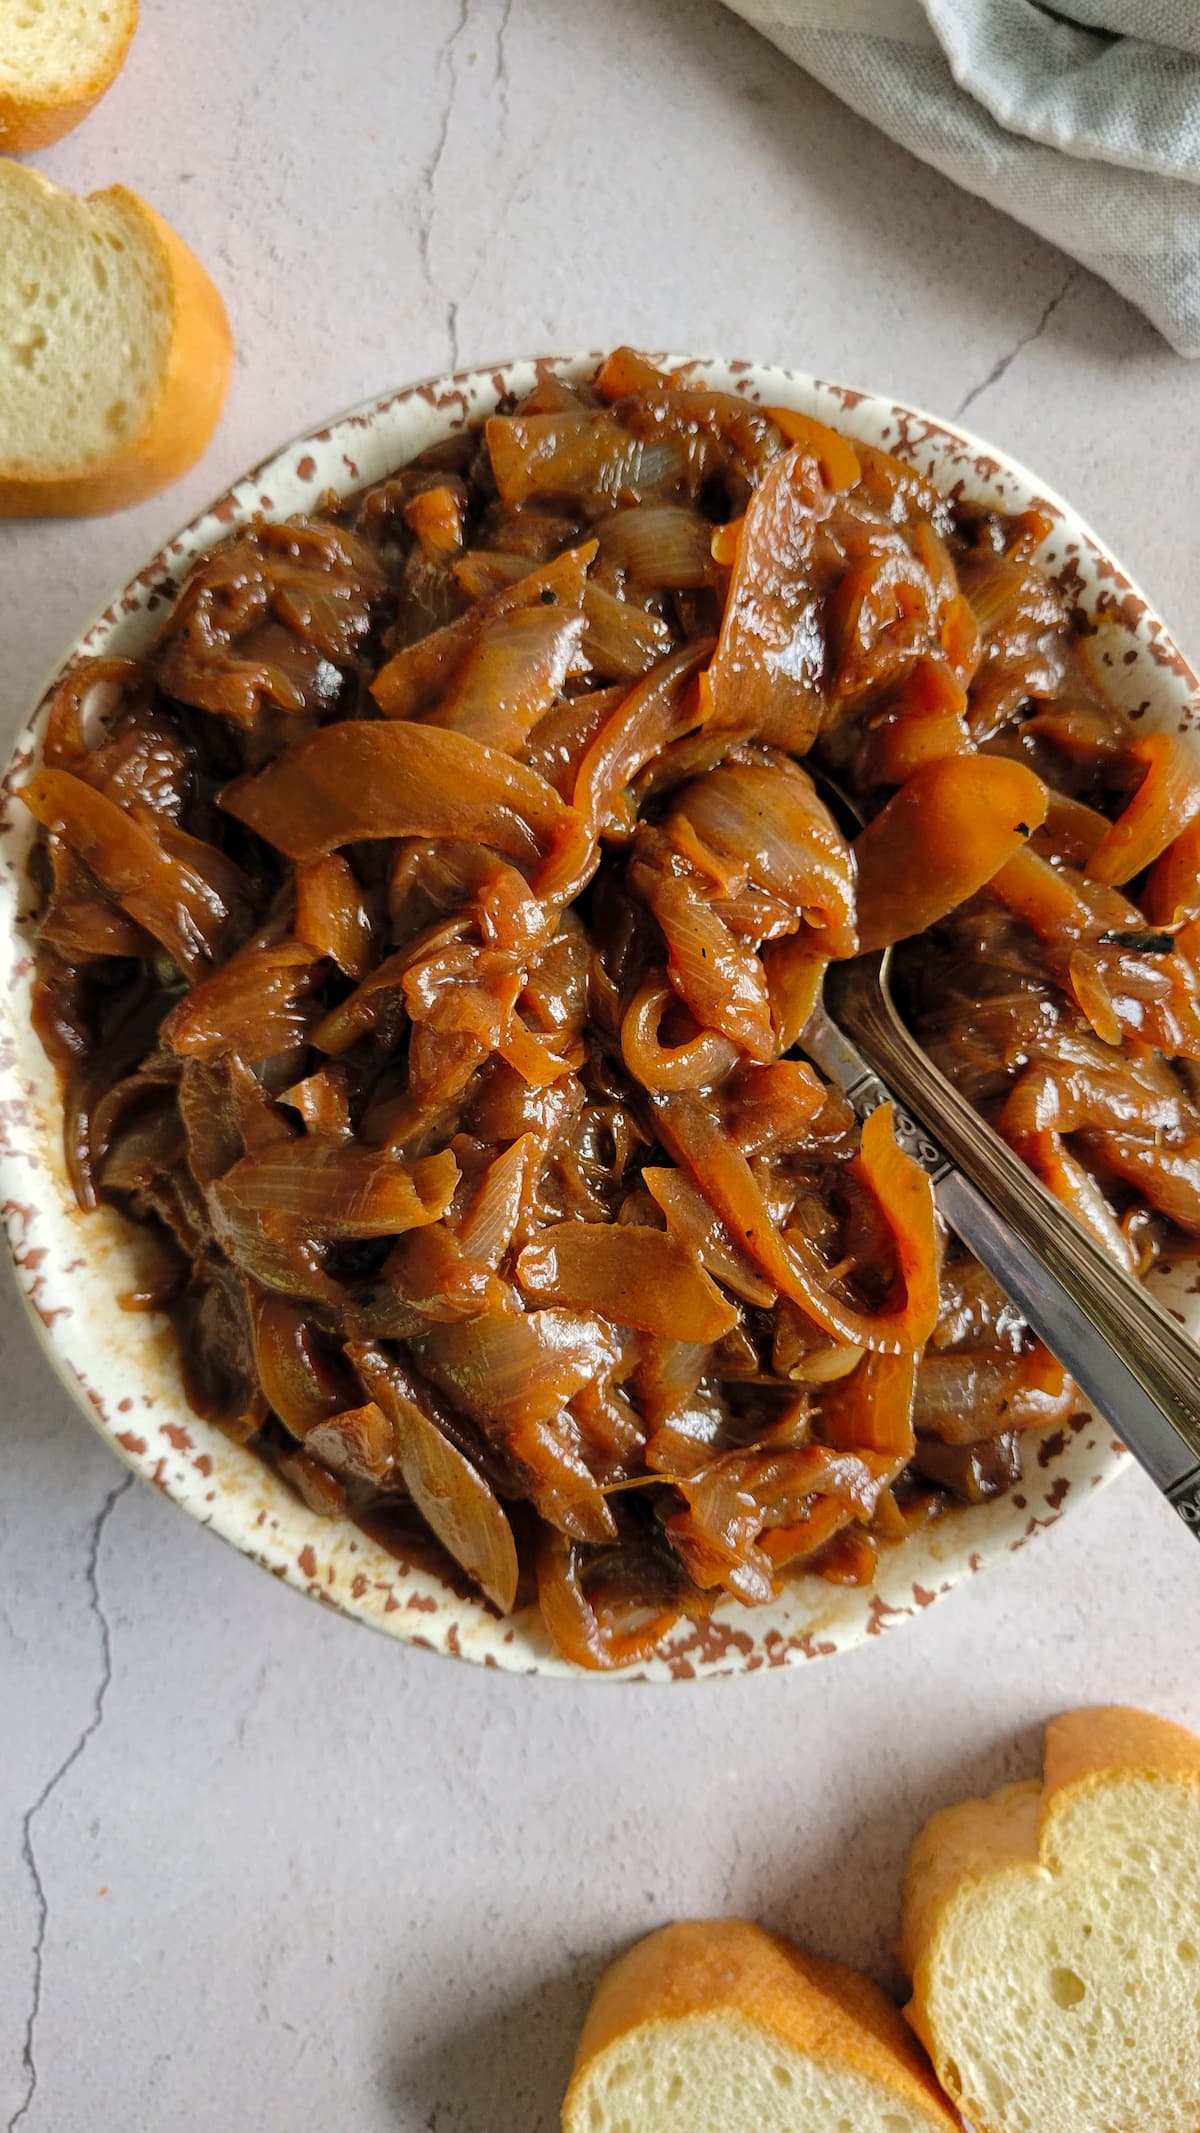
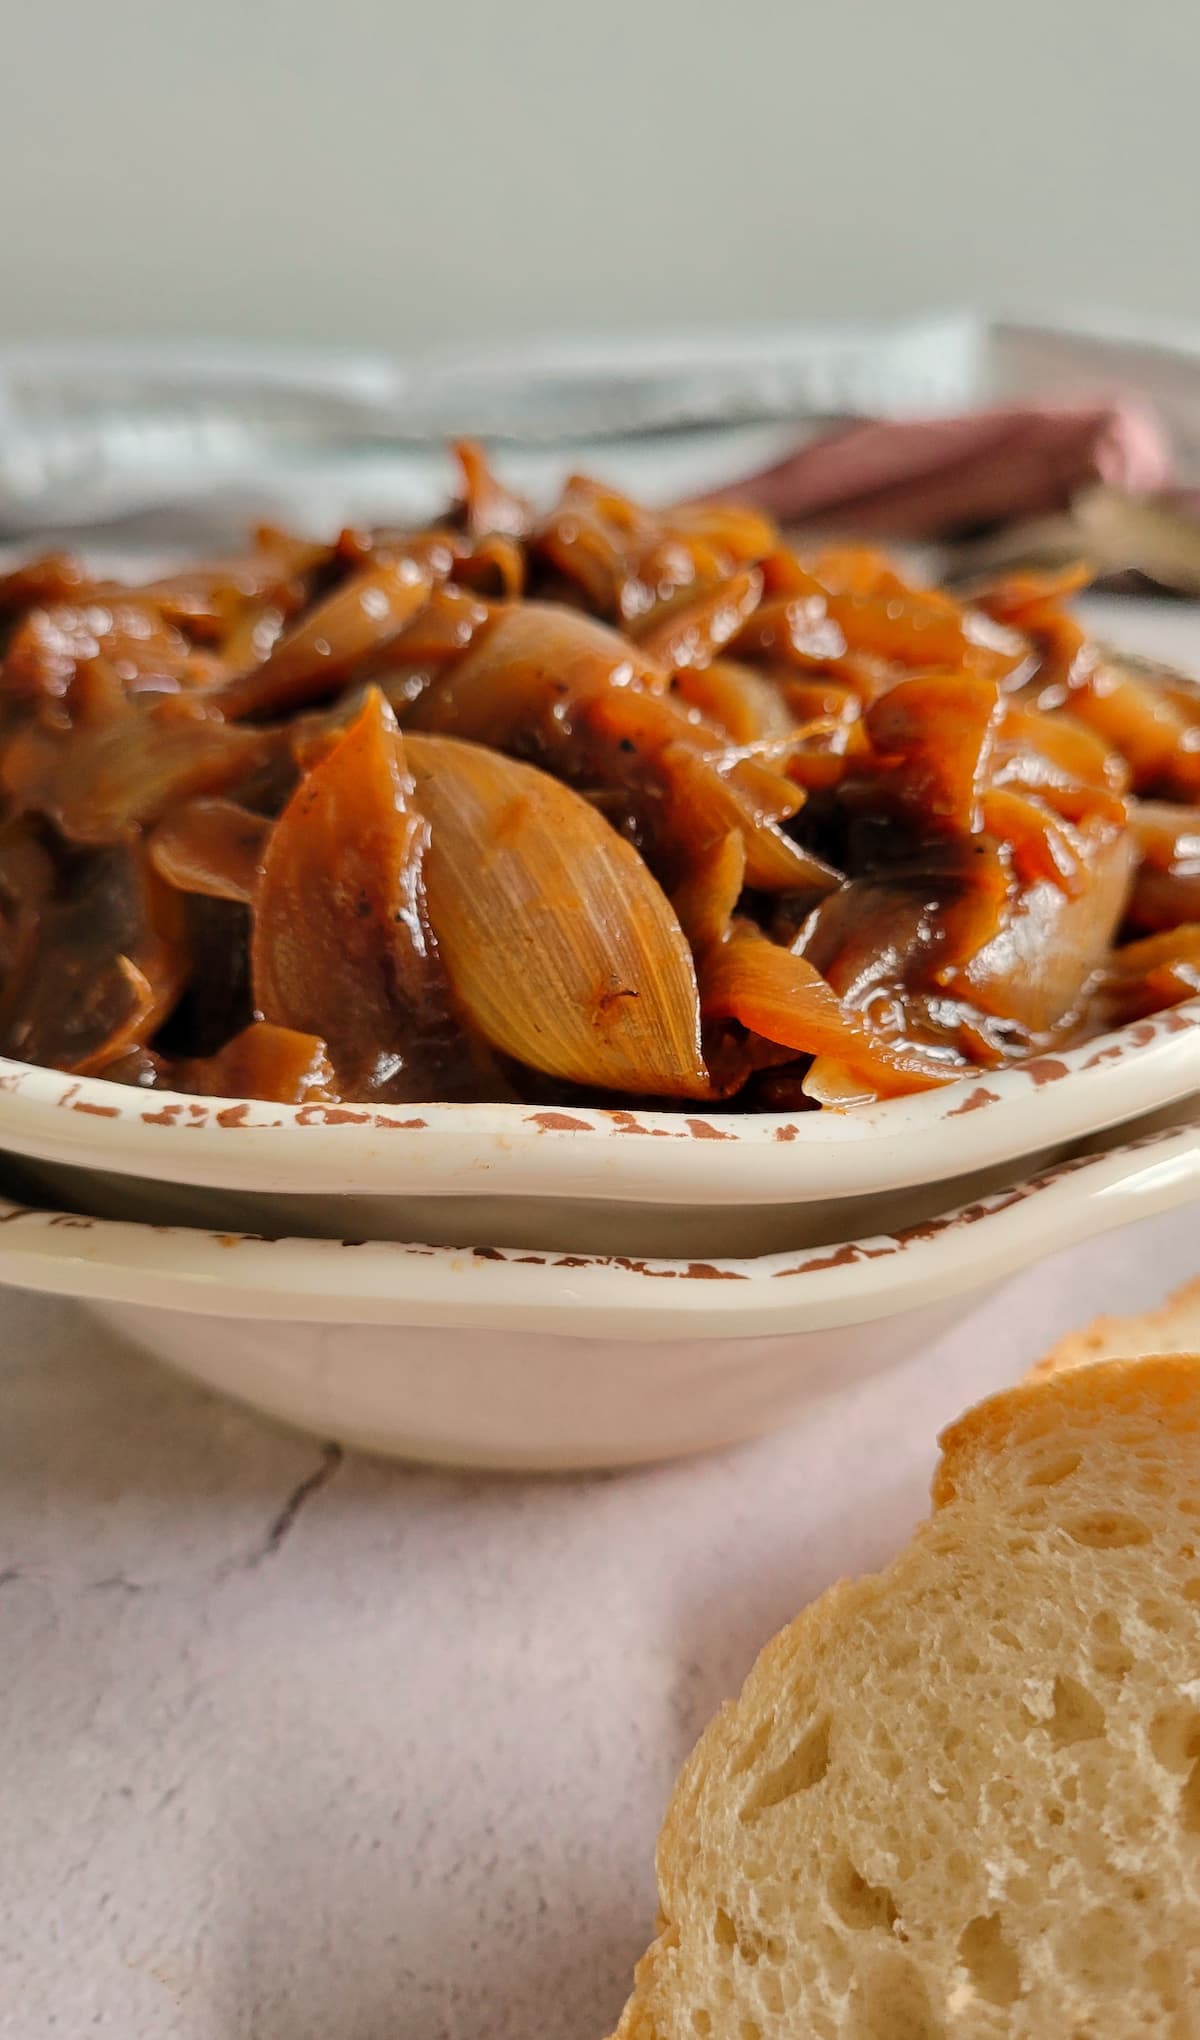
Caramelised onions are sliced onions (typically white or yellow) that have been slow cooked for an extra long period of time. This process causes their natural sugars to caramelize. Usually, the rule of thumb to remember when caramelizing an onion is to cook it in some sort of fat to add flavour without burning (butter, ghee, oil, etc.). Also, to keep adding just enough liquid (broth, beer, wine, water, etc.) to the bottom of the skillet (repeating as the onions absorb it) to keep the onions browning without burning or drying out. The result? That FLAVOUR BOMB we were talking about earlier.
Caramelized onions are like the best things ever! They’re such an easy way to add boosts of flavour to anything from sandwiches and burgers to dips and spreads. And, IMHO, every good cook should know how to make them!
WHAT YOU’LL NEED TO MAKE CARAMELIZED ONIONS
As long as you remember the golden rule when it comes to caramelising an onion (fat + liquid), you’ll end up with perfectly caramelised onions every single time. Let’s discuss exactly what you’re going to need to make them (besides a little patience) in a little bit more detail down below:
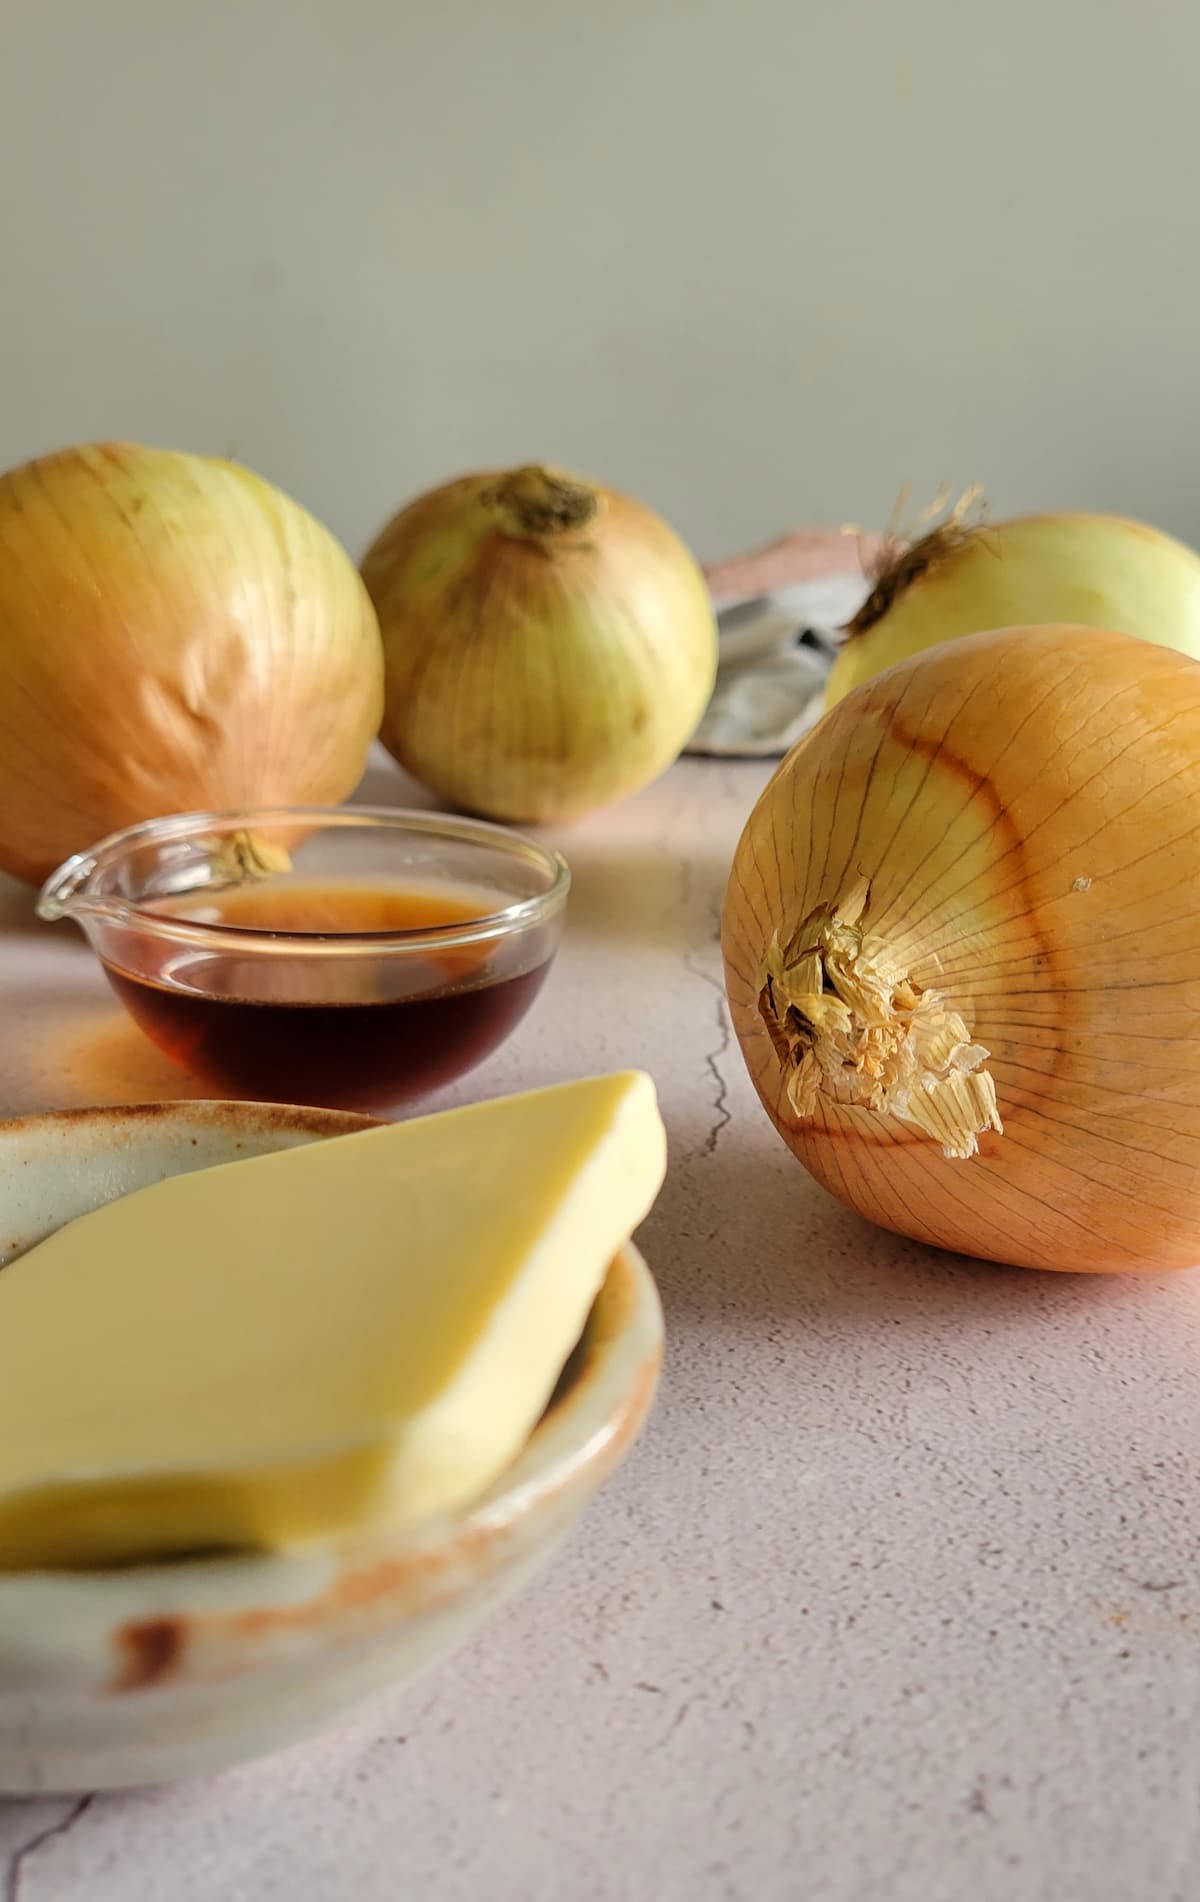
- The Onions: Well, duh! Onions are most definitely the star in this recipe. You can pretty much use any kind of onion you want. However, the most common onions used for caramelising are Spanish (white) onions or yellow onions. You can use red or sweet onions (such as Vidalia) instead, if you prefer. Just remember that the caramelization process brings out the natural sugars in the onions. Therefore, they’ll become even sweeter once caramelized.
- Cooking Fat: This is what the onions will cook/sauté in. The cooking fat can be anything (or a combination of things) from butter and ghee to oil or bacon grease. It adds flavour and plays an important part in keeping the onions from burning or sticking to the pan as they slow cook.
- Cooking Liquid: Adds flavour, keeps the onions browning without burning, prevents the onions from drying out as they slow cook and ultimately deglazes the pan adding even more flavour. You can use any kind of cooking liquid you have on hand (even water!). Depending on the dish I’m going to be adding my onions to, broth, beer or wine are usually my go-tos.
HOW TO CARAMELISE AN ONION (KEY TIPS)
You can find full instructions for how to caramelise an onion in the recipe card down below. But here are a few quick tips to keep in mind:
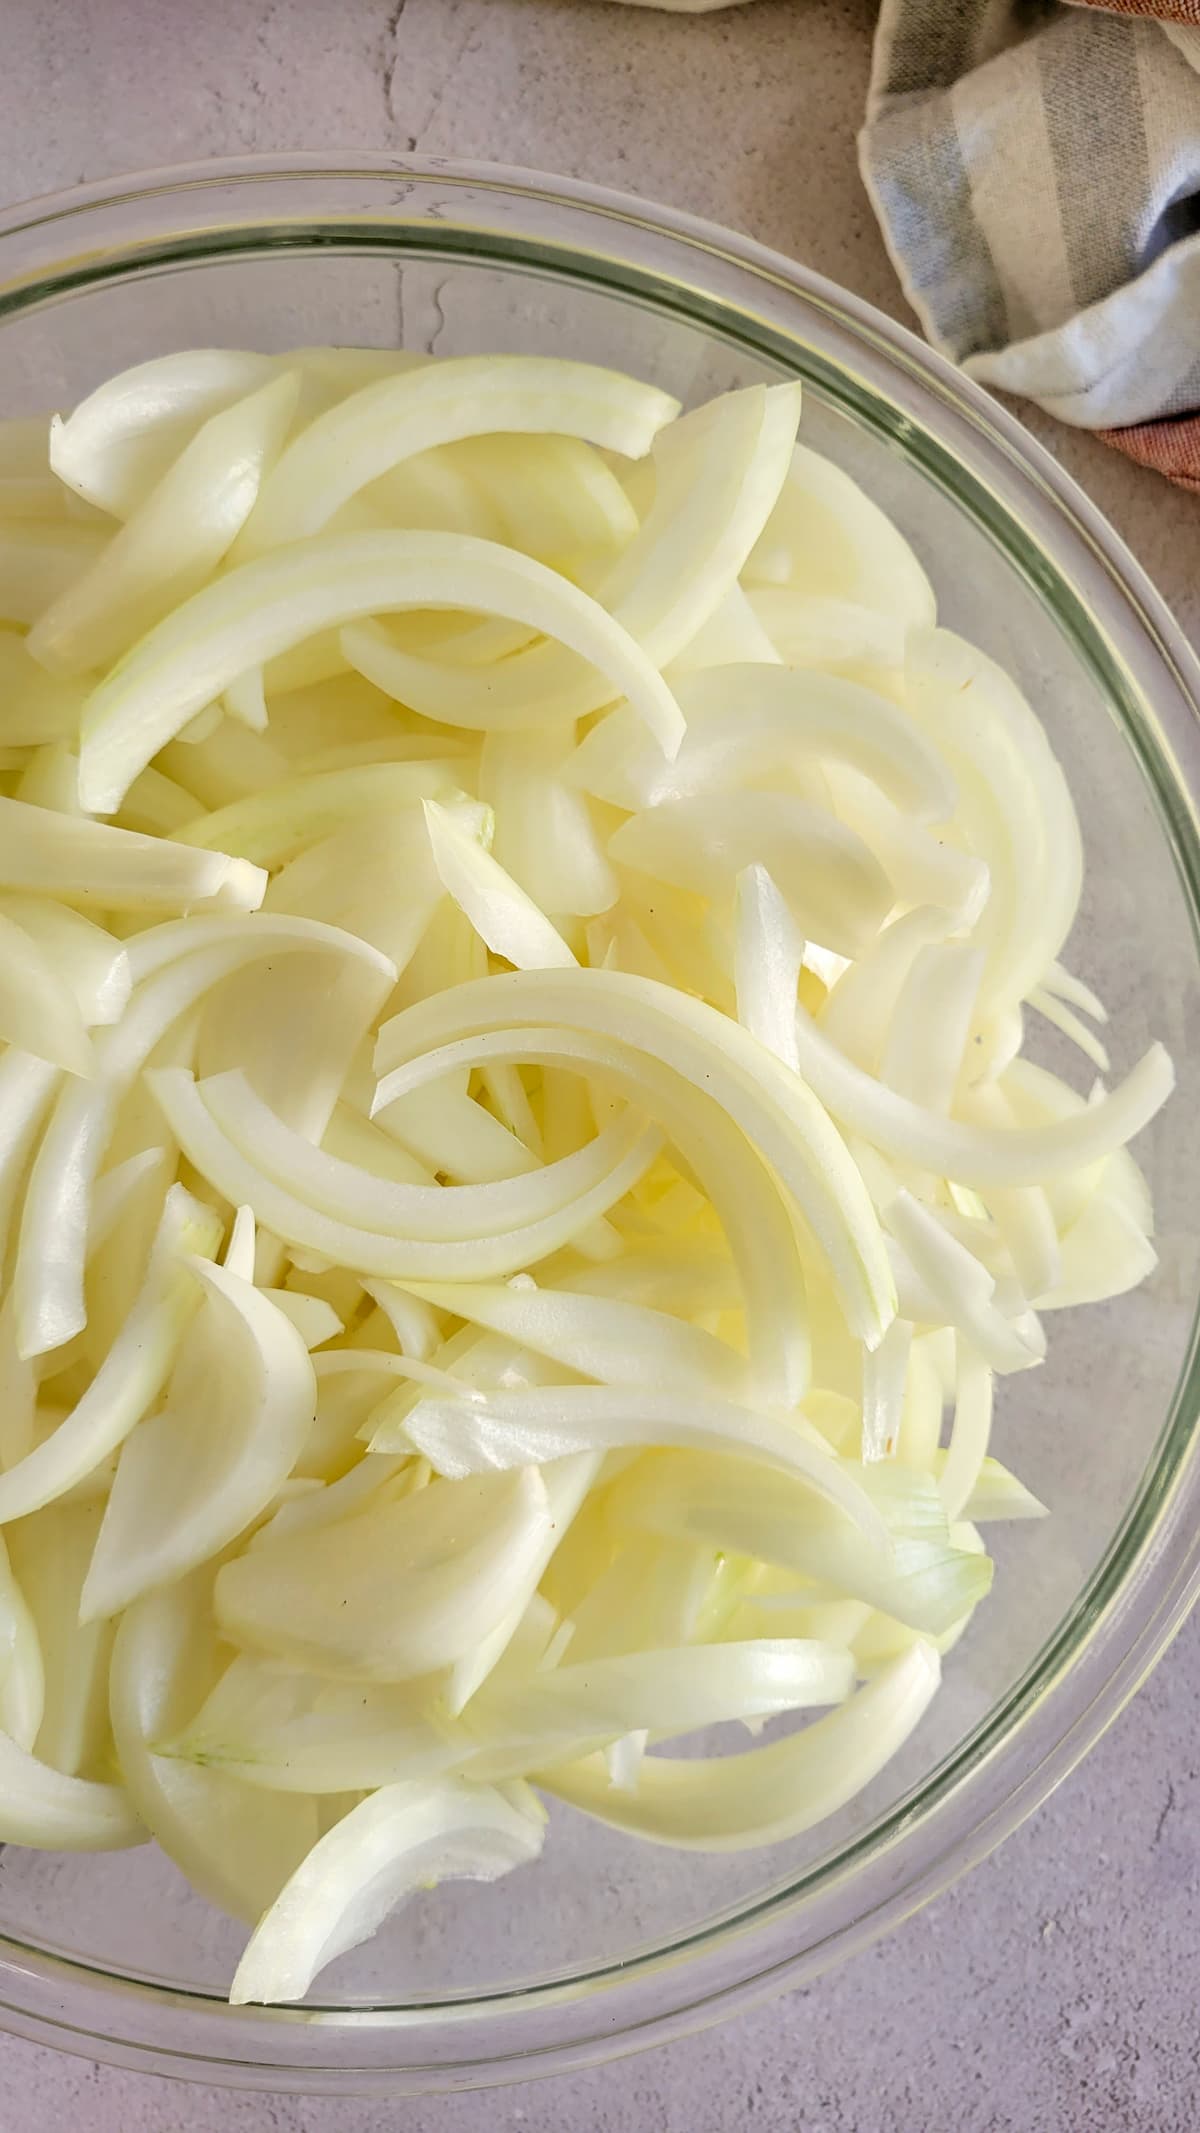
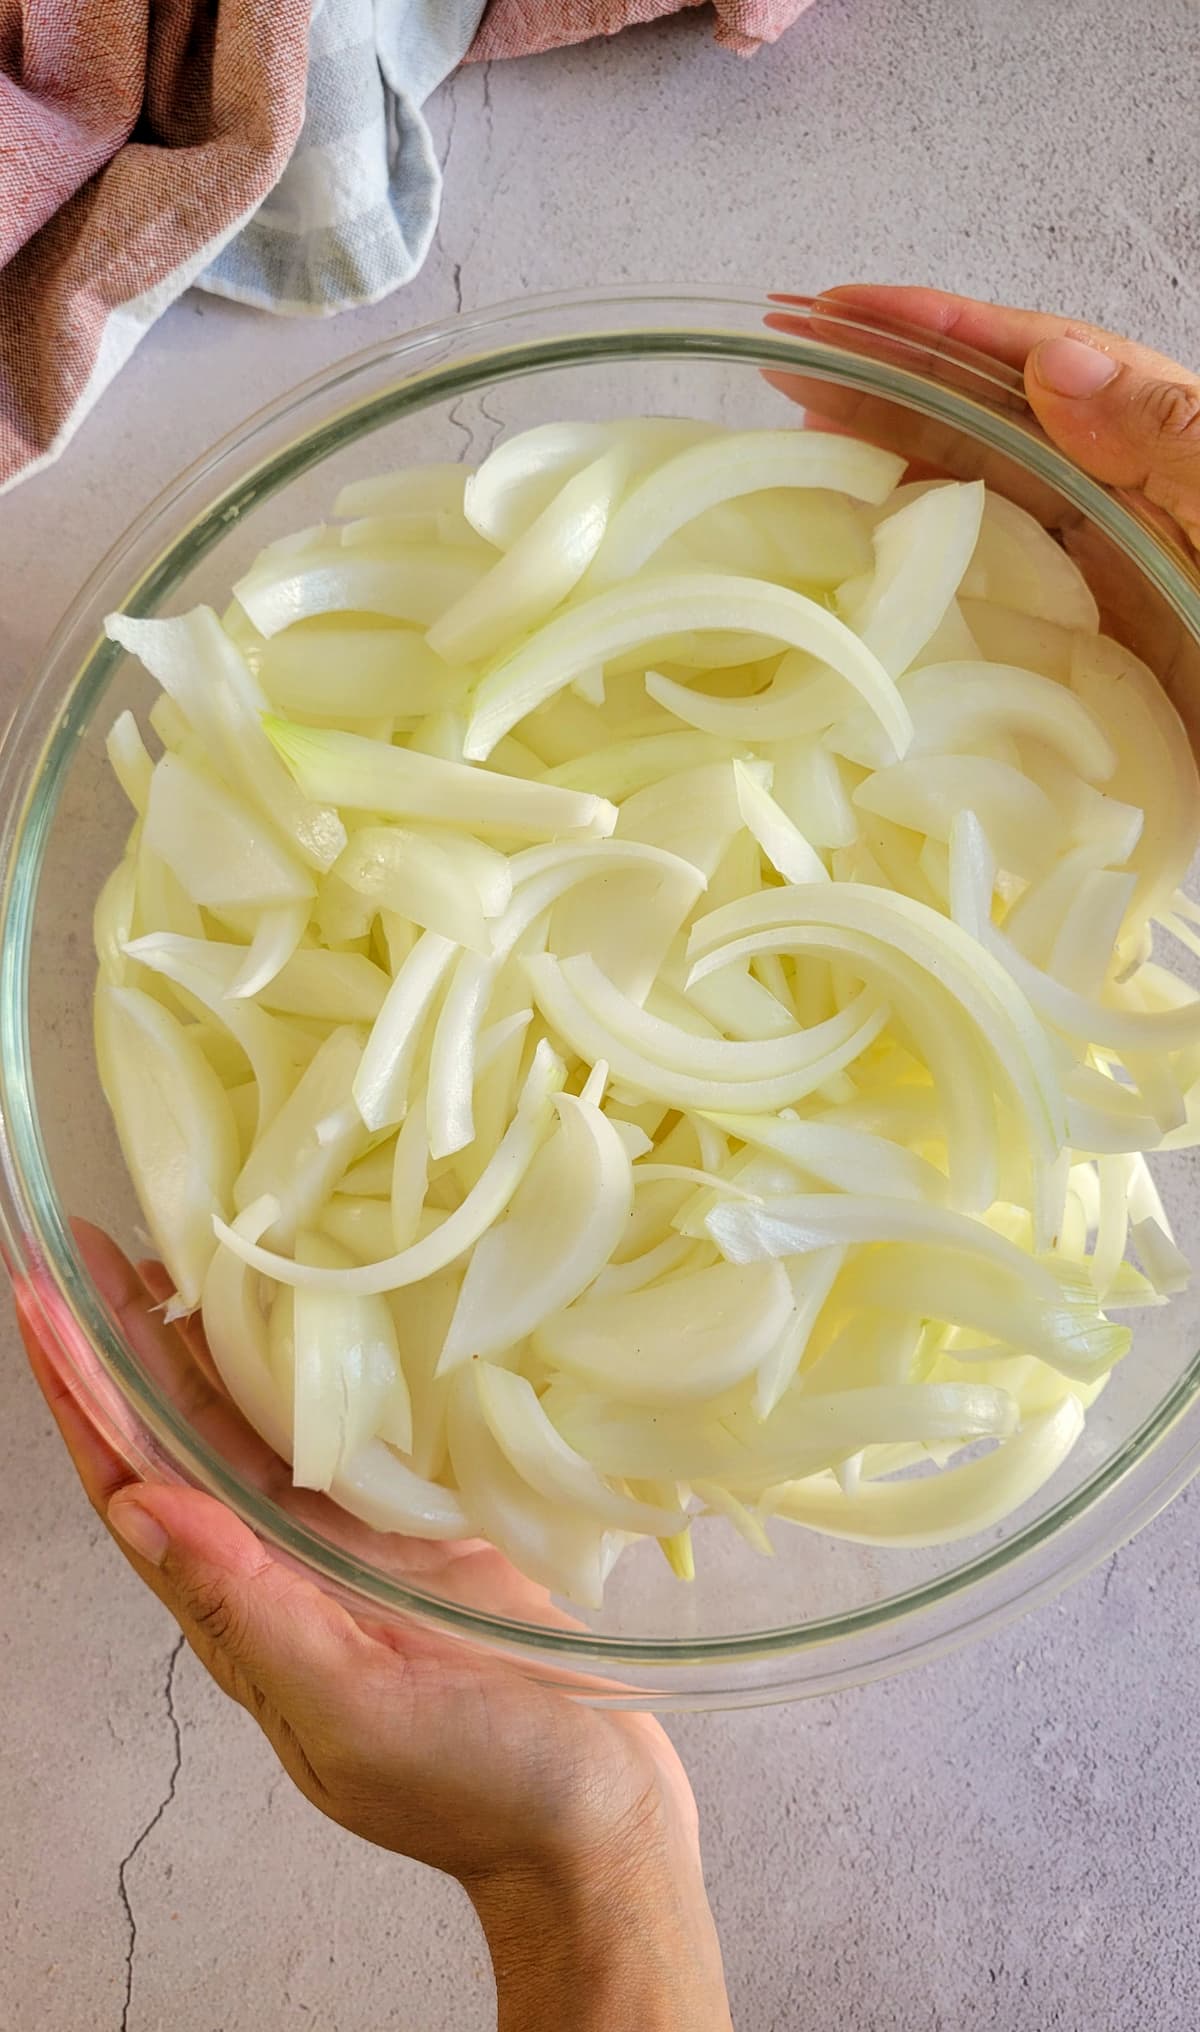
- Don’t slice the onions too thin or thick. You want them to be about 1/8″ thick for best results. Onions that are sliced too thin will cook faster (and therefore might not achieve the proper flavours) and have a higher risk of burning. Onions that are too thick won’t cook evenly or properly for this low and slow process. EXTRA TIP: Try and be as uniform as you can with your slices. This will ensure even cooking in the same amount of time.
- Use a large and wide skillet for best results. The large surface area gives your onions lots of room to cook, gives them direct contact with the heat of the pan and makes sure they don’t accidently steam rather than caramelize. A note on overcrowding the pan: Normally, I’d say be weary of overcrowding the pan. Too many onions all at once will cause them to produce water and release steam. However, it’s possible to do several onions at the same time if you don’t want to work in batches (I get it, it’s a long enough process as it is). The onions will eventually caramelize in an overcrowded pan (with occasional stirring and adding of liquid), it’ll just take a bit longer.
- Don’t turn the heat too high. Keeping the heat on medium to low from start to finish will give you the best results. Too high of a heat can burn the onions. This is a low and slow process. It will take about 45 minutes to an hour to get the onions to a perfect caramelised state. Be patient and don’t rush or cheat. The results and flavour will be worth it, I swear.
- Stir frequently but not too frequently for even cooking and to prevent burning. You want to stir enough so the onions evenly caramelize. But not too much so they don’t have time to brown. It’s a good balance you’ll only be able to perfect with patience and by keeping a close eye on the onions as they cook. It’s important to keep adding cooking liquid to the pan as it gets absorbed by the onions. Besides adding additional flavour, the liquid prevents the onions from burning. You’ll add about 1-2 cups of liquid, in small increments, throughout the entire process.

FREQUENTLY ASKED QUESTIONS
The unfortunate part about perfectly and properly caramelizing onions is that it’s a labour of love and a bit of a longer process than your normal sauté. It takes about 45 minutes to an hour to caramelise an onion so probably not ideal for a busy weeknight dinner. The good news is that onions keep and freeze well (in the fridge for at least a week and in the freezer for at least 4 months).
However, if you don’t already have any on hand and you want caramelized onions and you want ’em NOW, here are a few tricks to jumpstart the process making it quicker than usual:
1) Use a heavy bottomed pan to help evenly distribute the heat.
2) Sprinkle some sugar or balsamic vinegar over top of the onions to help speed up the caramelization process.
3) Add a little bit of baking soda. This will raise the pH level in the onions helping them break down faster. It also speeds up the chemical reactions that are responsible for producing that caramelized flavour.
Will you get the same exact flavour profile you do by the low and slow method? No. But will these quicker caramelized onions get the job done in a pinch? Absolutely.
You can use any cooking fat you want or have on hand. Butter or oil will do. Or a combination of the two is even better since butter doesn’t have too high of a smoke point on it’s own. You can even use ghee or a different type of fat such as beef tallow or bacon grease instead, if you prefer.
You can use any kind of liquid you want for this recipe for caramelized onions! Depending on the flavour profile I’m going for (aka what I plan to use my onions for), I usually go for some type of broth, beer or wine. Besides preventing the onions from sticking to the bottom of the pan or burning, they absorb the liquid making them extra flavourful. However, if you don’t have any of those on hand, plain ol’ water will caramelize onions just fine.
The good news is that caramelized onions actually keep pretty well in both the fridge and the freezer. If stored in an airtight container and kept in the fridge, caramelized onions will last for about a week. If stored in the freezer, they’ll last for up to four months.
PRO TIP: To easily freeze caramelized onions, portion them out into muffin or ice cube trays (really pack them in there). Once solid, use a knife or a spoon to wiggle the cubes/pucks out and store them in freezer safe bags. When ready to use, throw your desired amount directly into a boiling liquid (soups or stews). Or melt them in a nonstick pan over low heat until they’re warmed through then use normally.
MORE GREAT RECIPES THAT’LL ADD A FLAVOUR BOMB TO YOUR NEXT MEAL
THE VERY BEST SUN-DRIED TOMATOES
SWEET & SPICY MANGO HABANERO SALSA
LOVE THIS RECIPE? PIN IT FOR LATER!

CARAMELIZED ONIONS
Video
Ingredients
- Large Spanish White or Yellow Onions
- Cooking Fat (such as Butter, Ghee, or Oil)
- Cooking Liquid (such as Broth, Beer, Wine, or Water)
Instructions
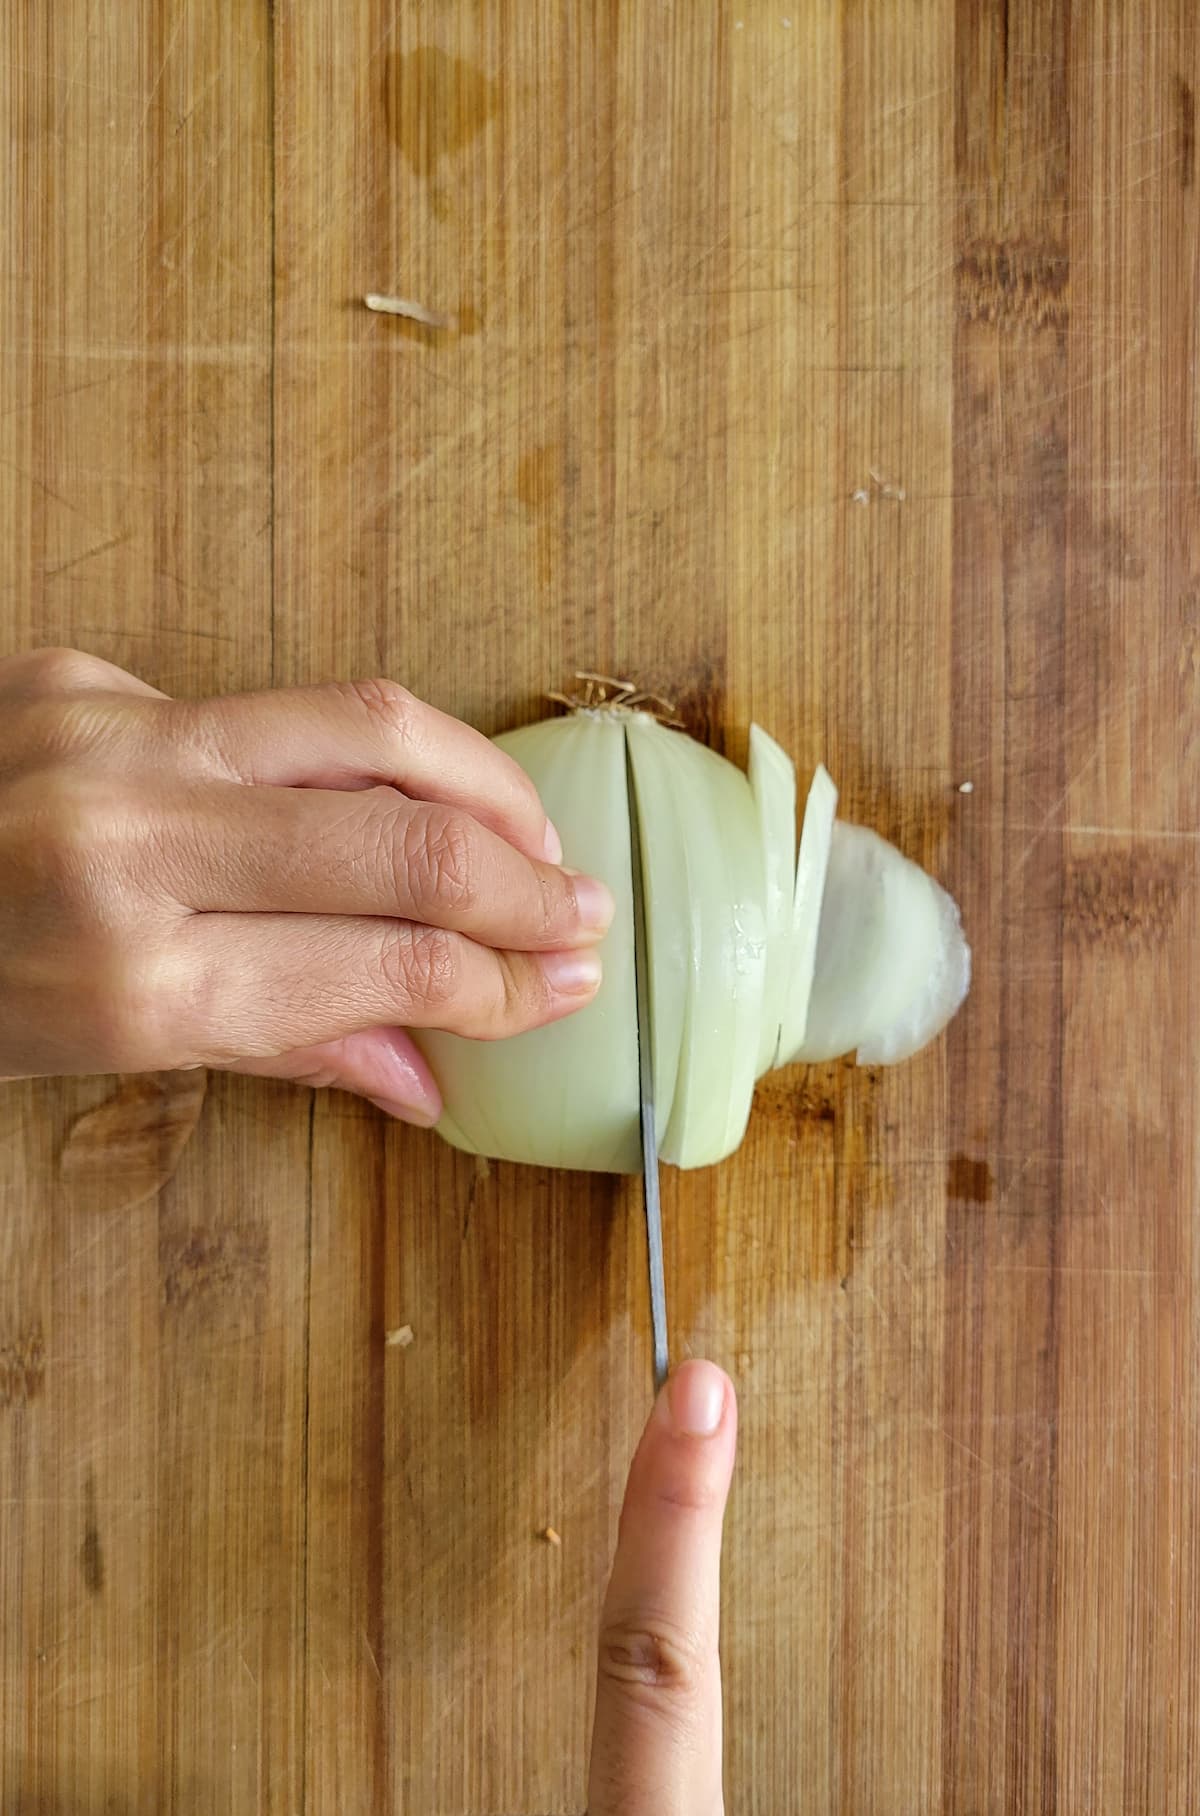
- Cut your onions into 1/8" thick slices. I find that the easiest way to do this is to cut the stem (pointer side) off the onion first. Then cut the onion in half down the middle (through the root). Peel each half and place the halves cut side down on a cutting board. Use your fingers to guide the knife as you cut it into slices "pole to pole" or lengthwise, following the grain and doing your best to keep the slices attached to the root (this will help with crying).

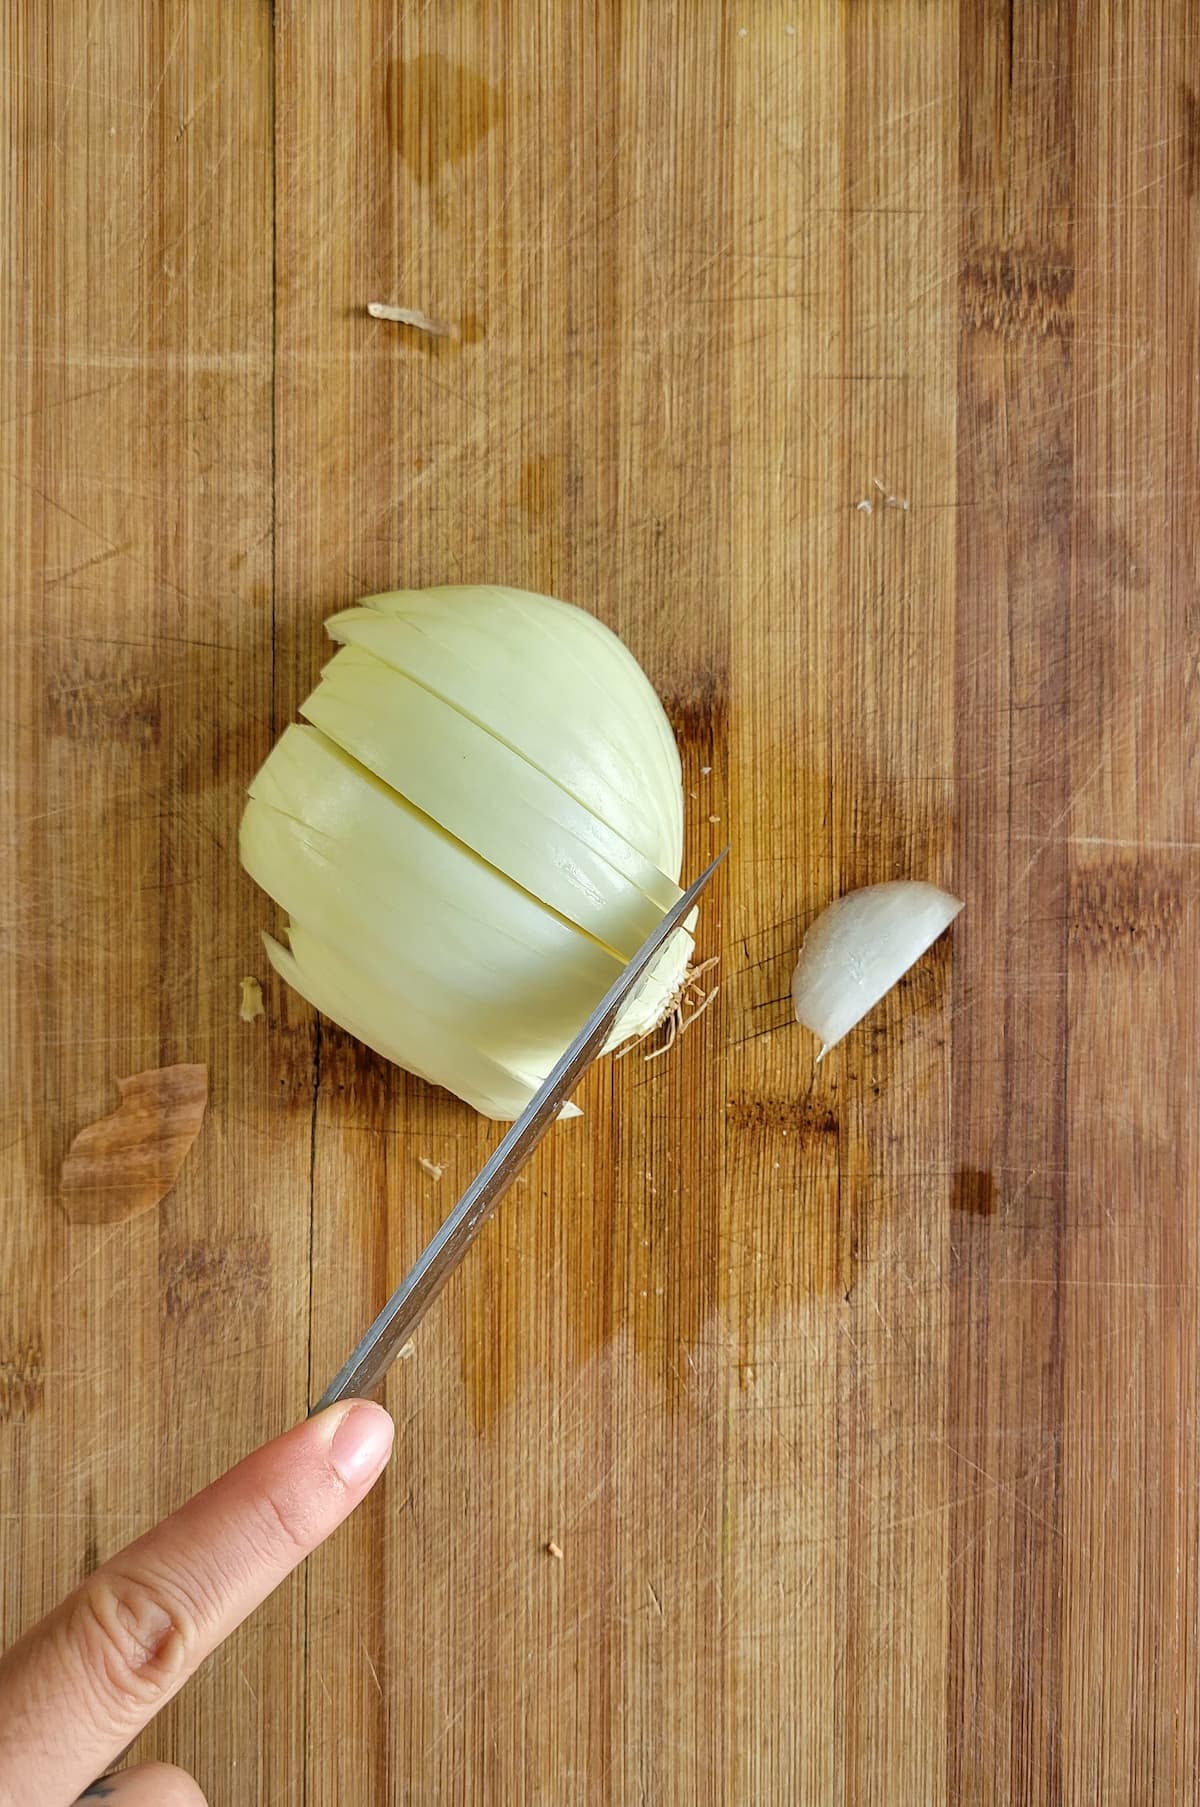
- Once the onions are all sliced up, go ahead and cut off the root.

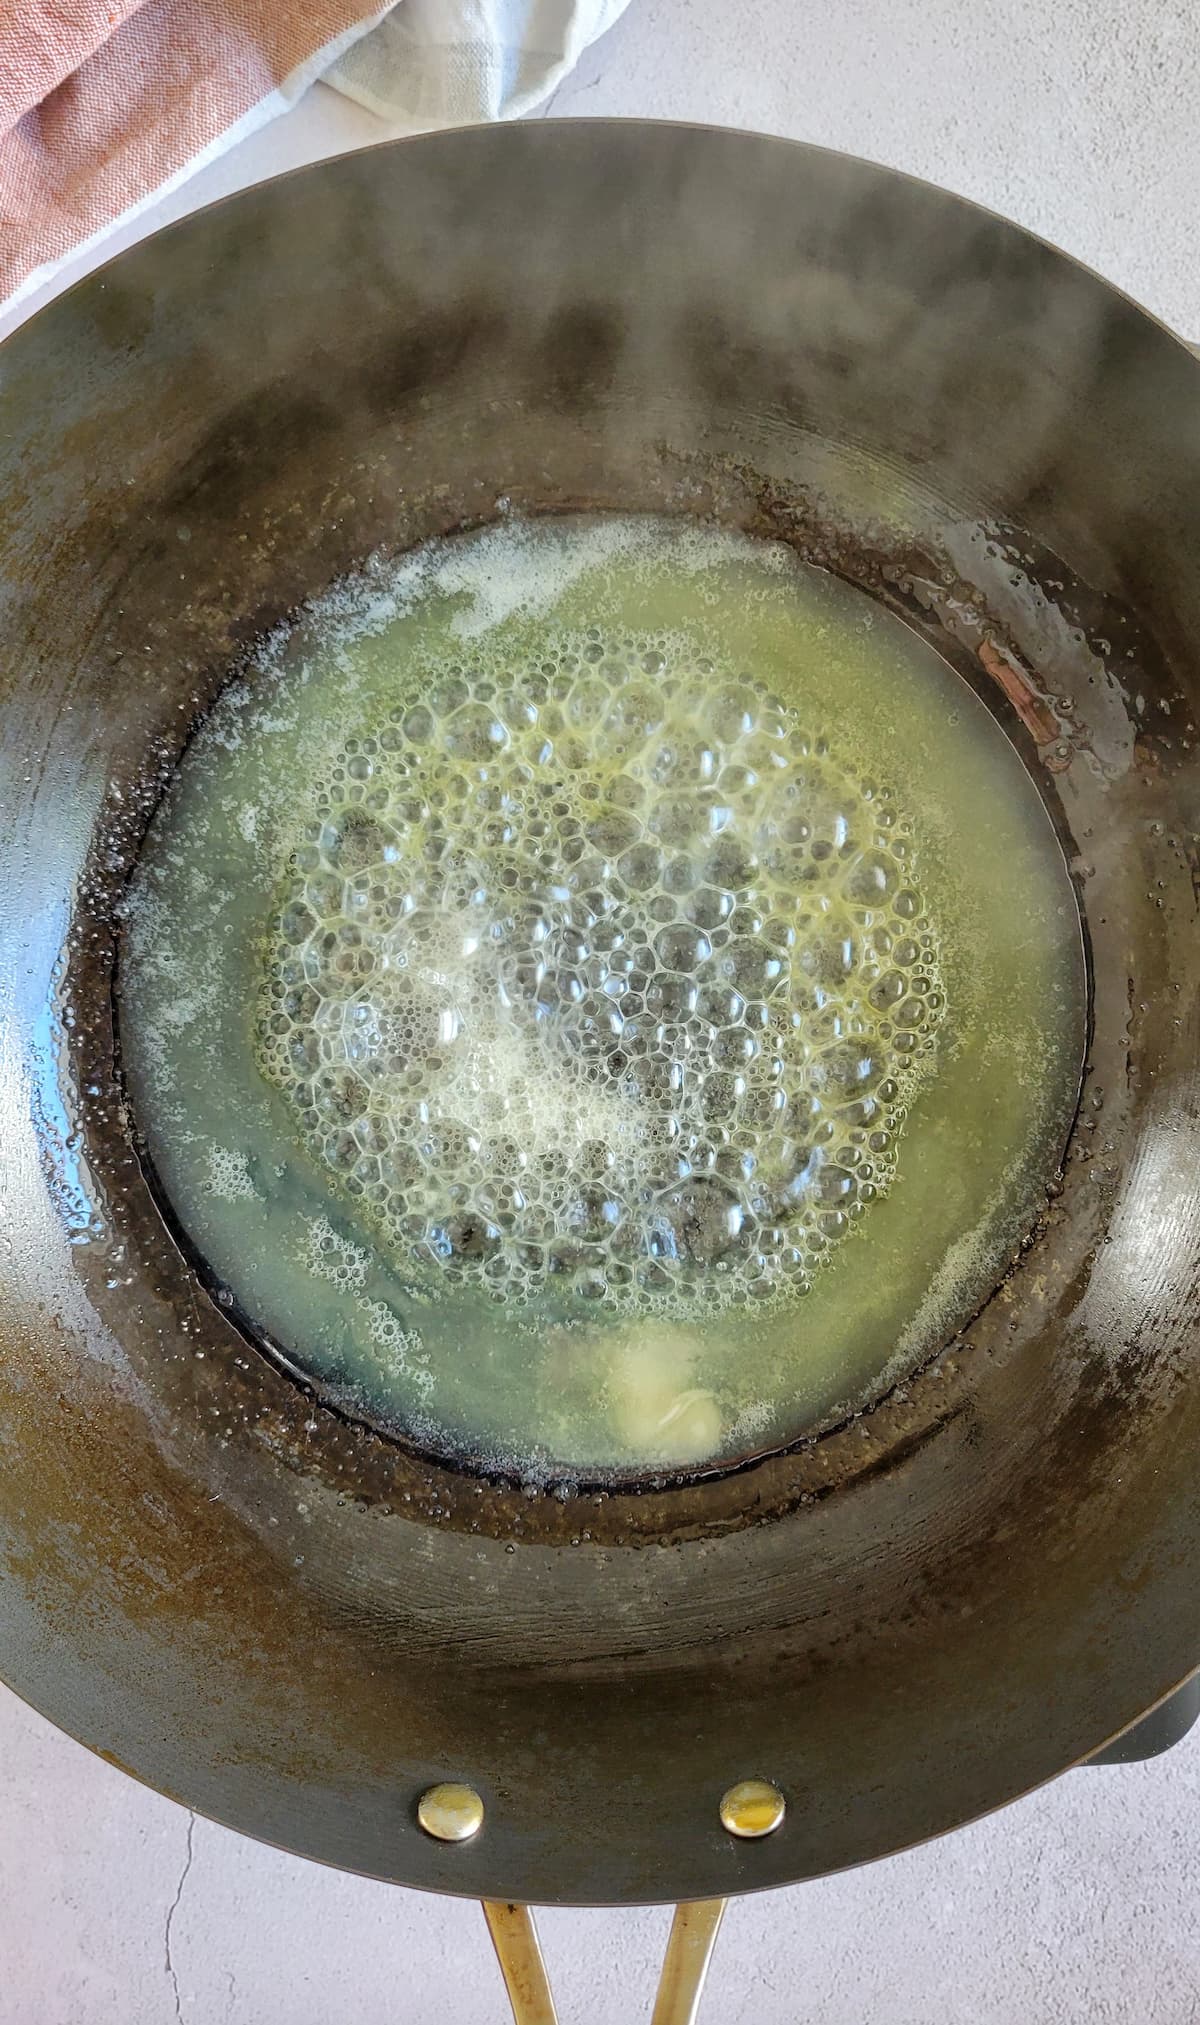
- In a large skillet with a wide bottomed surface, heat your cooking fat of choice over medium heat. You want to add enough to coat the bottom of the pan (about 1 tablespoon per onion).

- Once hot, add the onions and stir to coat. Spread them out as evenly as you can so as many as possible are making direct contact with the heat from the pan. Reduce the heat to medium low.

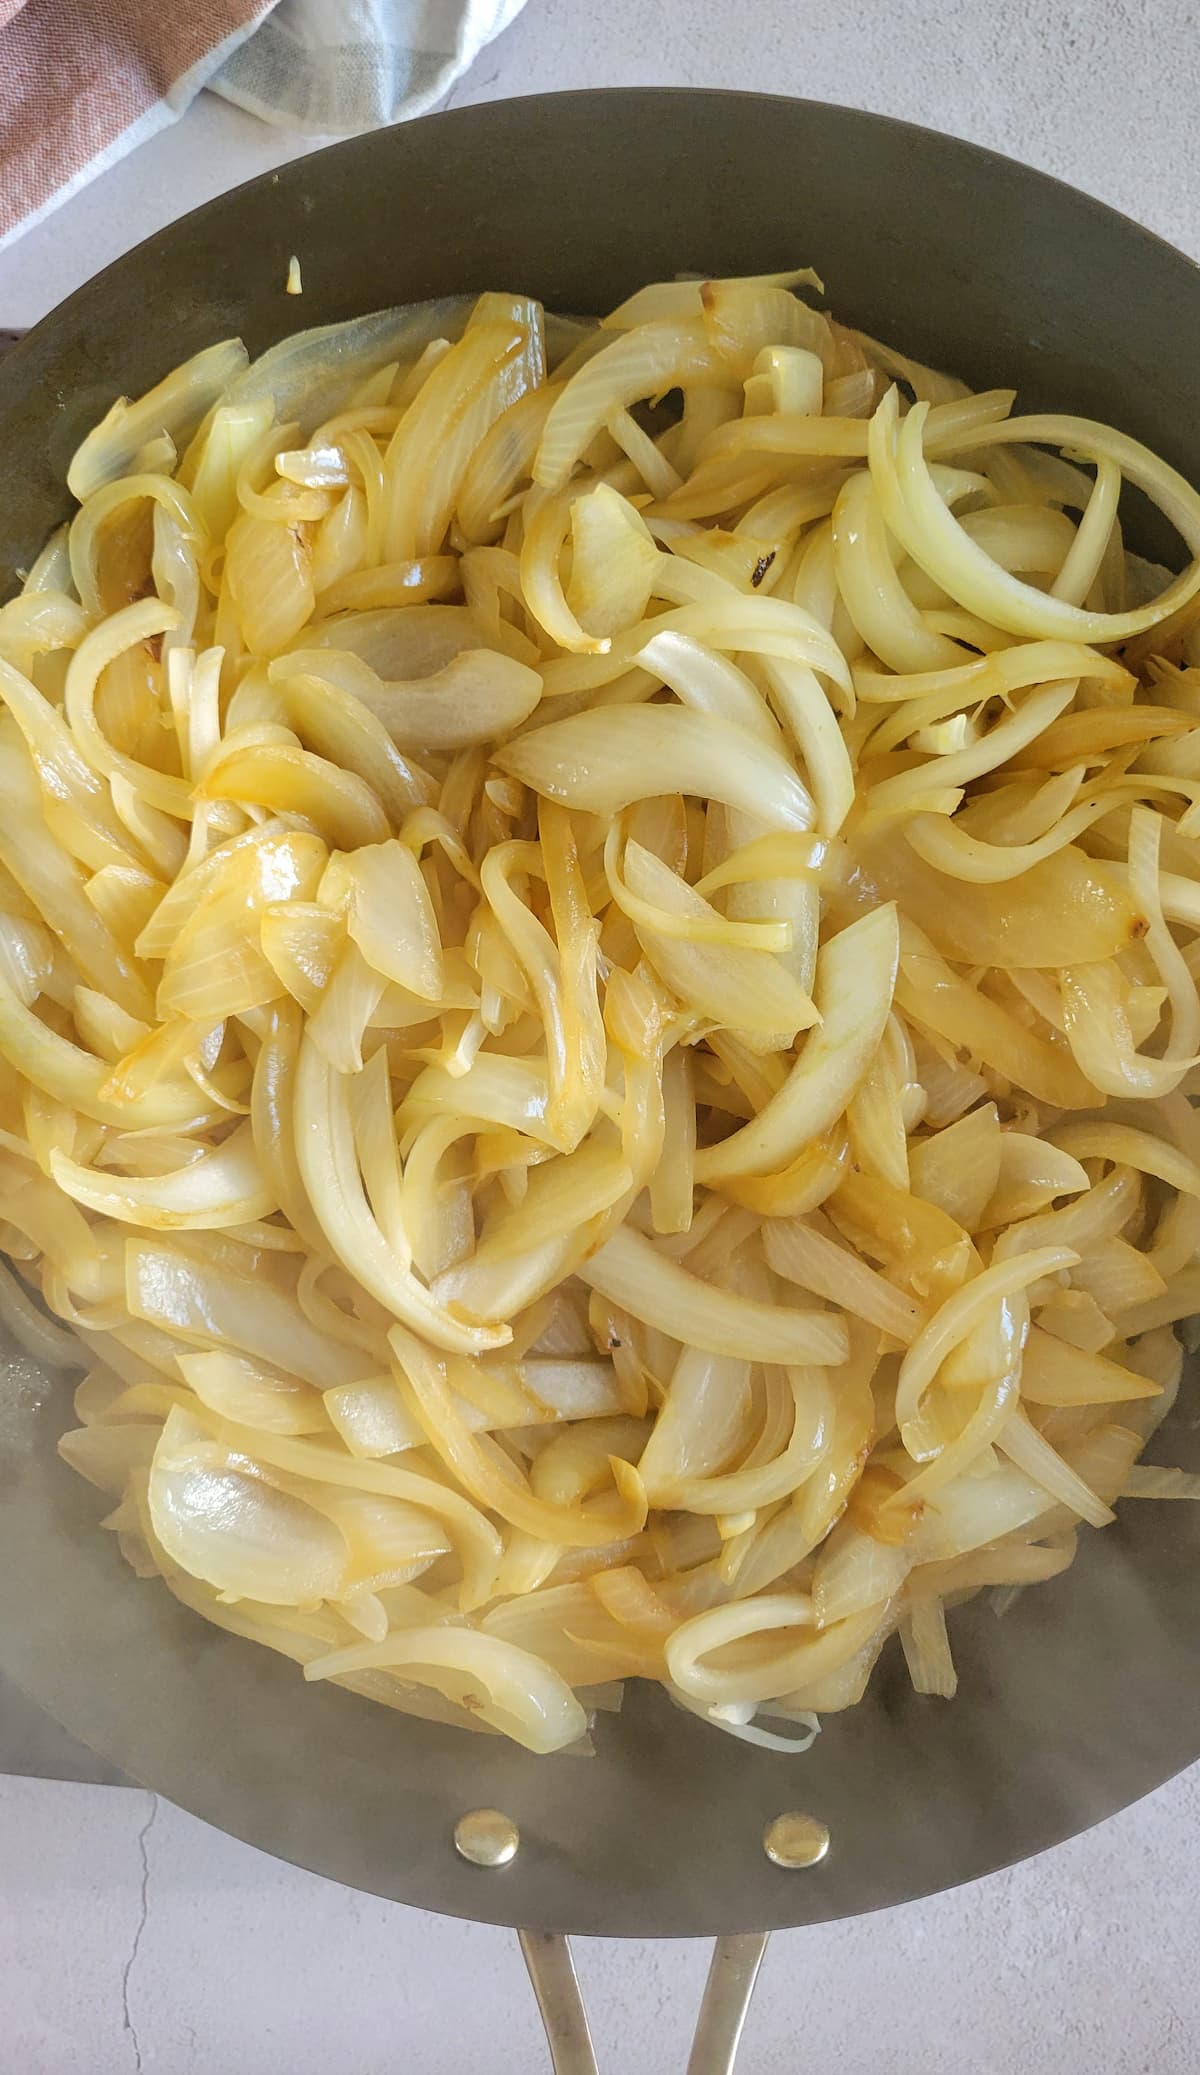
- Cook the onions, adding just enough cooking liquid to cover the bottom of the skillet, repeating as it dries out and stirring every 5 or so minutes, for 45-80 minutes or until the onions are browned to your liking (the time it takes will depend on the heat of your stove, how many onions you're doing at the same time and their liquid and sugar content).

- You'll add about 1-2 cups of cooking liquid (a bit at a time) in total during this process.

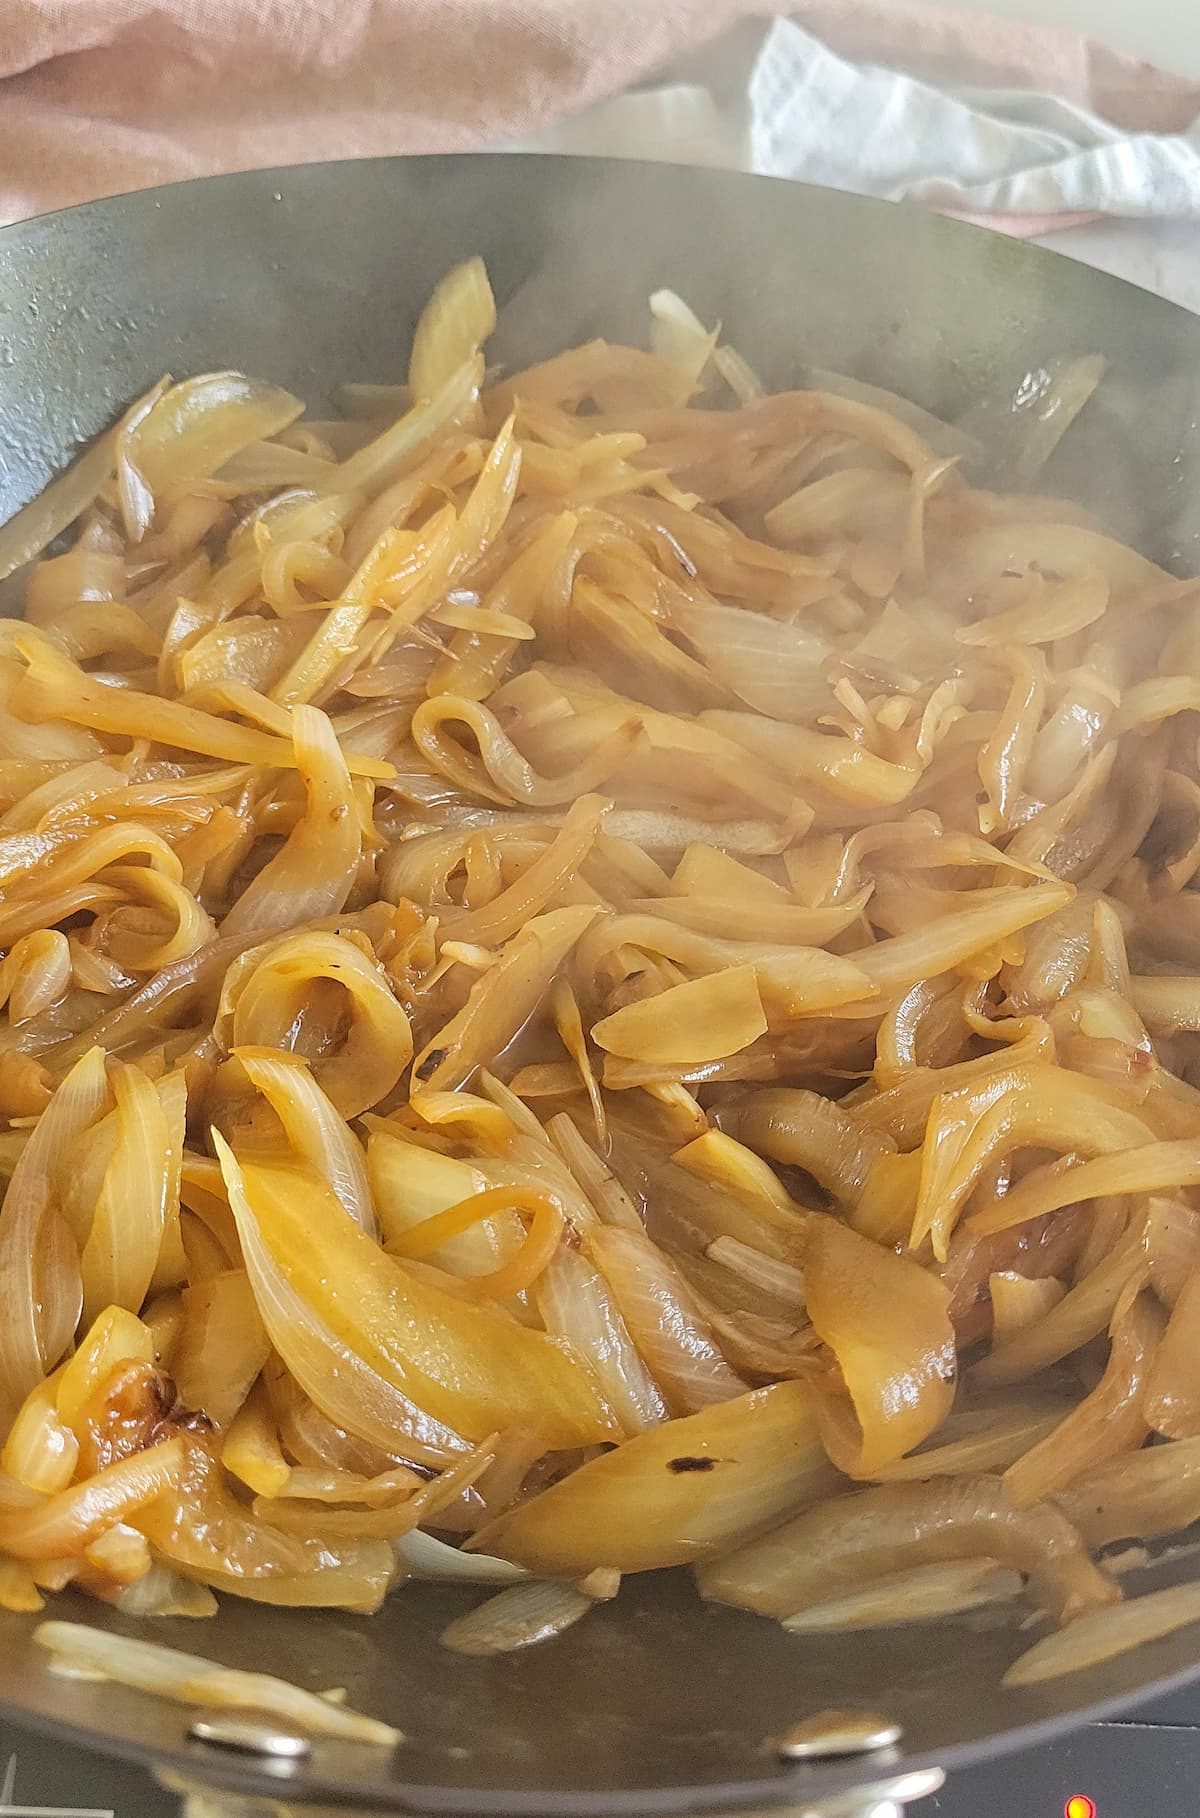
- Be sure to scrape the bottom of the pan and deglaze it with each addition.

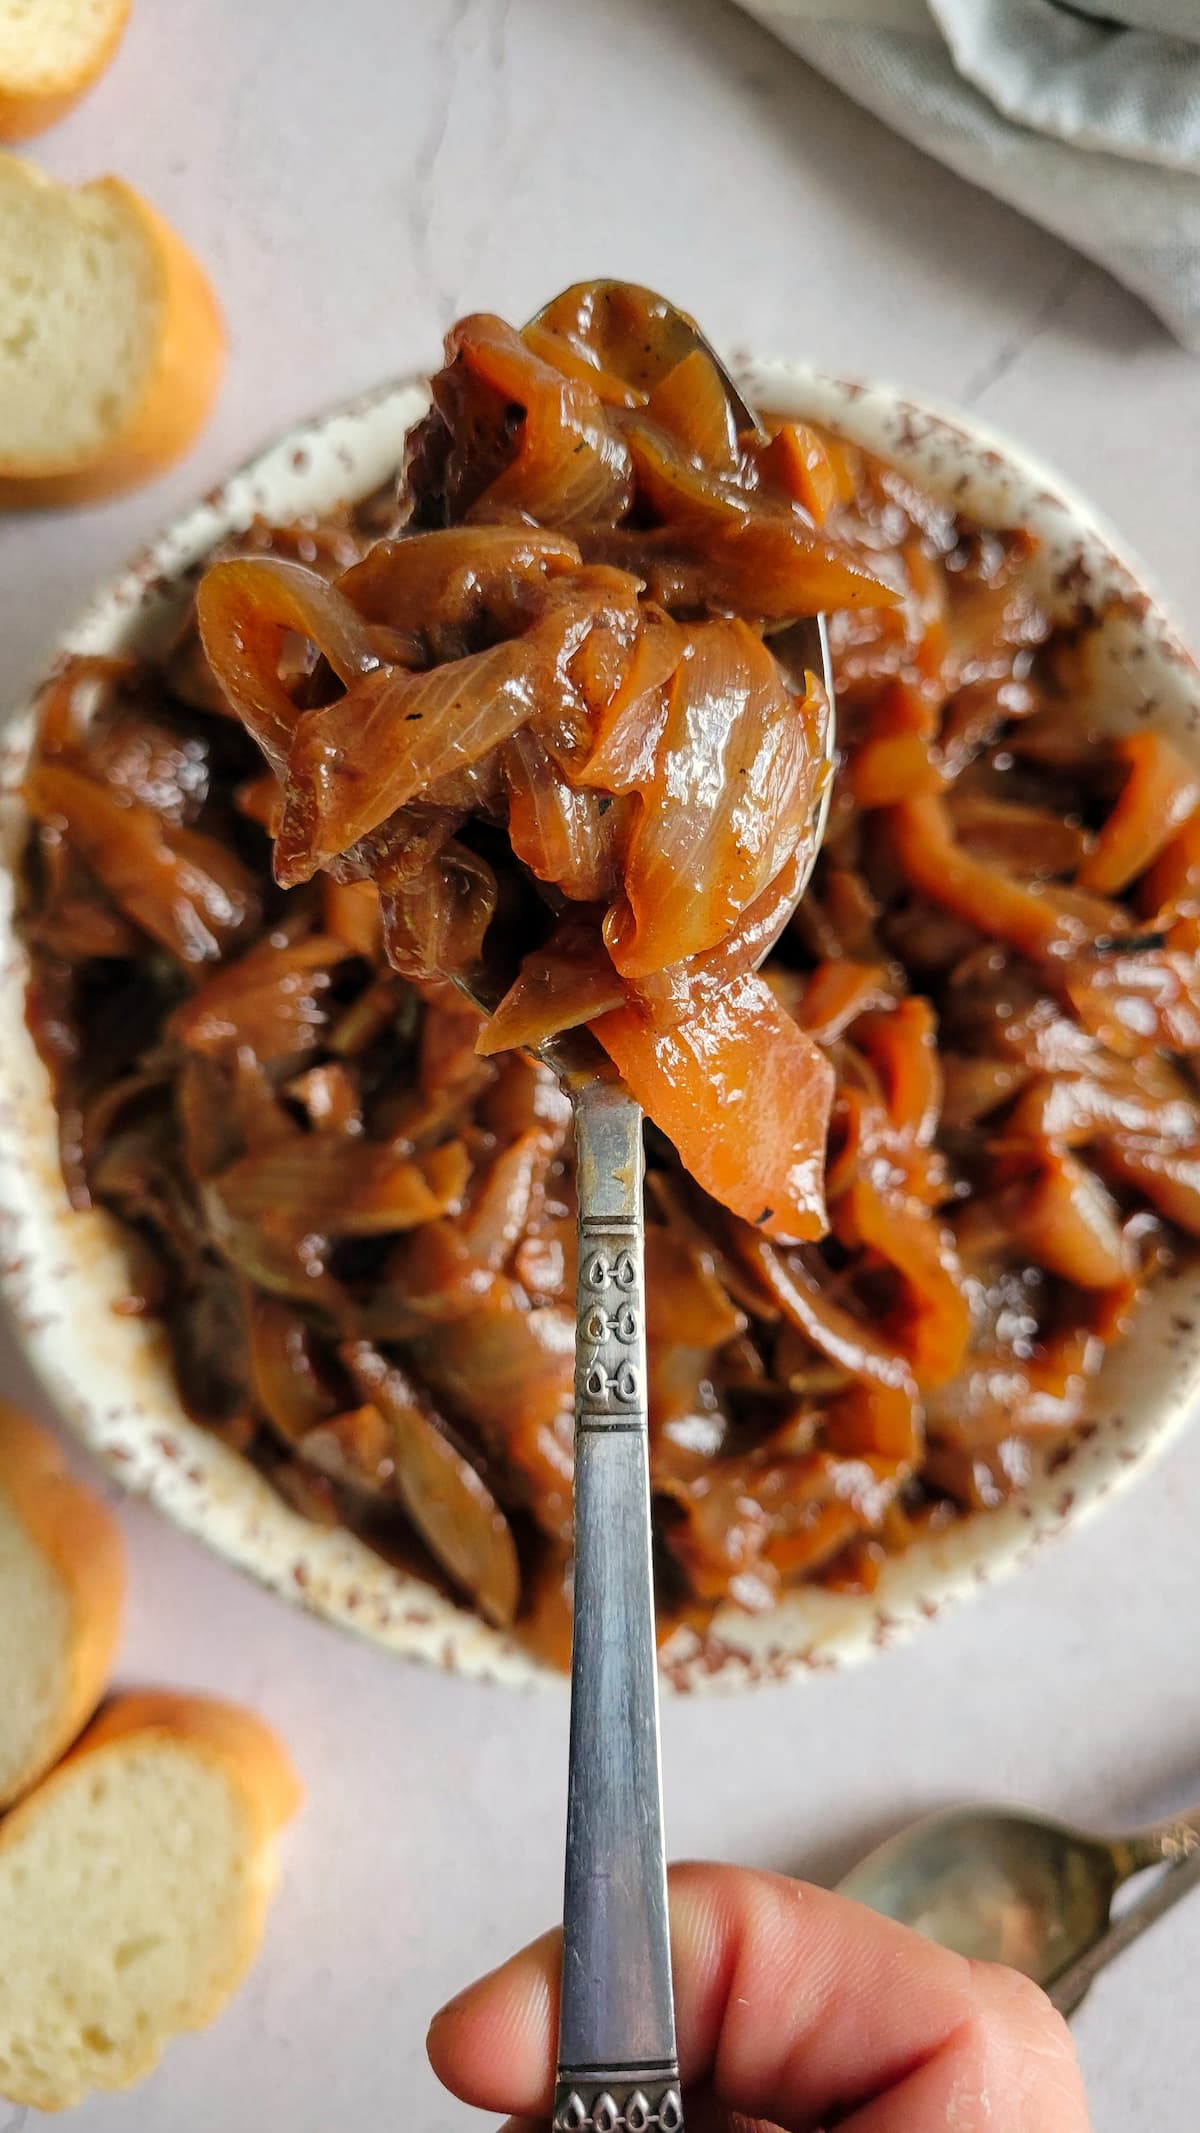
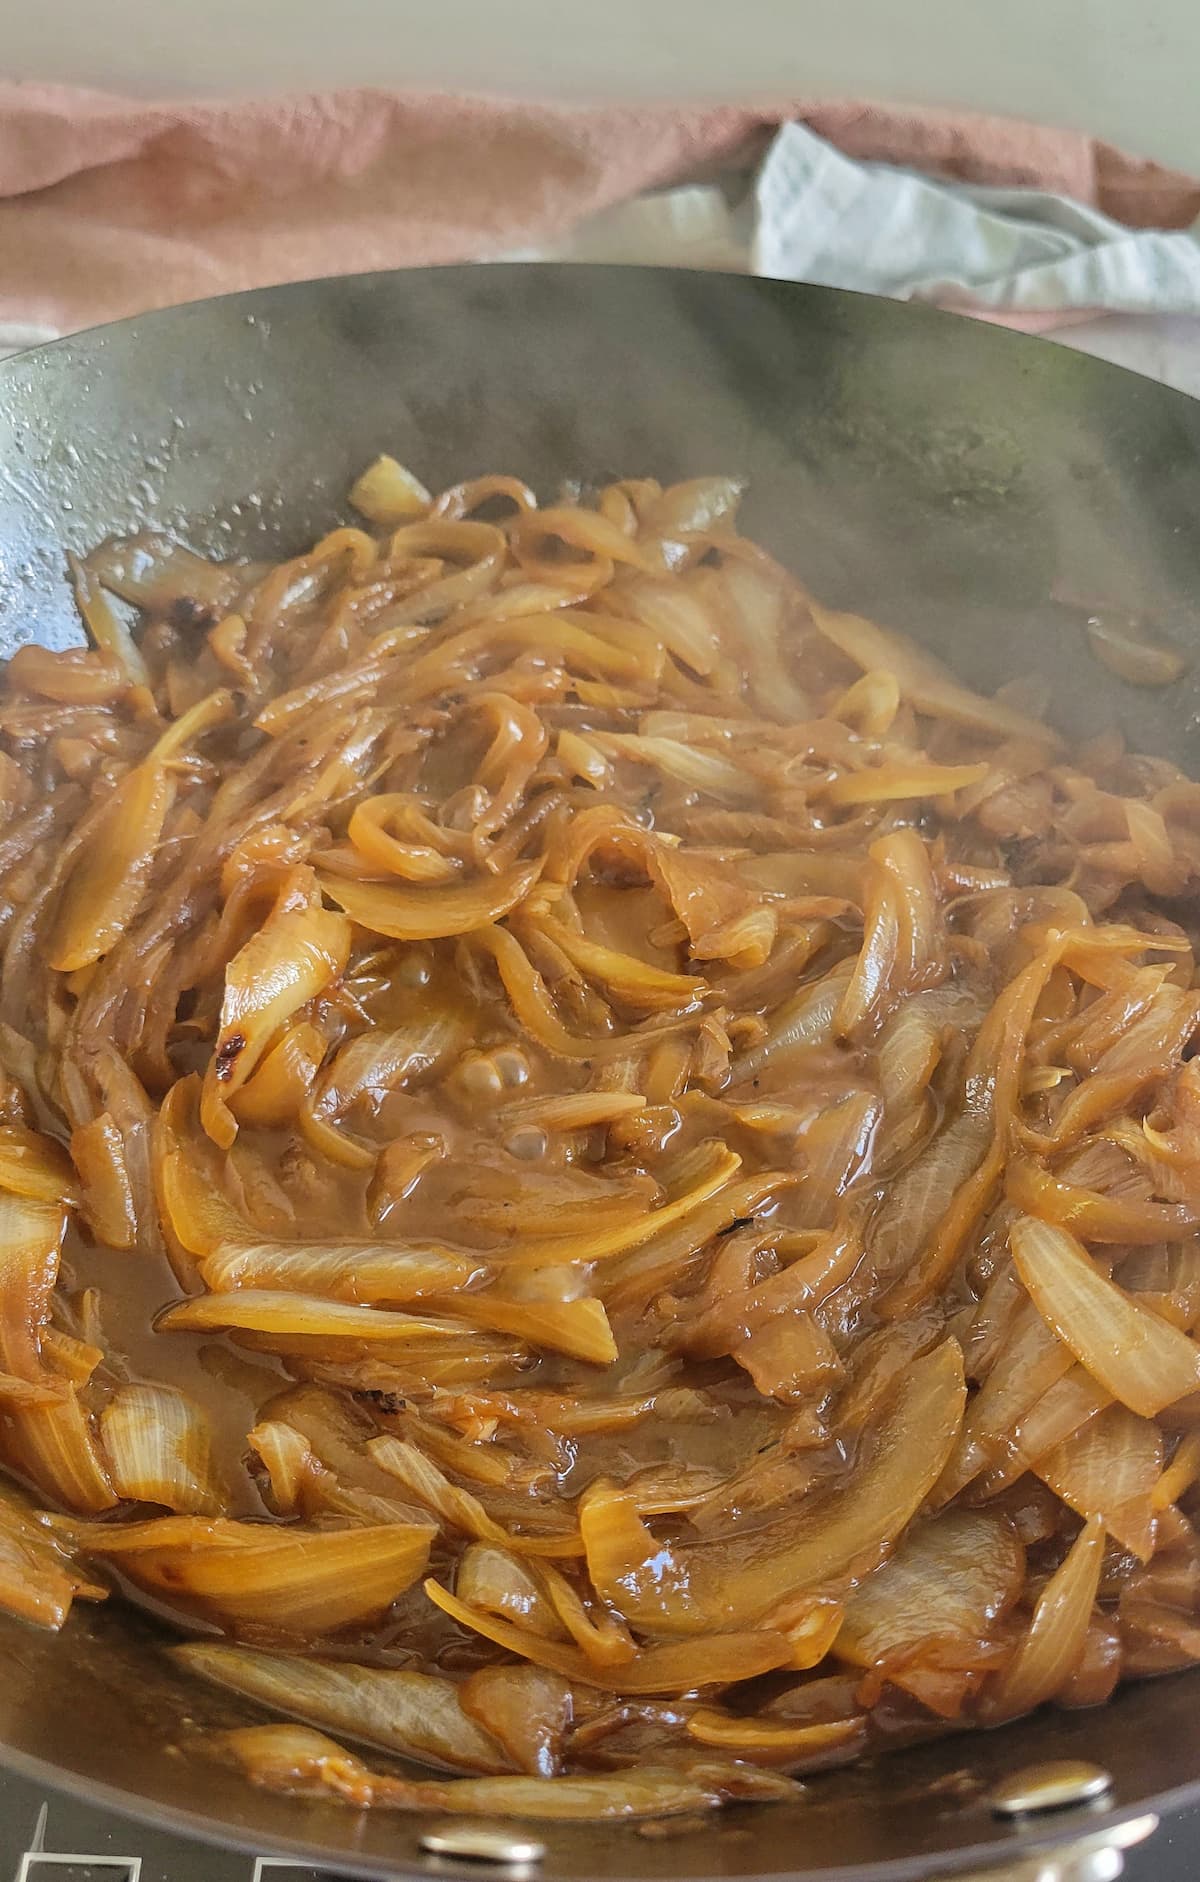
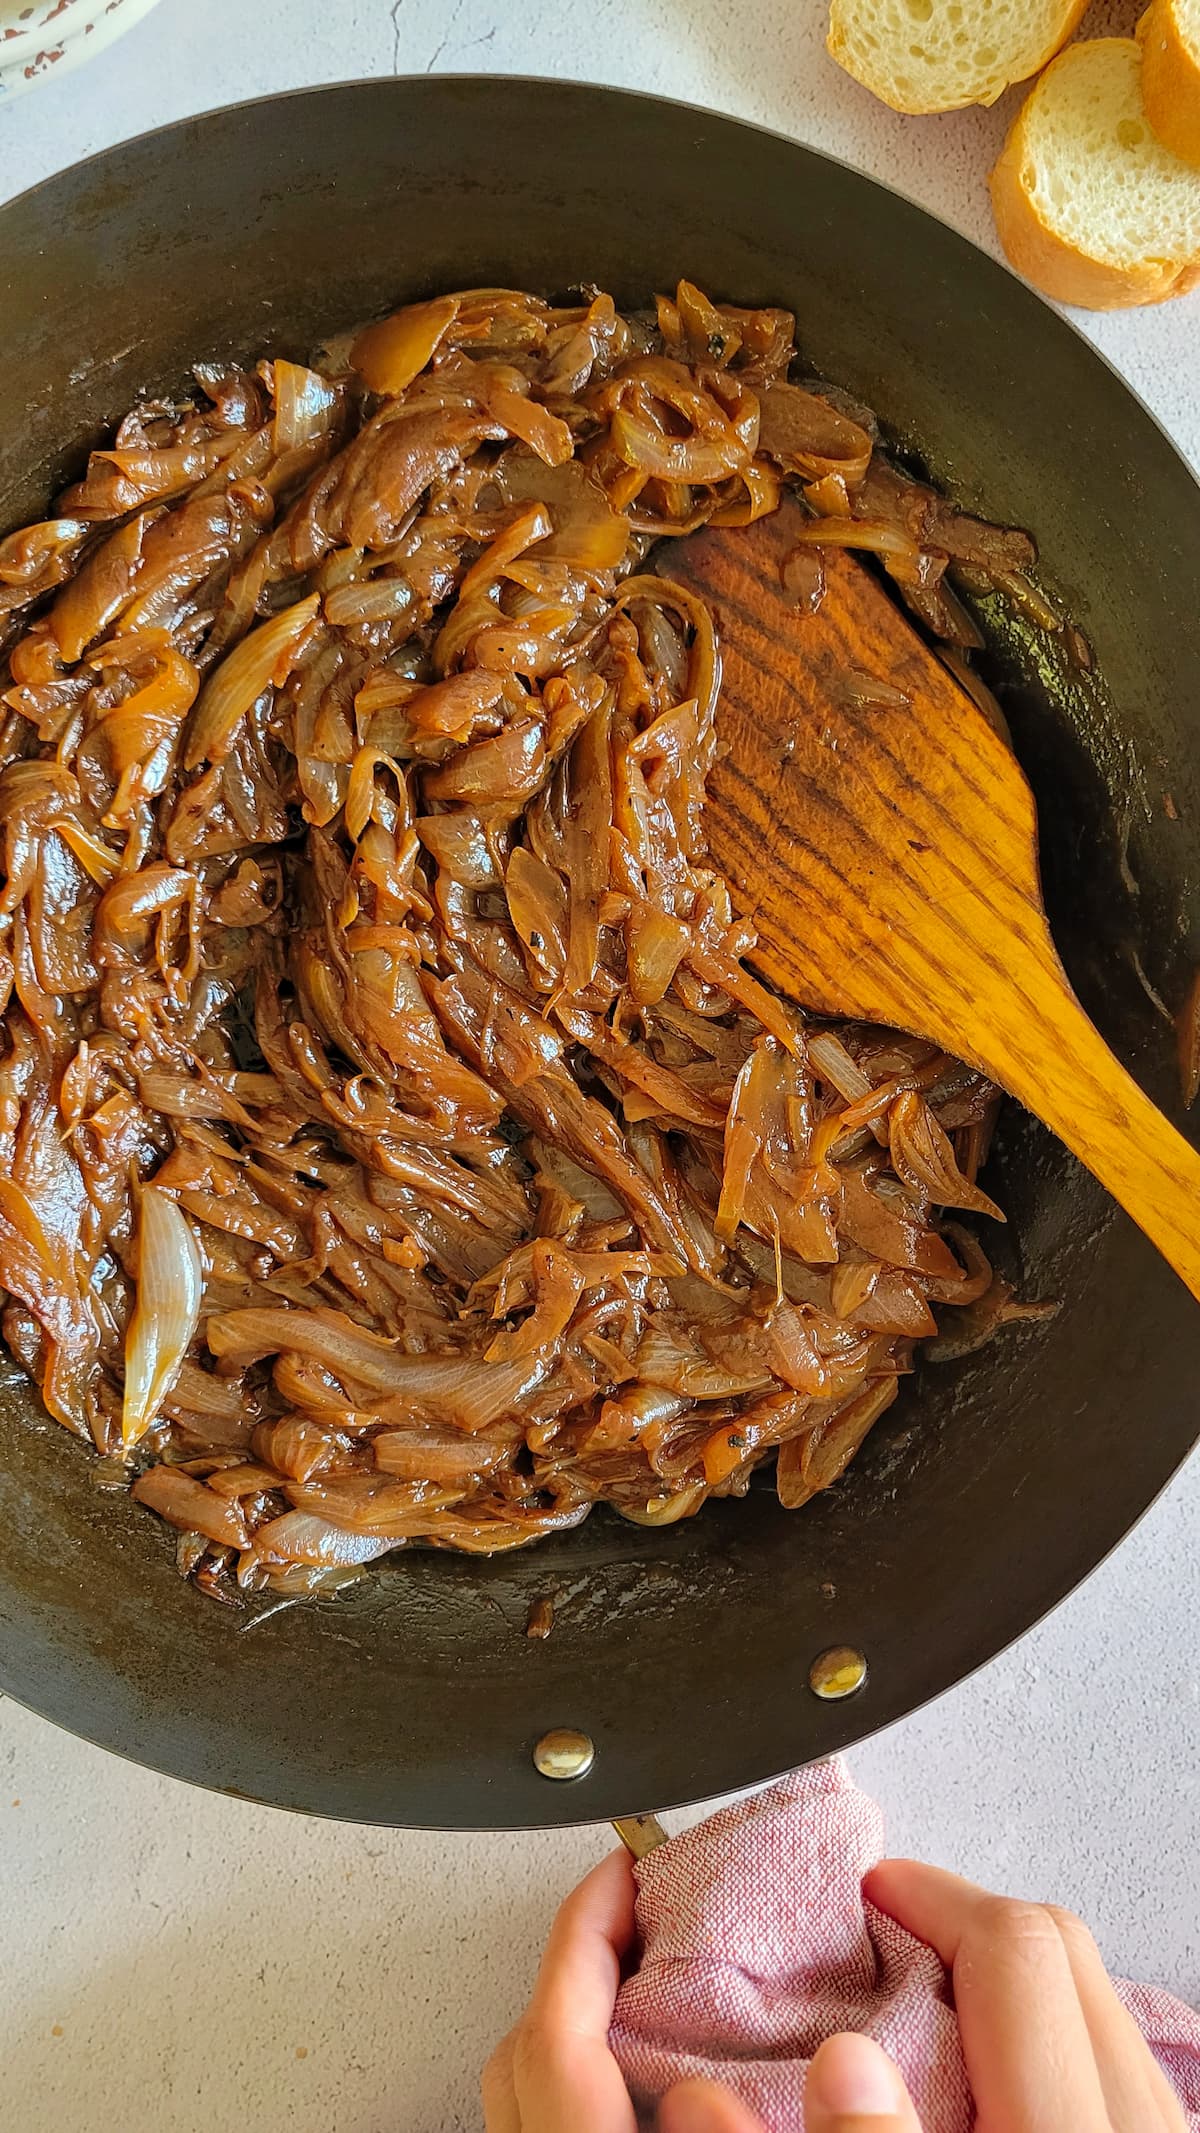
- The onions are done when they're very soft (but not mushy), a deep and rich dark brown colour, have reduced down quite a bit in size and look, taste and smell caramelized (don't be afraid to taste them!)


Notes
Nutrition
Don’t skip the good stuff —
scroll up above the recipe card for ingredient notes, tips & tricks, and easy swaps/variations.Made it? Tell me everything.
I LOVE seeing what you made! Tag @hiphipgourmet on Instagram (or use #hiphipgourmet) so I can see it — then rate it + upload your photo below. 💖
The links in this post are affiliate links. Thanks for supporting HipHipGourmet!